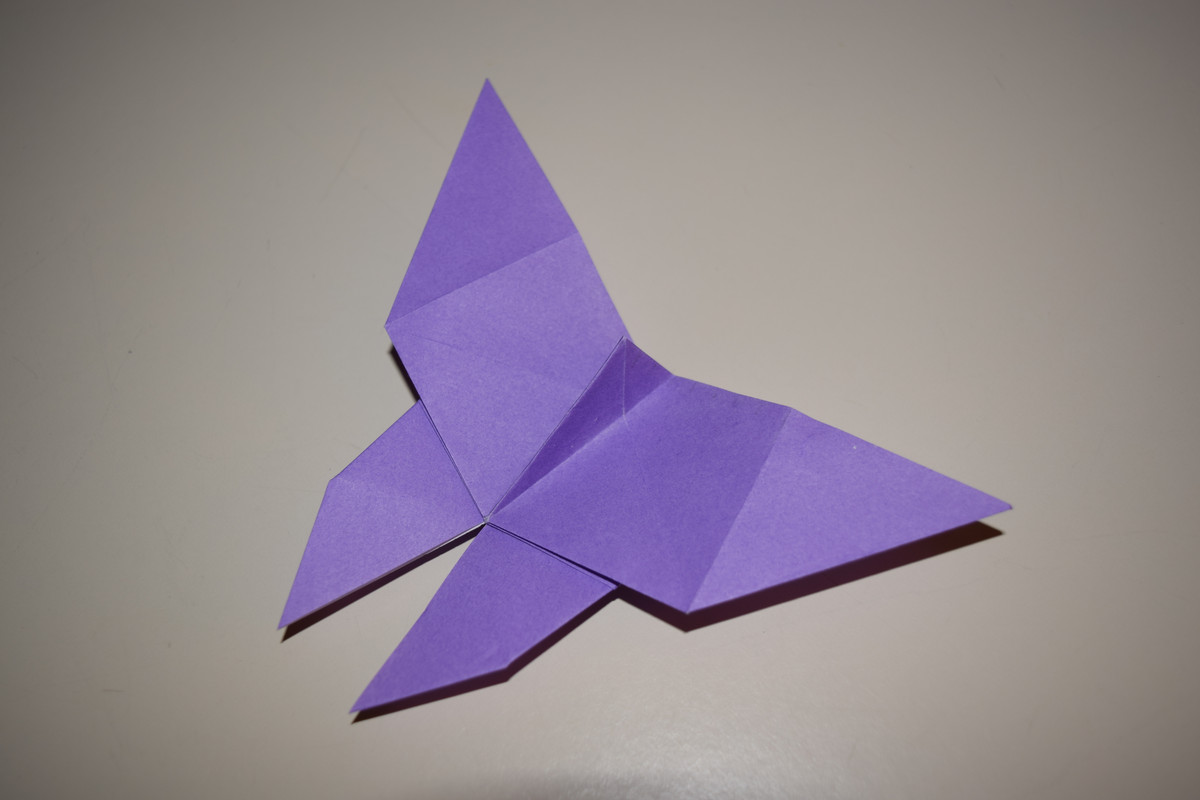
The traditional butterfly is one of the many different ways to make a butterfly. While others may be more popular, this one is very pretty for its simplicty.
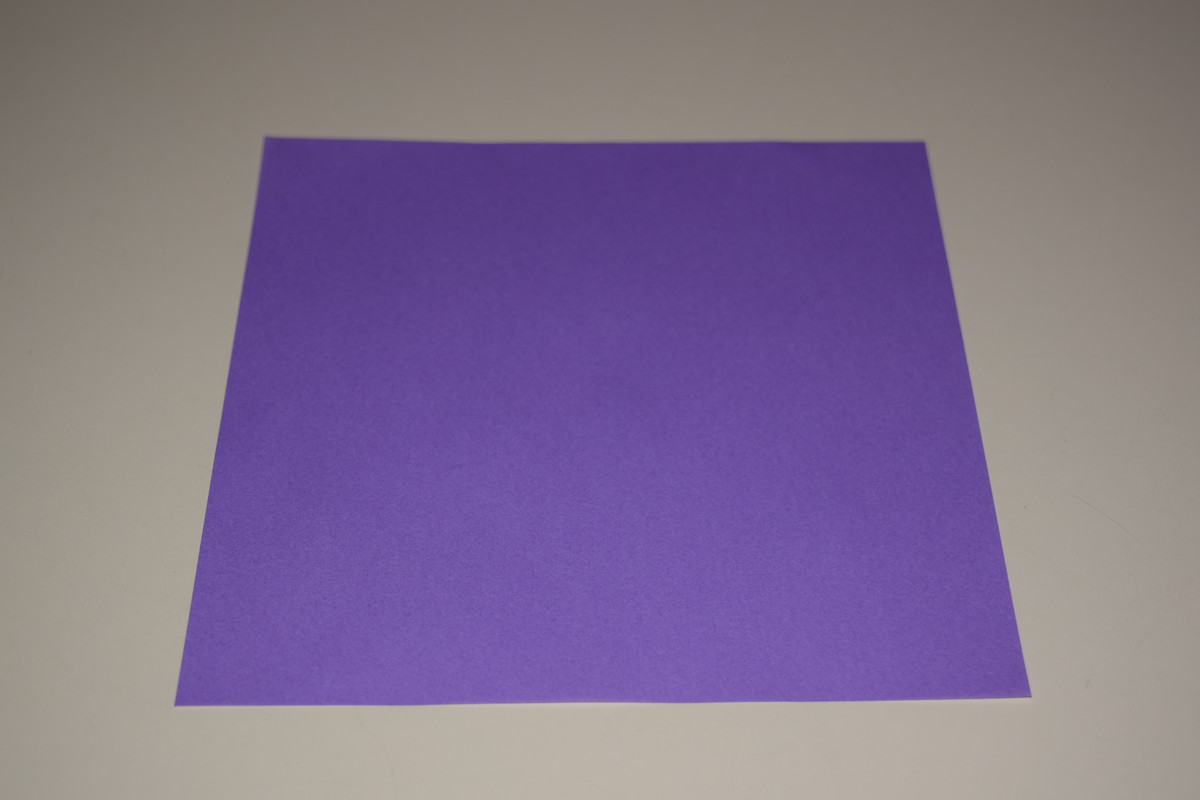
The paper here is 15cm x 15cm, single-sided origami paper. Any paper cut into the shape of a square should be usable.
Turn the paper over.
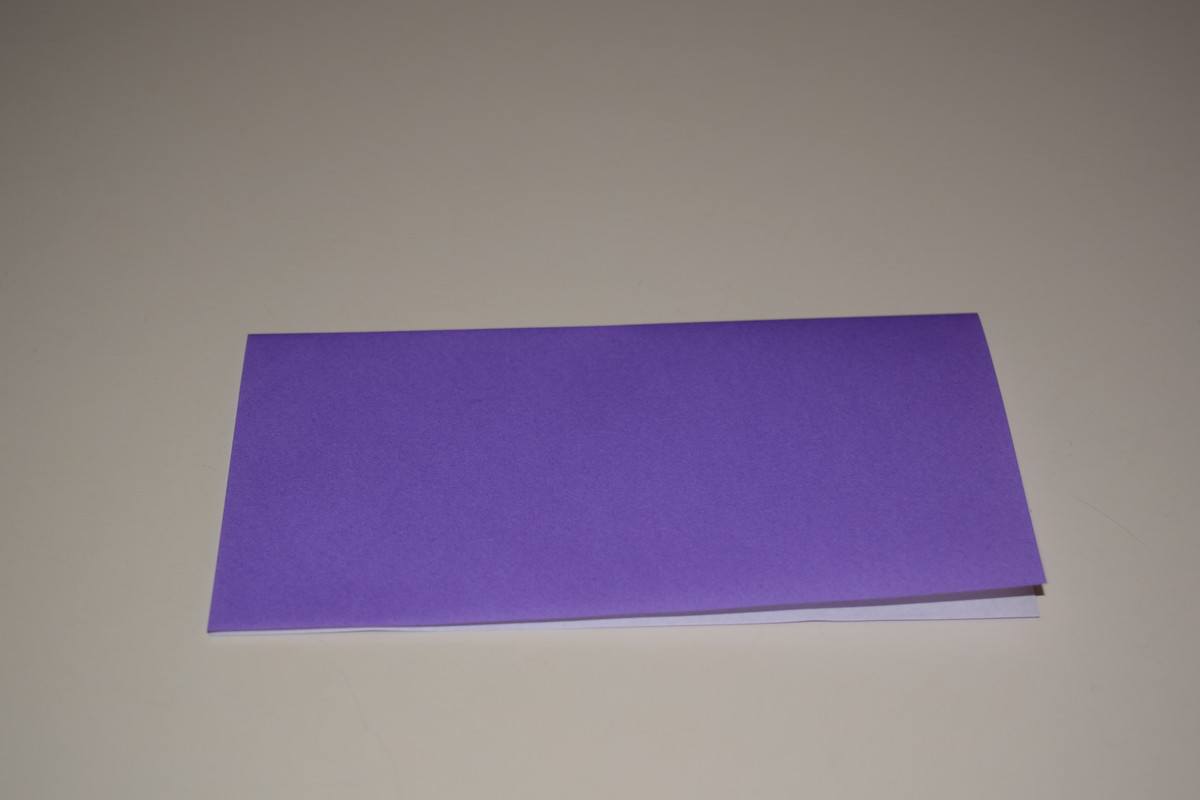
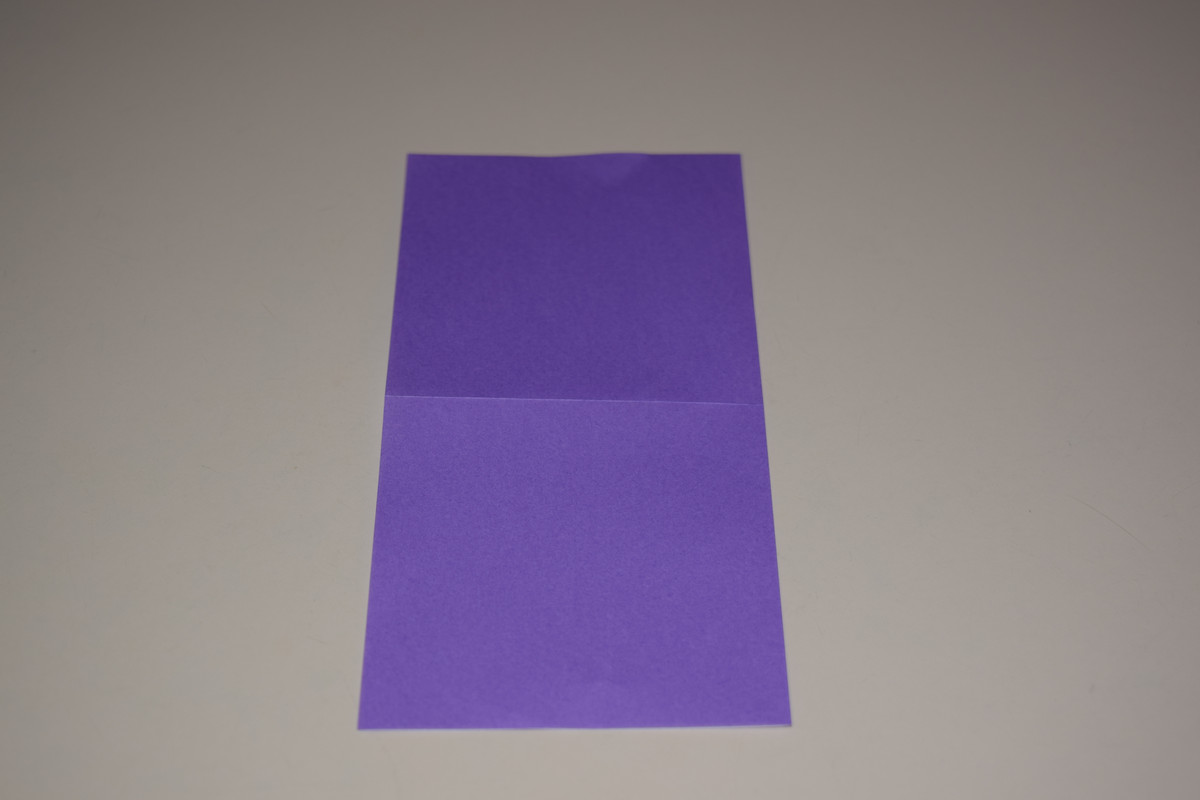
Fold the top down to meet the bottom edge. Crease then unfold.
Turn 90°. Fold the top down to meet the bottom. Crease then unfold.

Fold the top edge down to meet the horizontal center line. Crease then unfold..
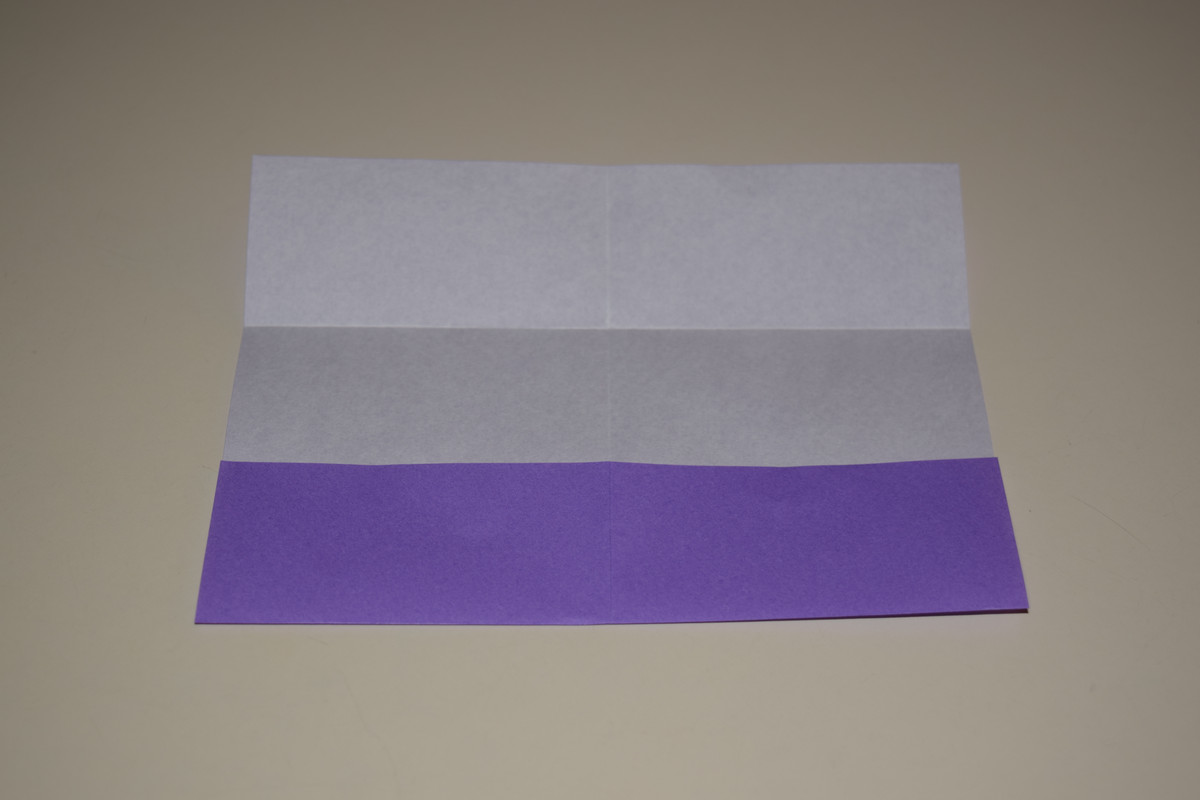
Fold the bottom edge up to meet the horizontal center line. Crease then unfold.
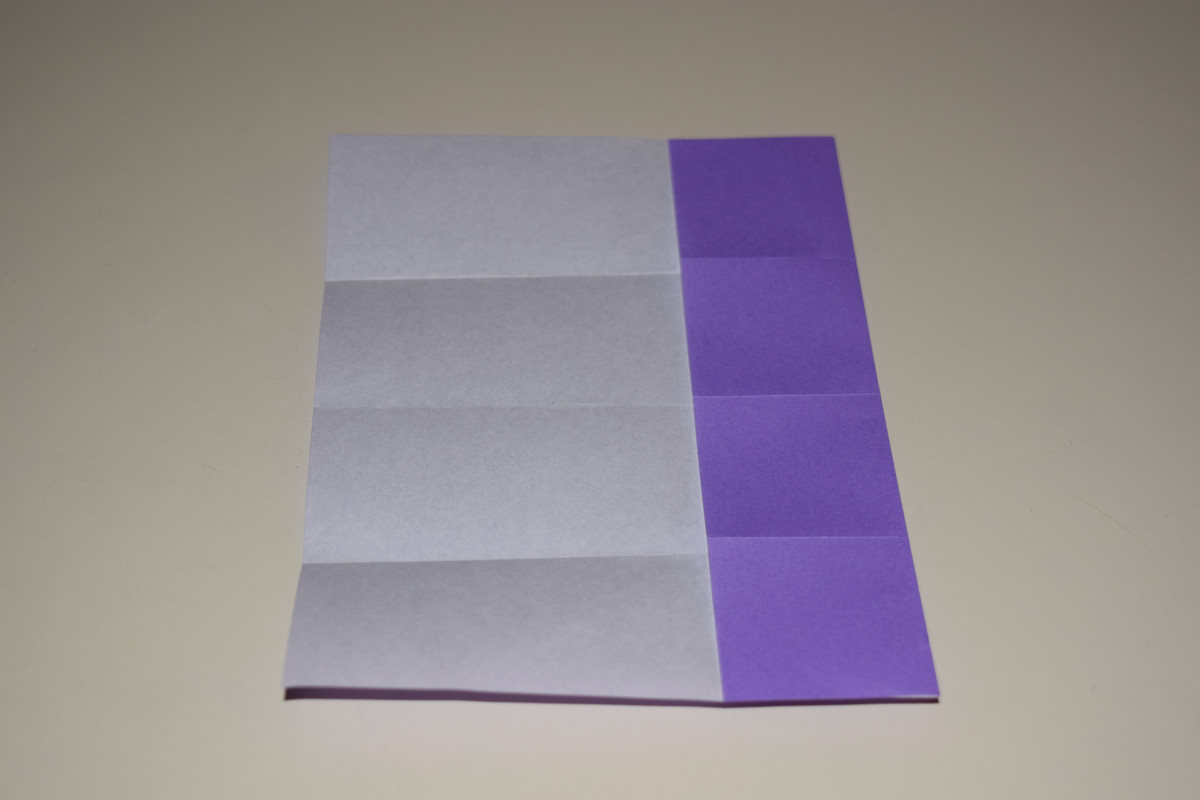
Fold the right edge over to meet the vertical center line. Crease then unfold.
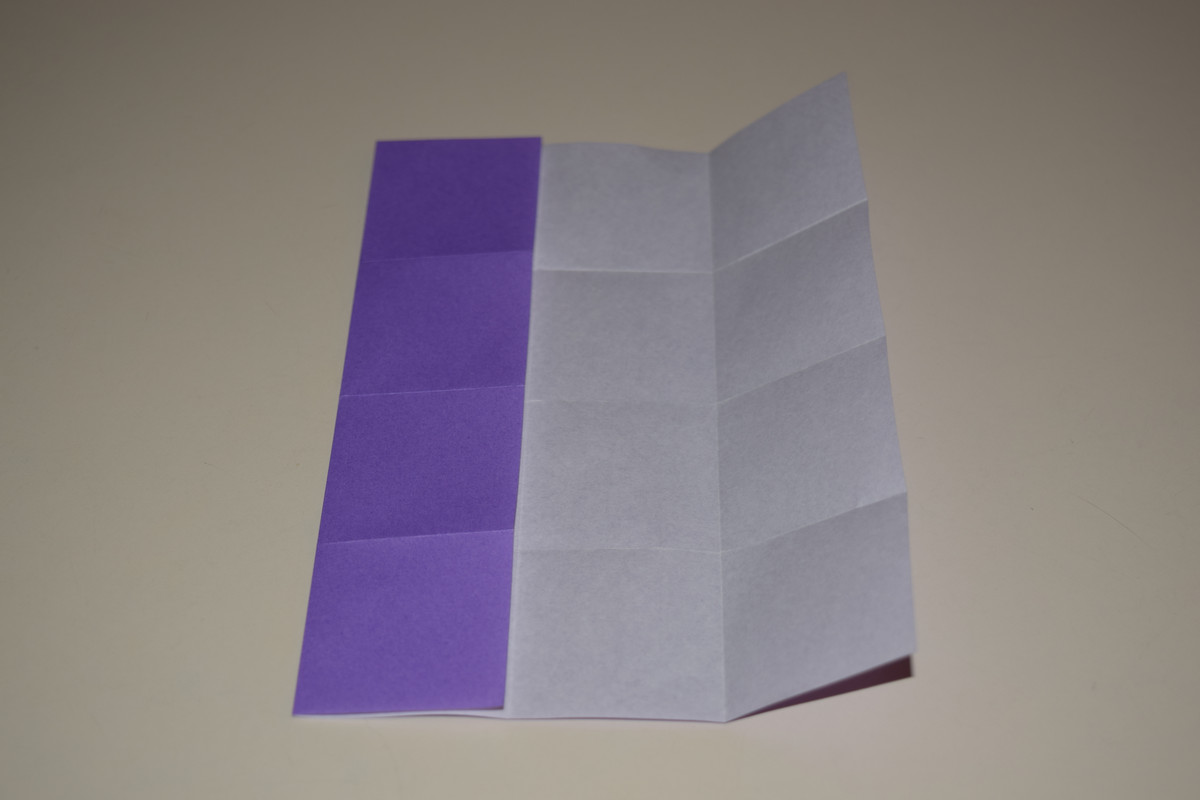
Fold the left edge over to meet the vertical center line. Crease then unfold.
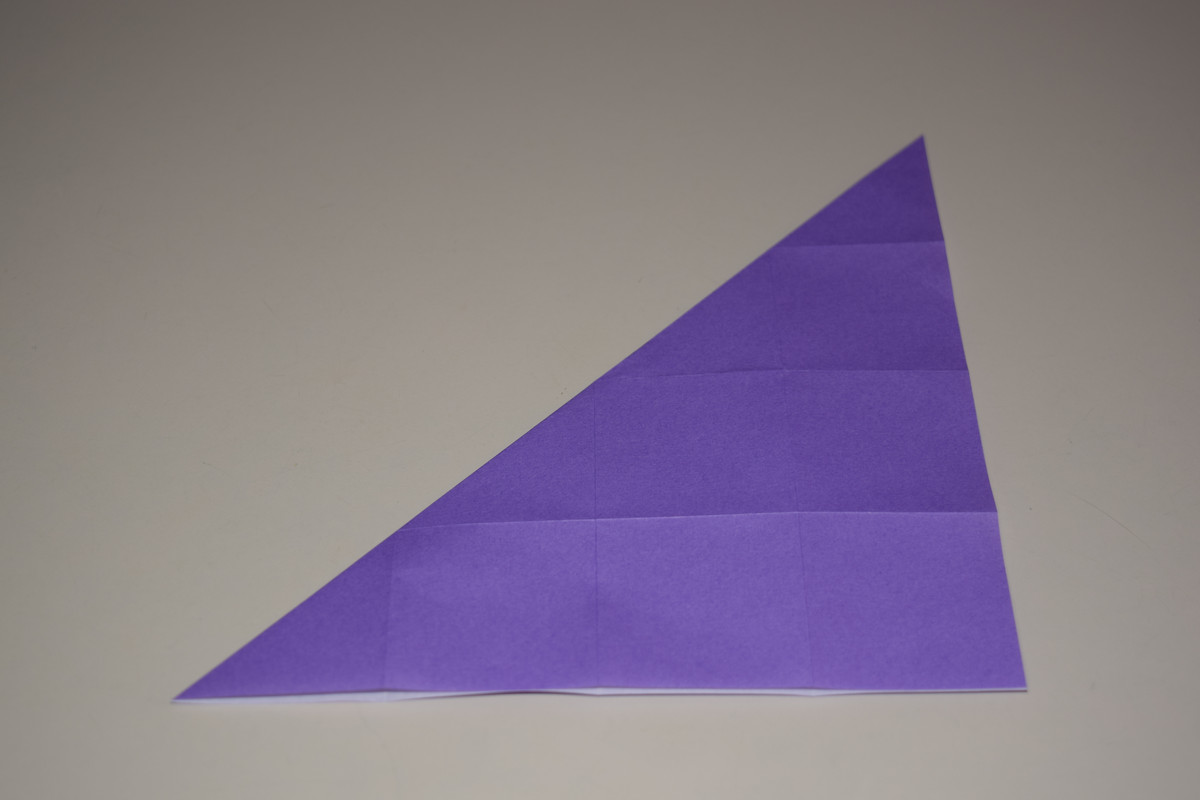
Fold the top left corner down to meet the bottom right corner. Crease then unfold.
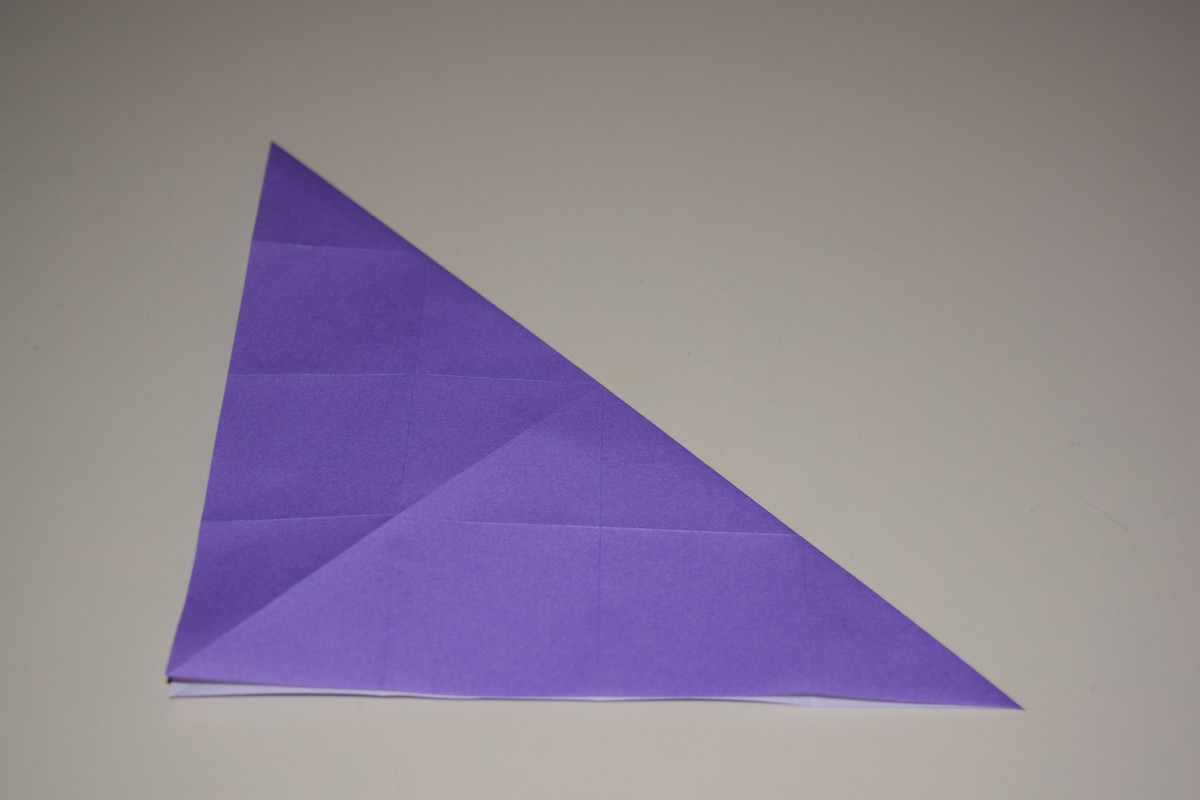
Fold the top right corner down to meet the bottom left corner. Crease then unfold.
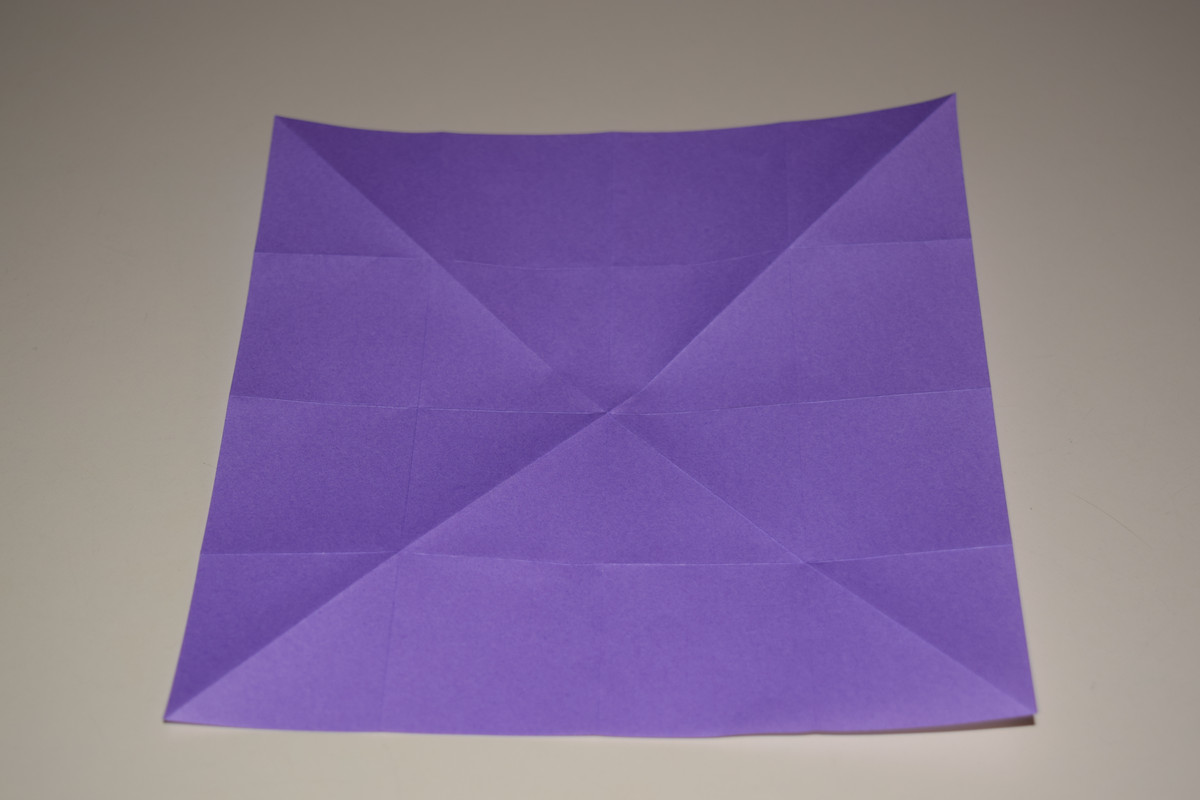
Turn the paper over.
Fold the top right corner down to meet the center point. Crease then unfold.
Fold the top left corner down to meet the center point. Crease then unfold.
Fold the bottom left corner down to meet the center point. Crease then unfold.
Fold the bottom right corner down to meet the center point. Crease then unfold.
Turn the paper over.
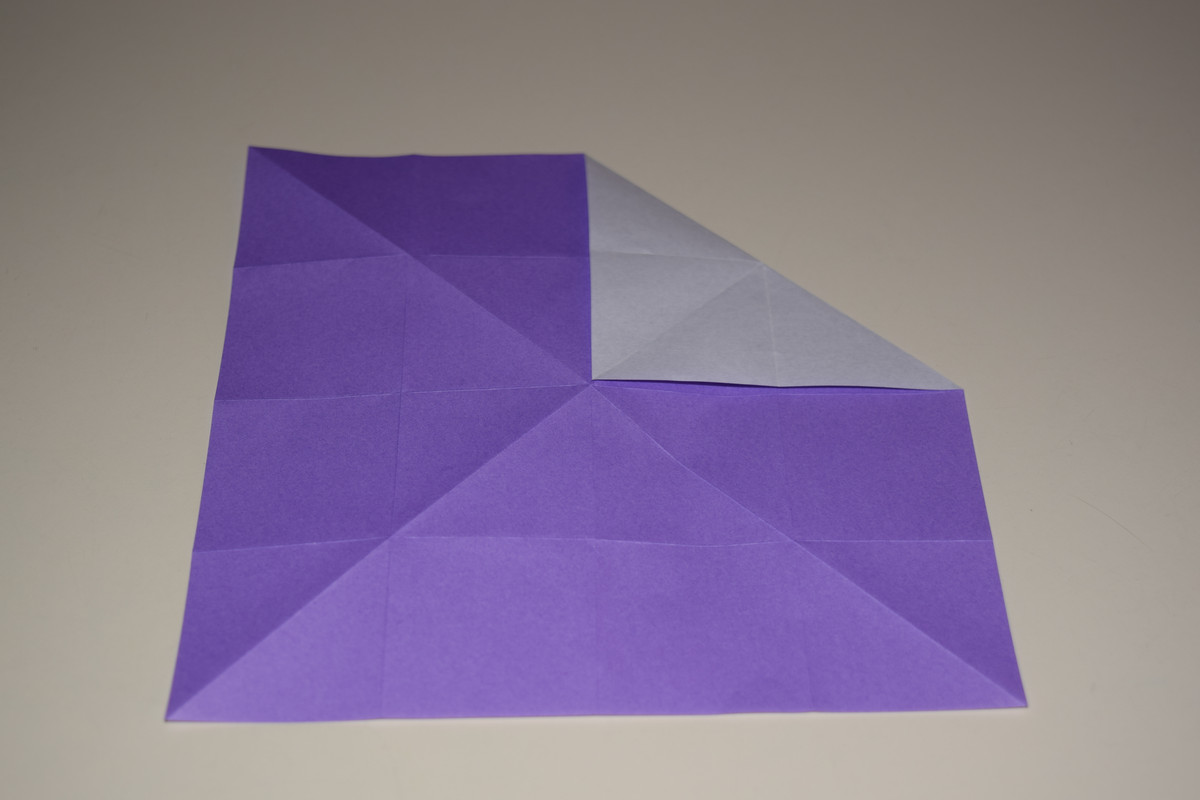
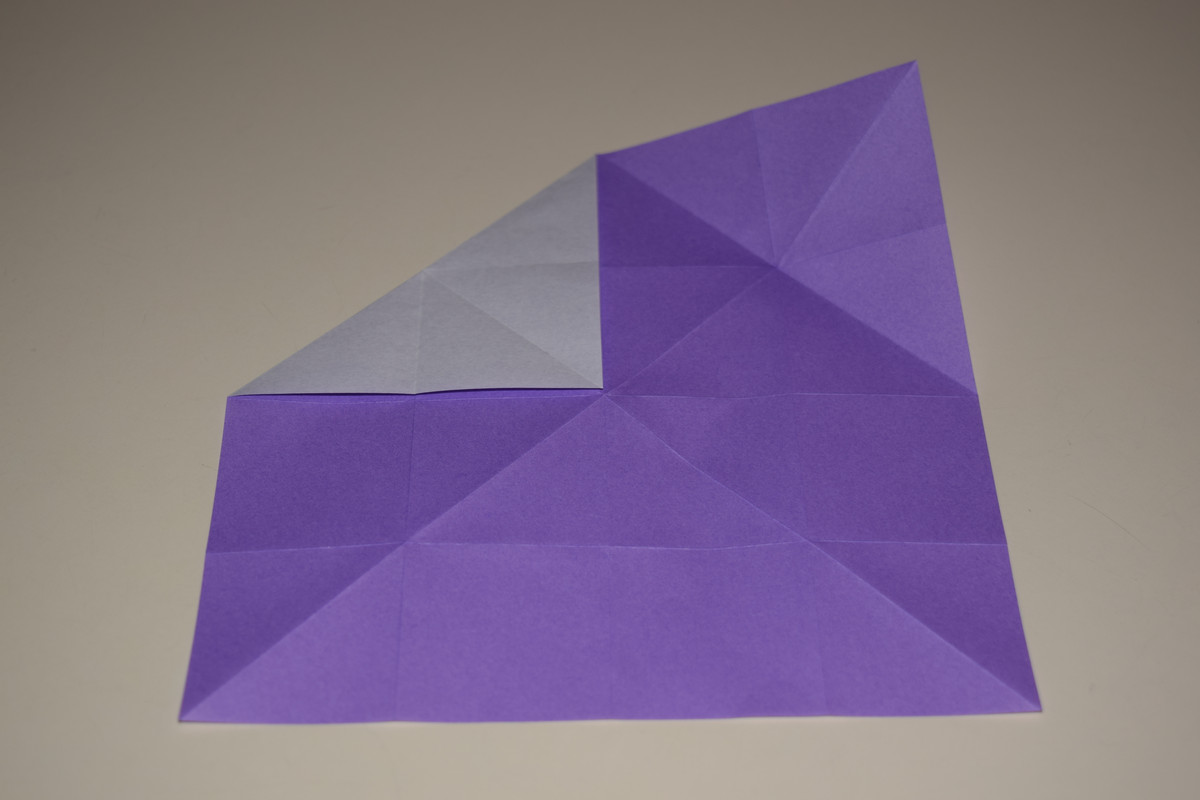
Fold the left and right sides in towards the middle to meet the vertical center line. Only crease the lines in the middle.
Fold the bottom edge up over the left and right folded edges to meet the horizontal center line. The diagonal folds should also pull the edges of the paper towards the left and right sides as pictured.
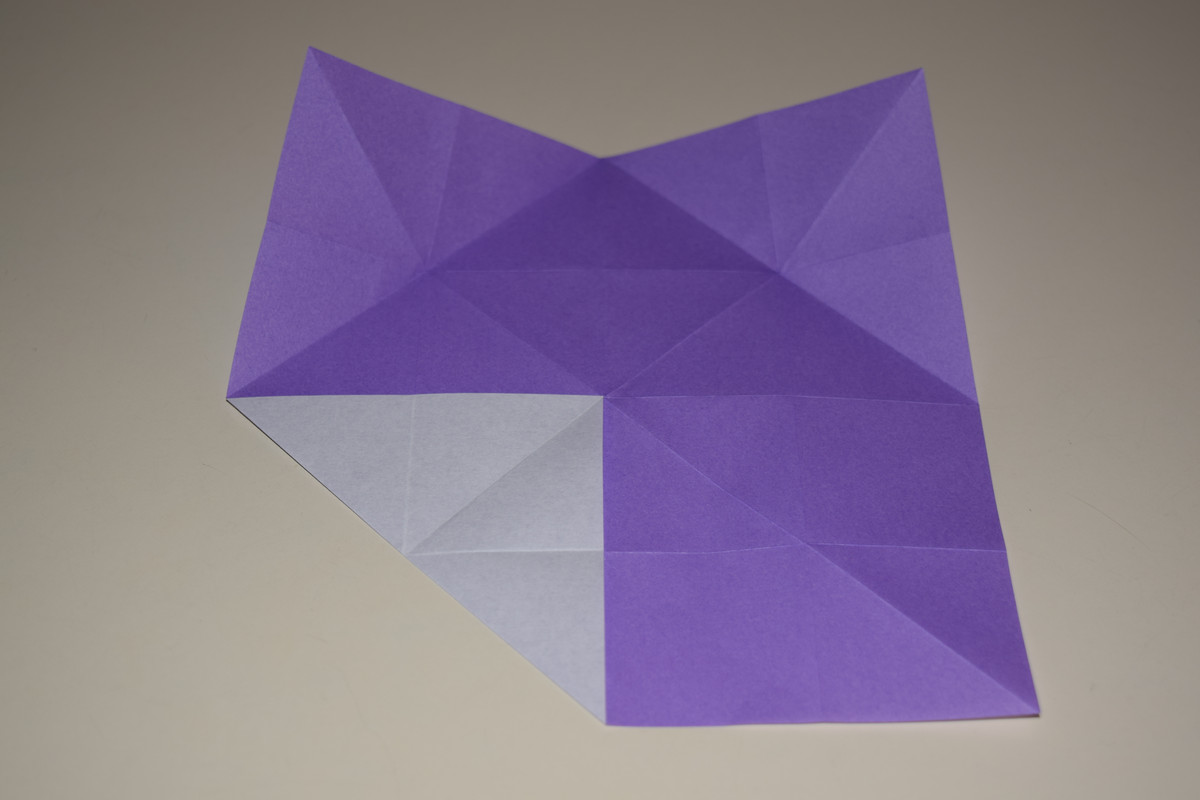
Fold the top edge down over the left and right folded edges to meet the horizontal center line.
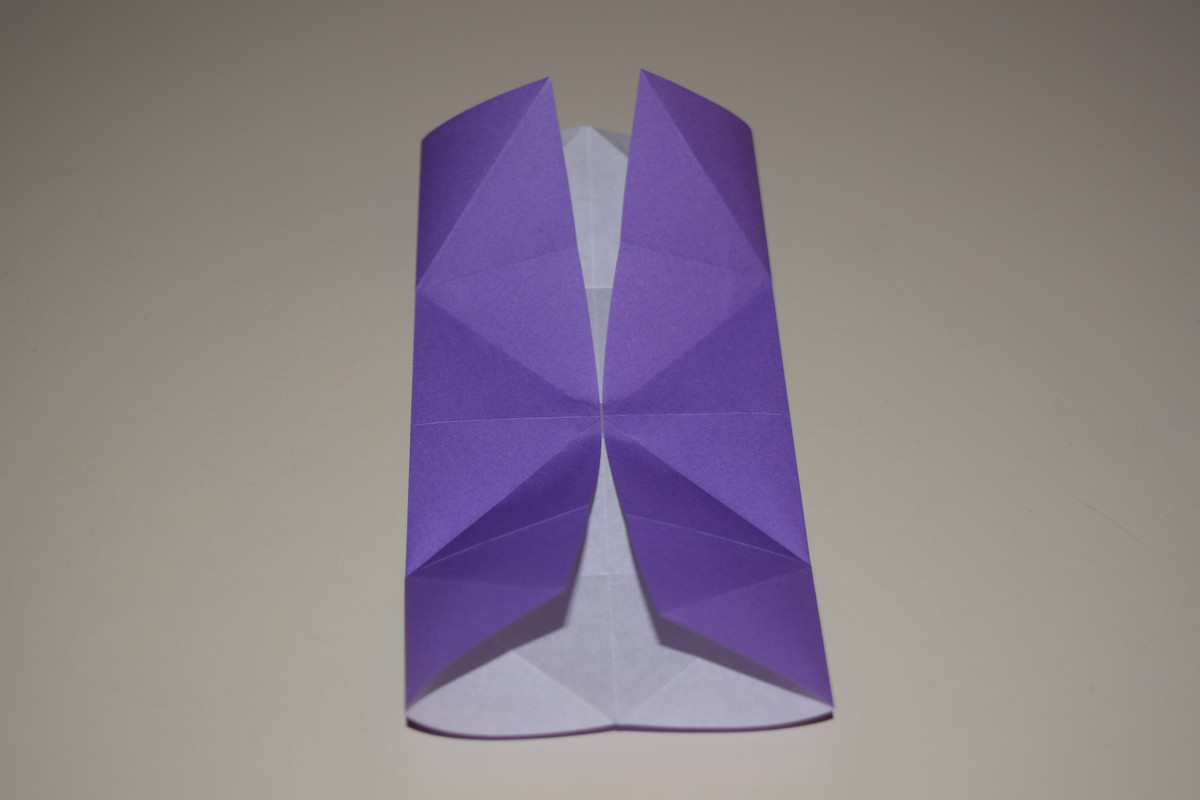
THe model should look as pictured. This is known by some as the "double boat base," but the Traditonal Butterfly is the only tutorial on this website that uses it.
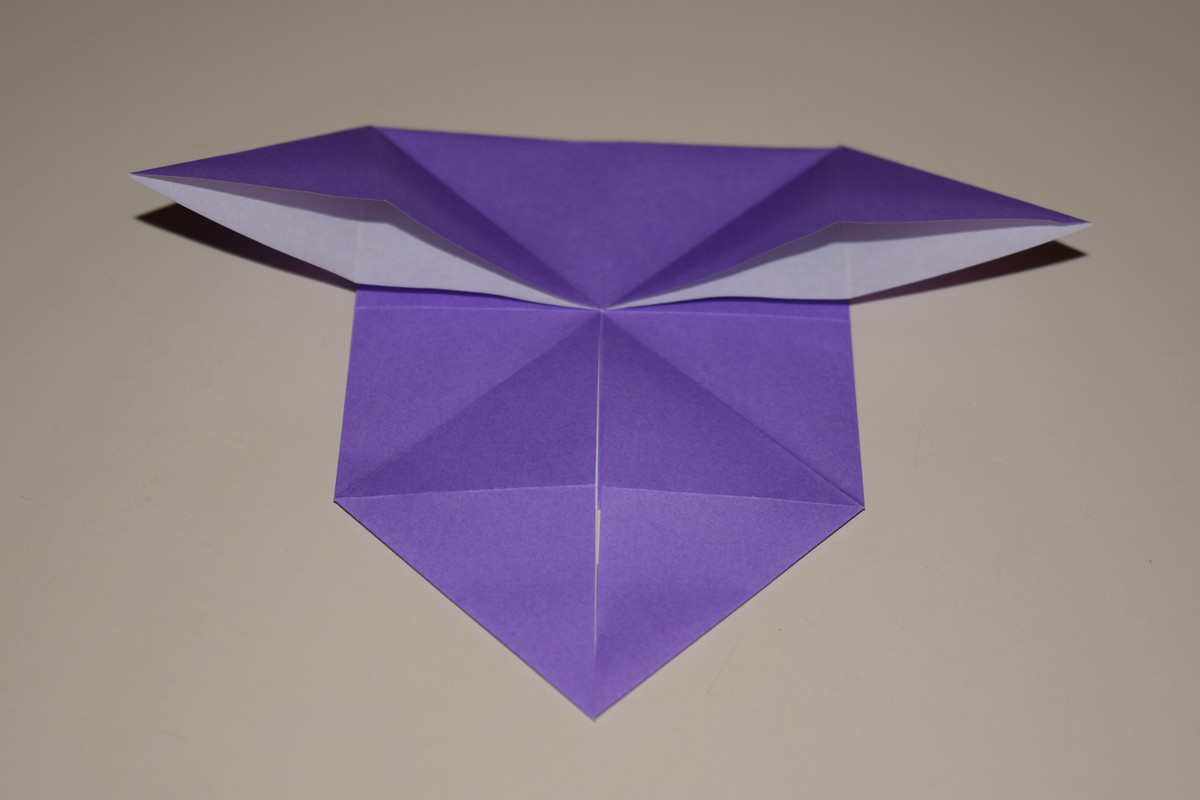
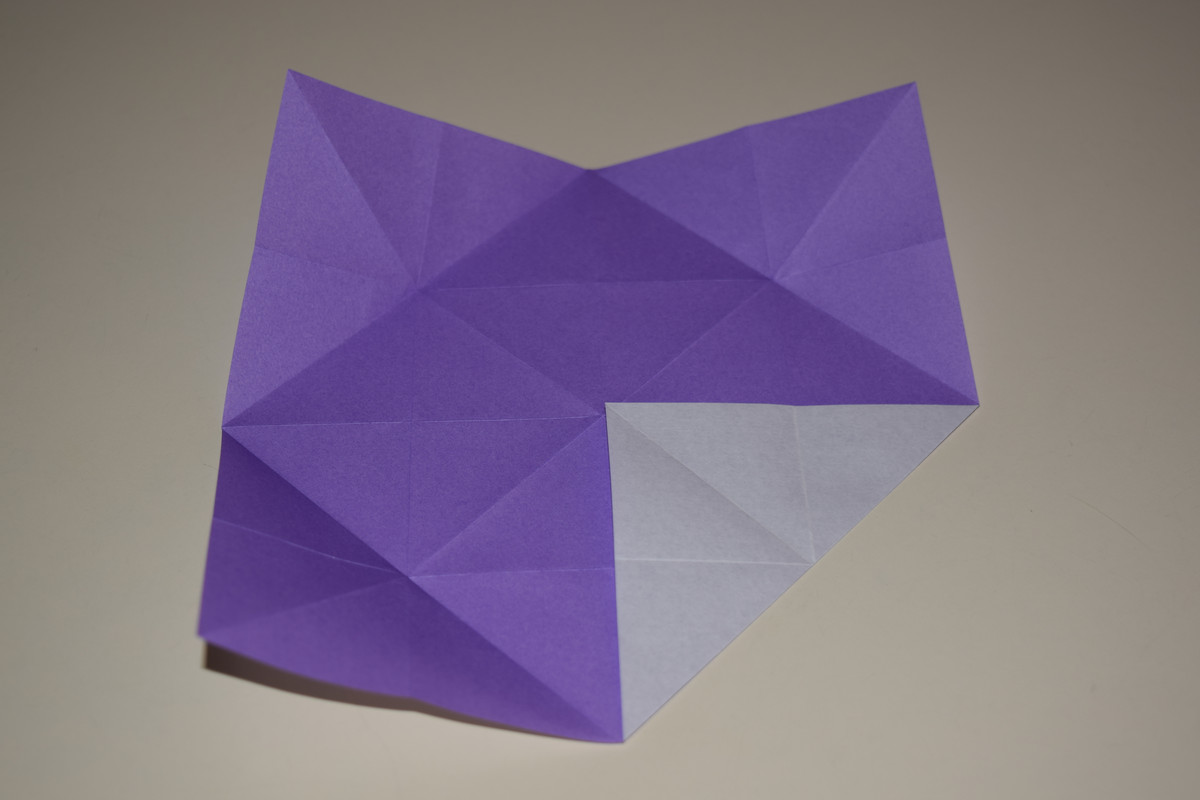
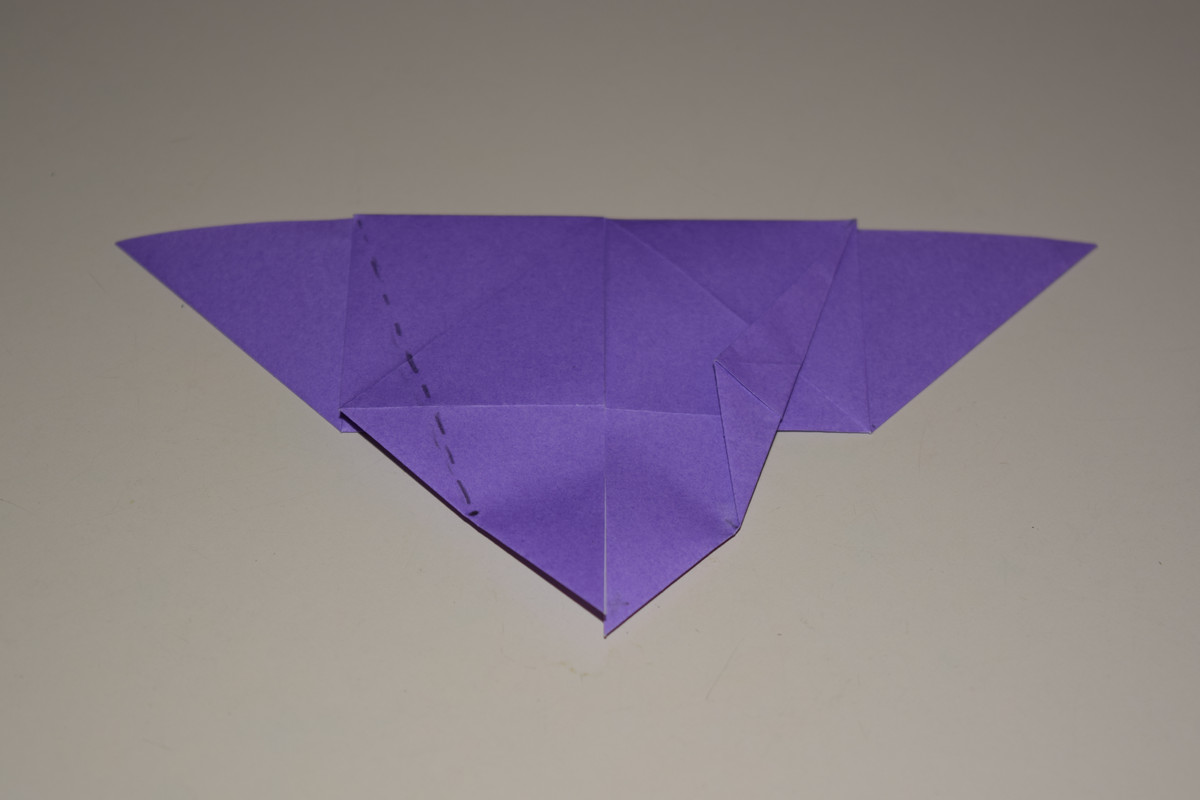
Fold the bottom right and left corners down so that the top edges meet the vertical center line. Flatten the model.
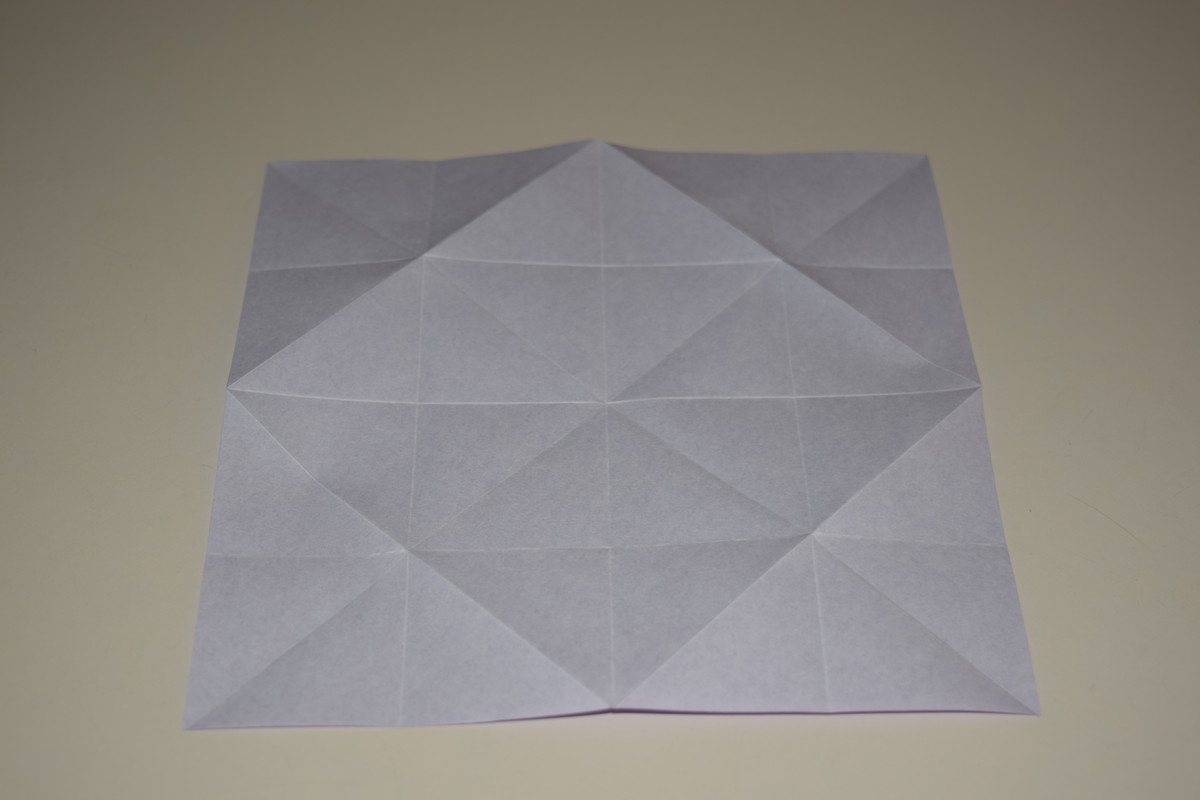
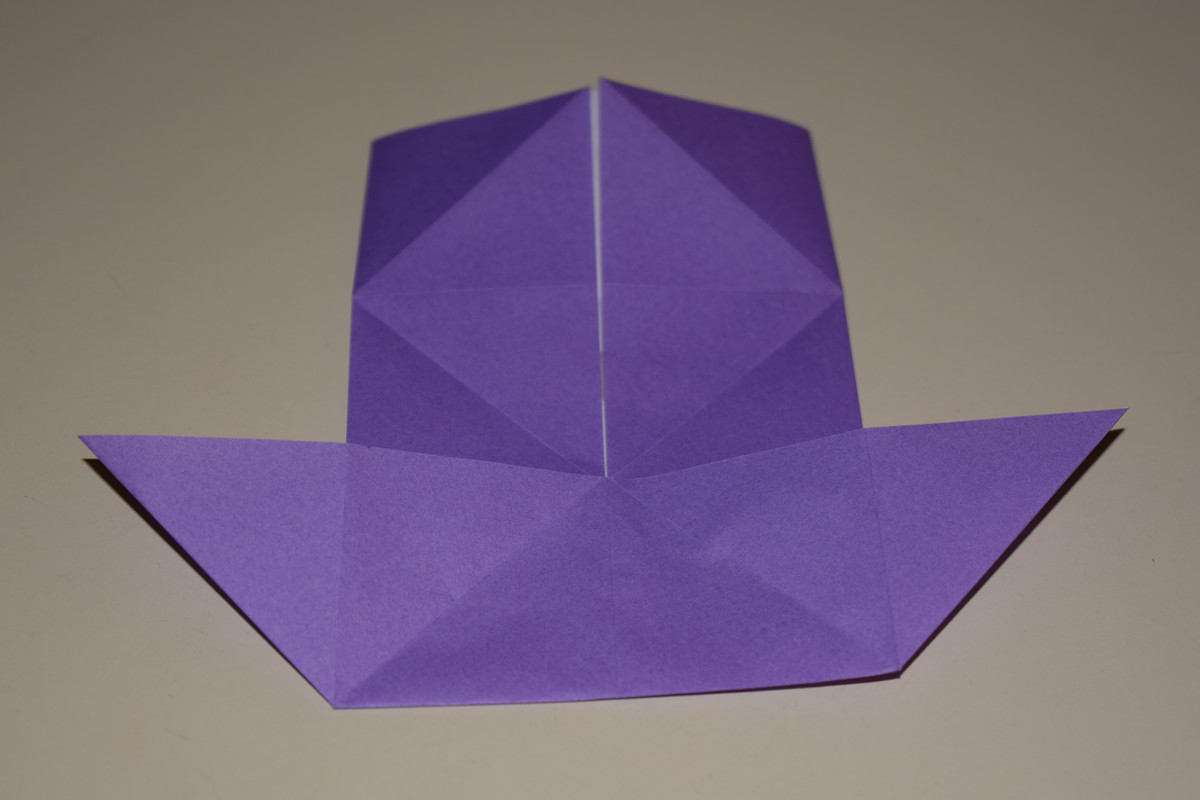
Turn the model over.
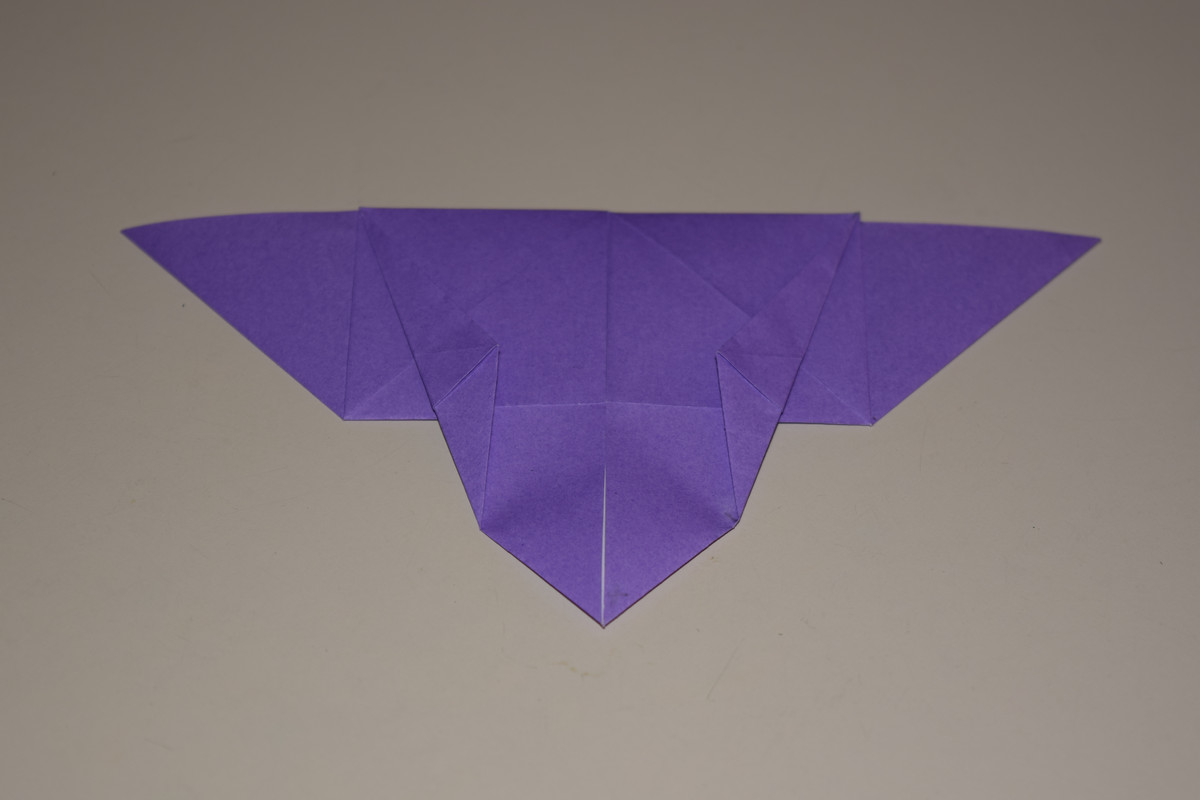
Fold the top edge down to meet the bottom edge of the square.
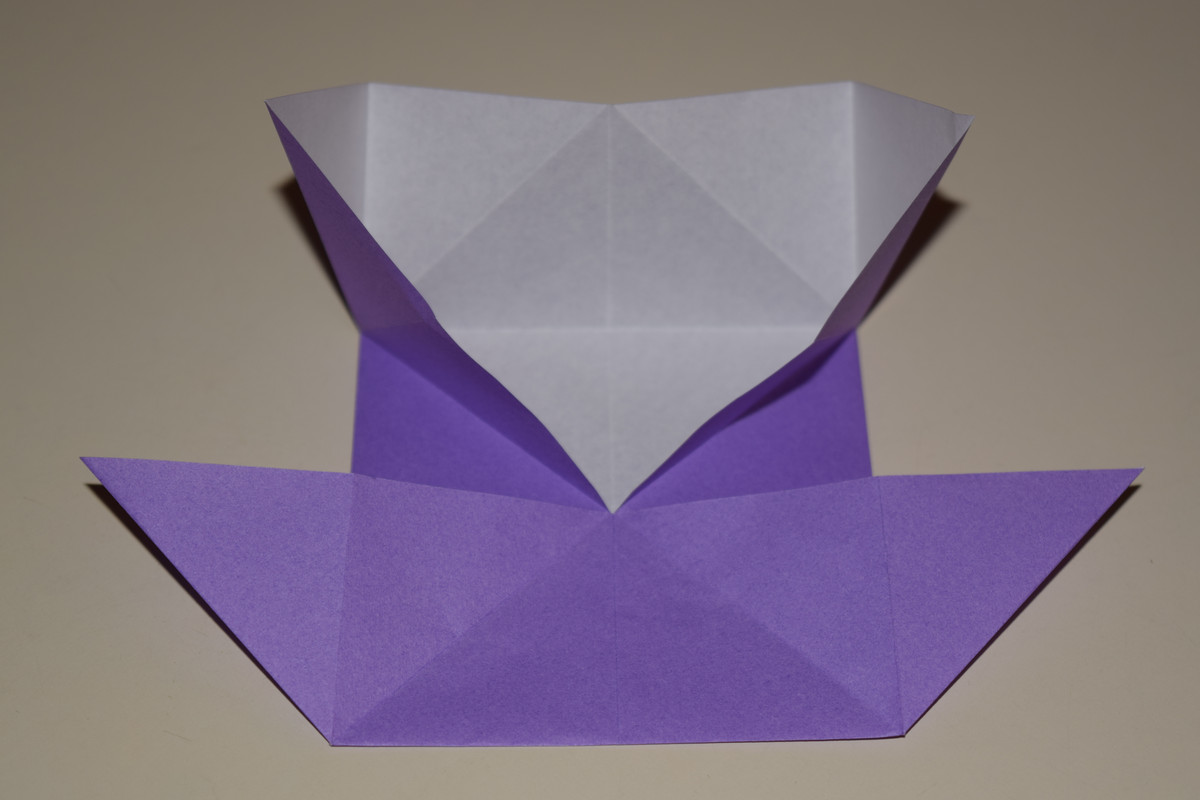
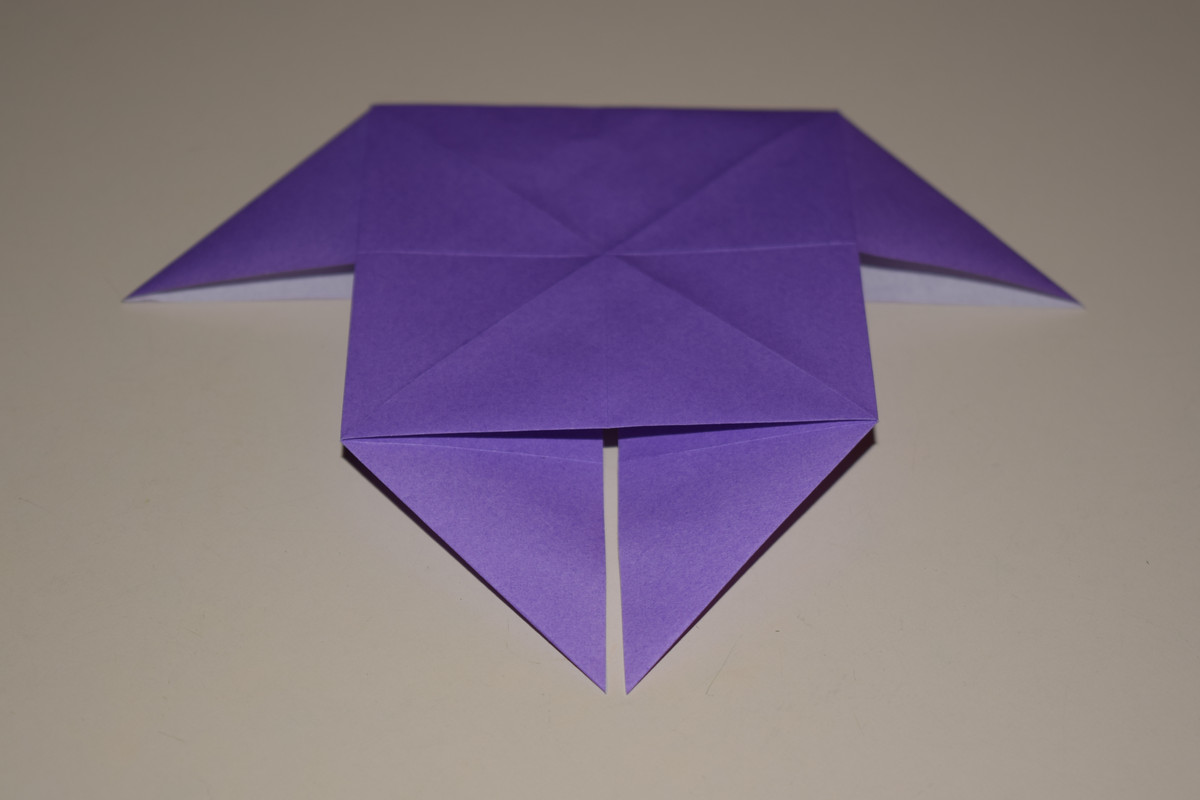
Turn the model over.
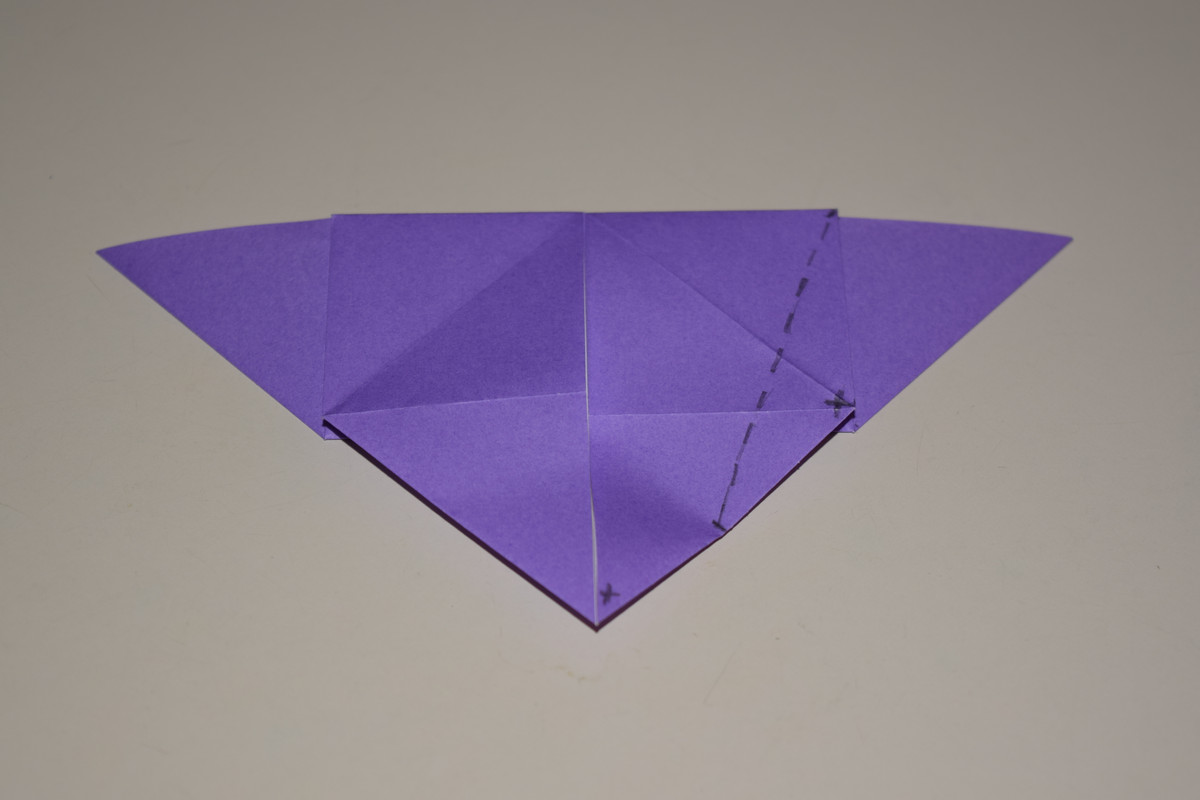
This step includes measurements for those who prefer exact reference points. If you would rather fold the model on your own, you are welcome to. Mentally divide the bottom right edge of the triangle into 4 segments. Now draw an imaginary line from the start of the second segment to the top right corner of the square.
Valley fold along that line and crease.
Repeat on the left side.
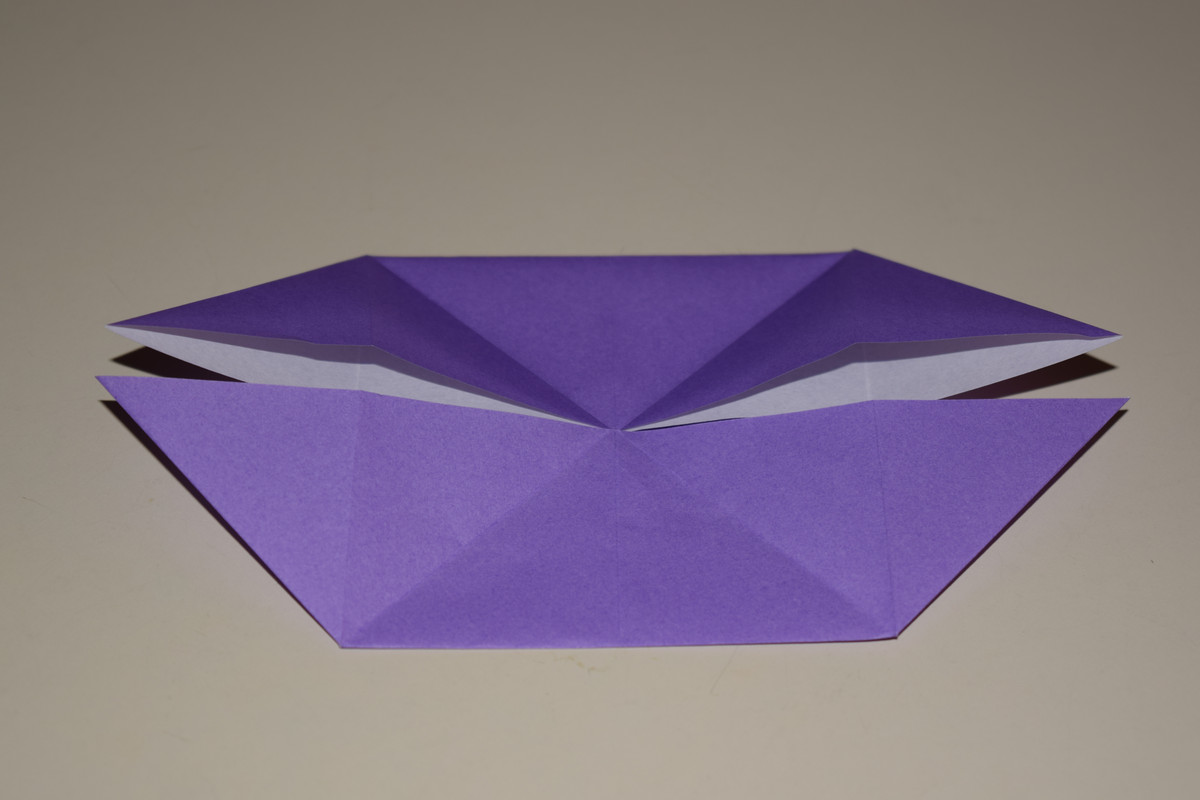
Turn the model over.
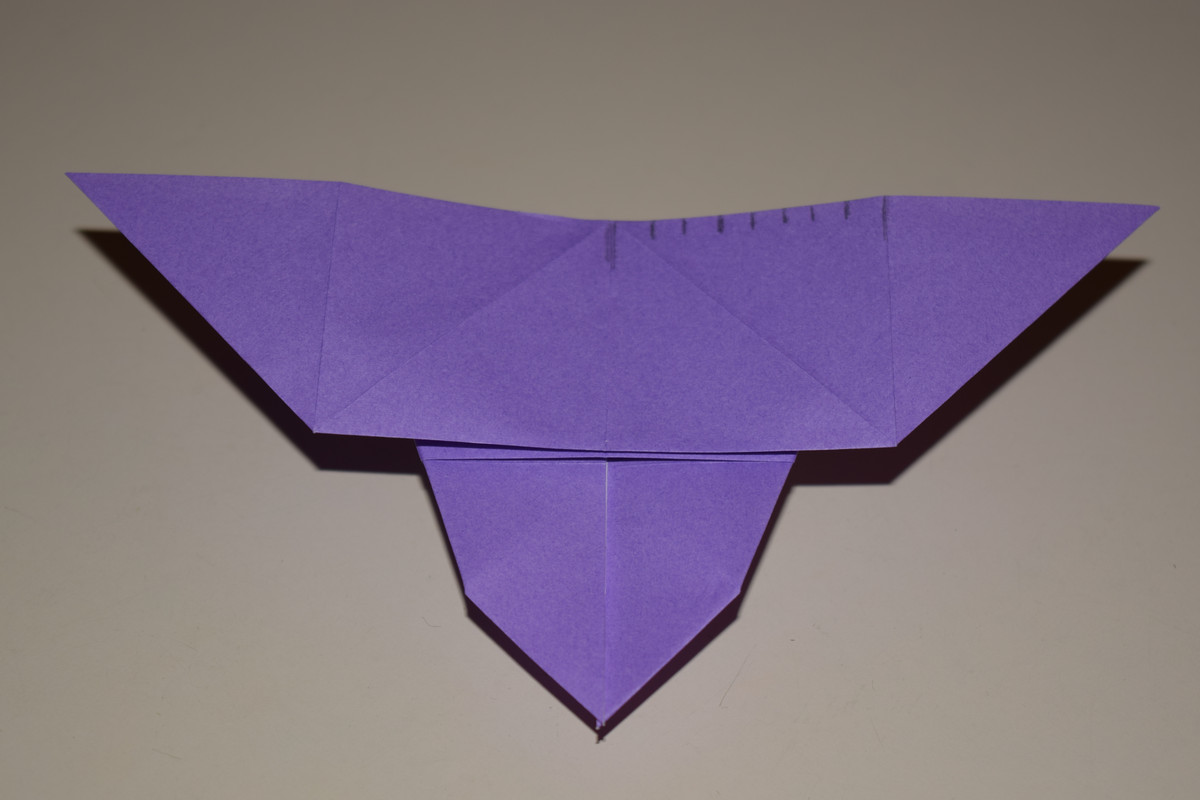
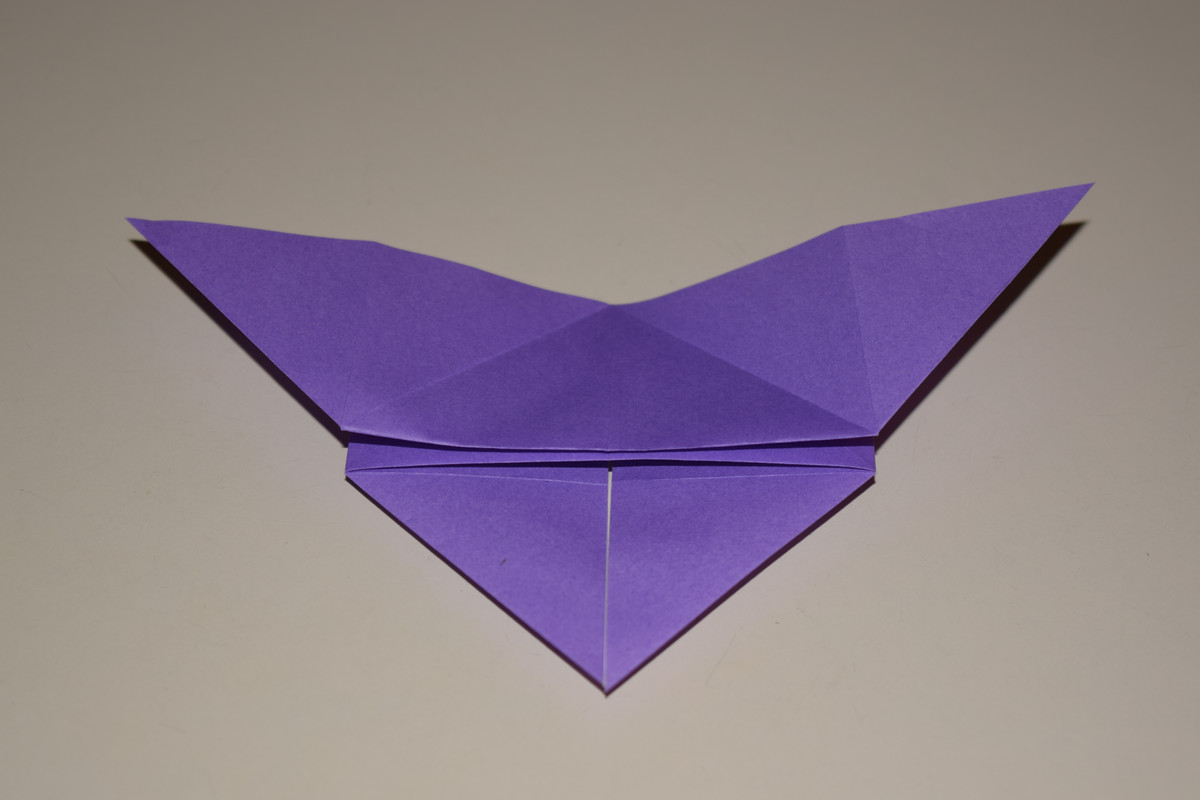
The next two steps are more optional measurements. Feel free to wing it. Divide the line between the vertical center line and the right edge of the square into 8 segments.
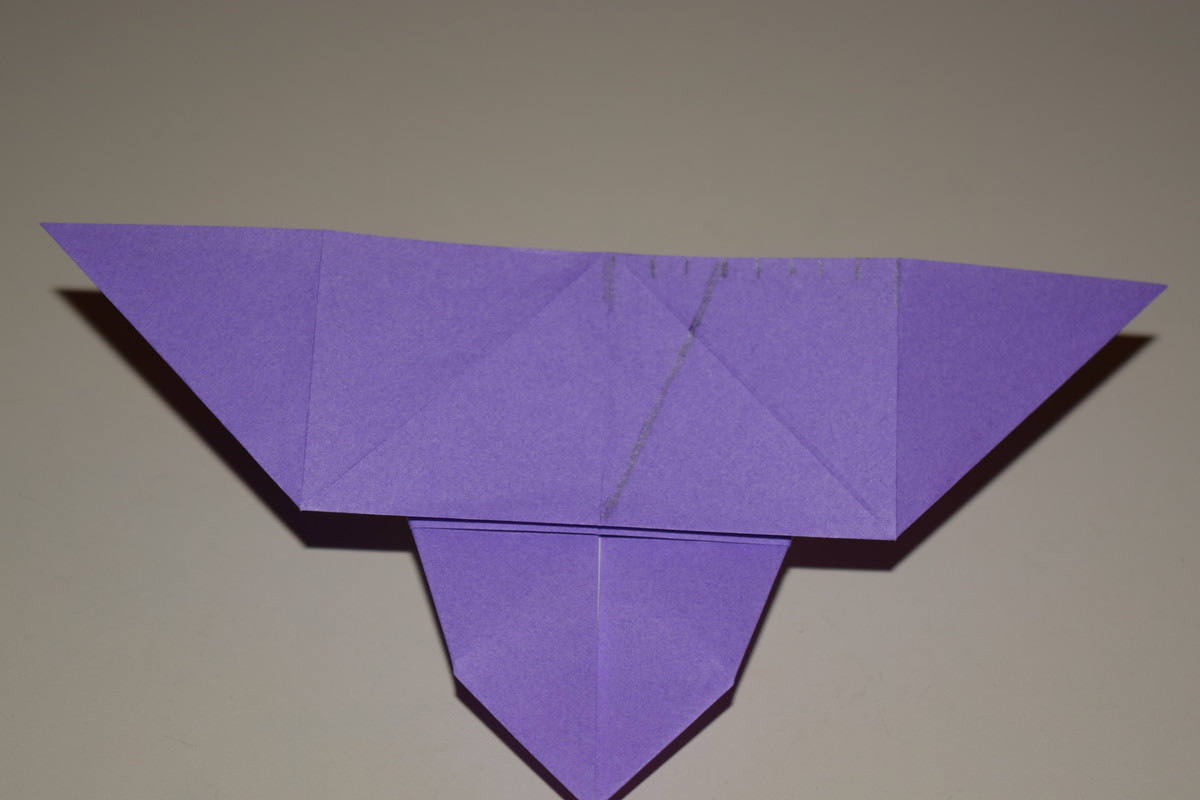
Imagine a line from the center of the bottom edge of the square to the start of the third segment.
Valley fold on that line. Crease and unfold.
Repeat on the other side.
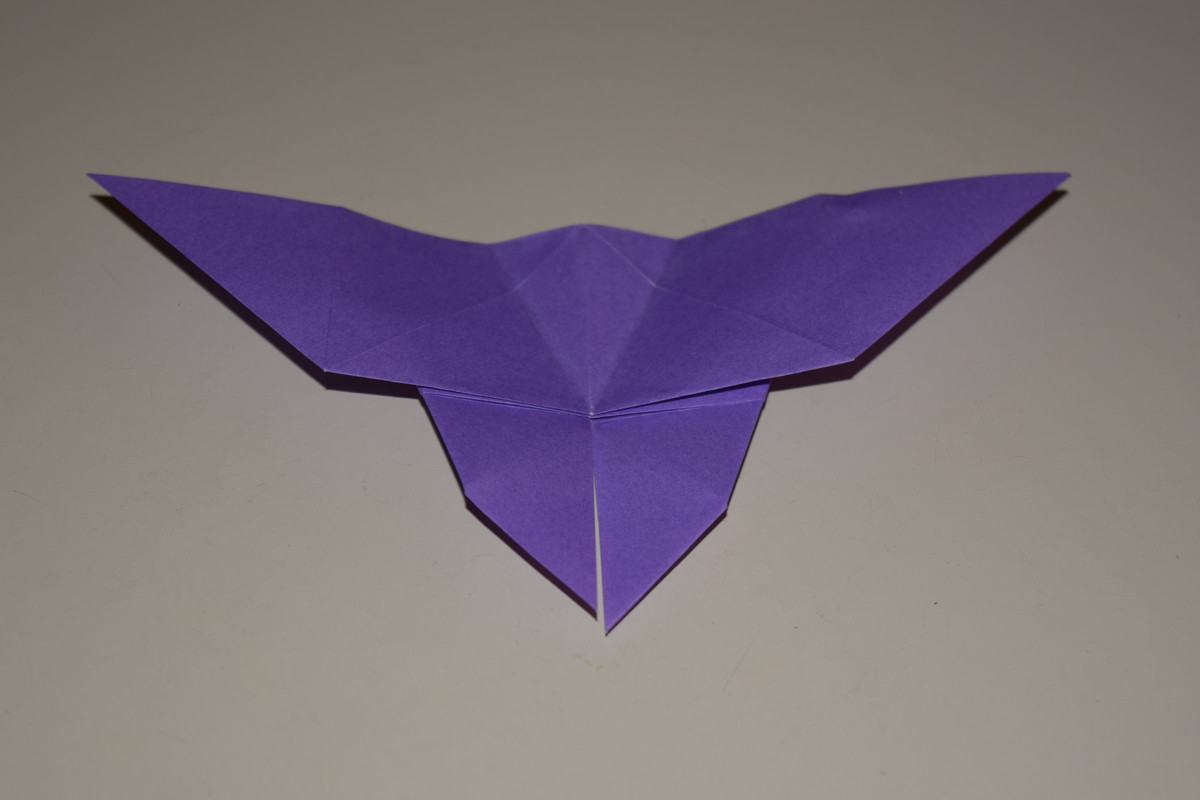
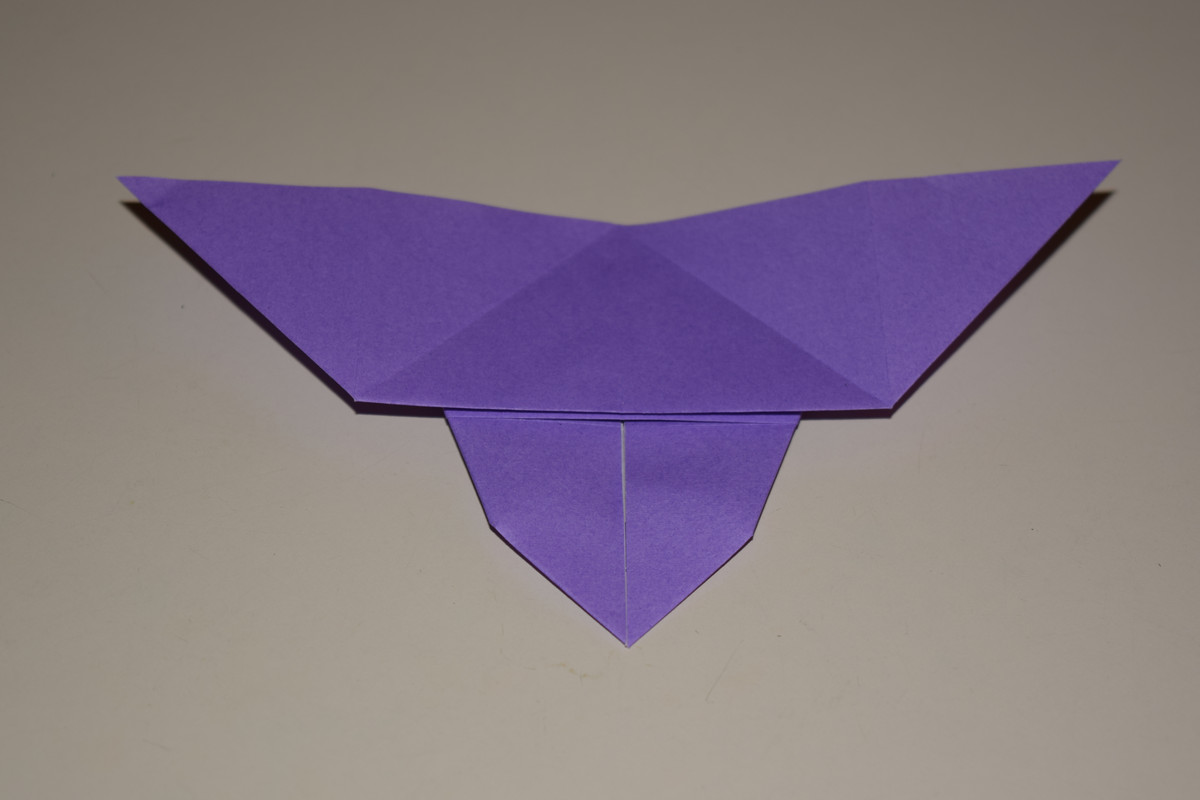
Make sure the model is symmetrical.

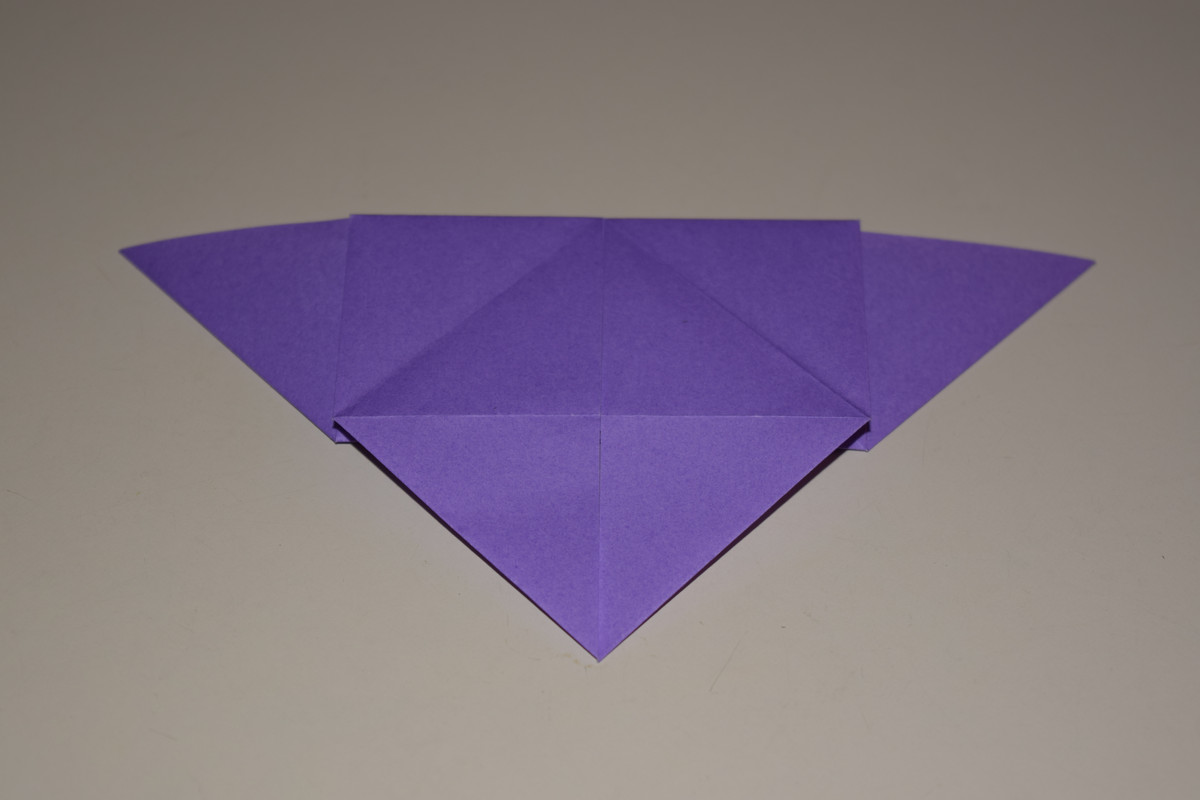
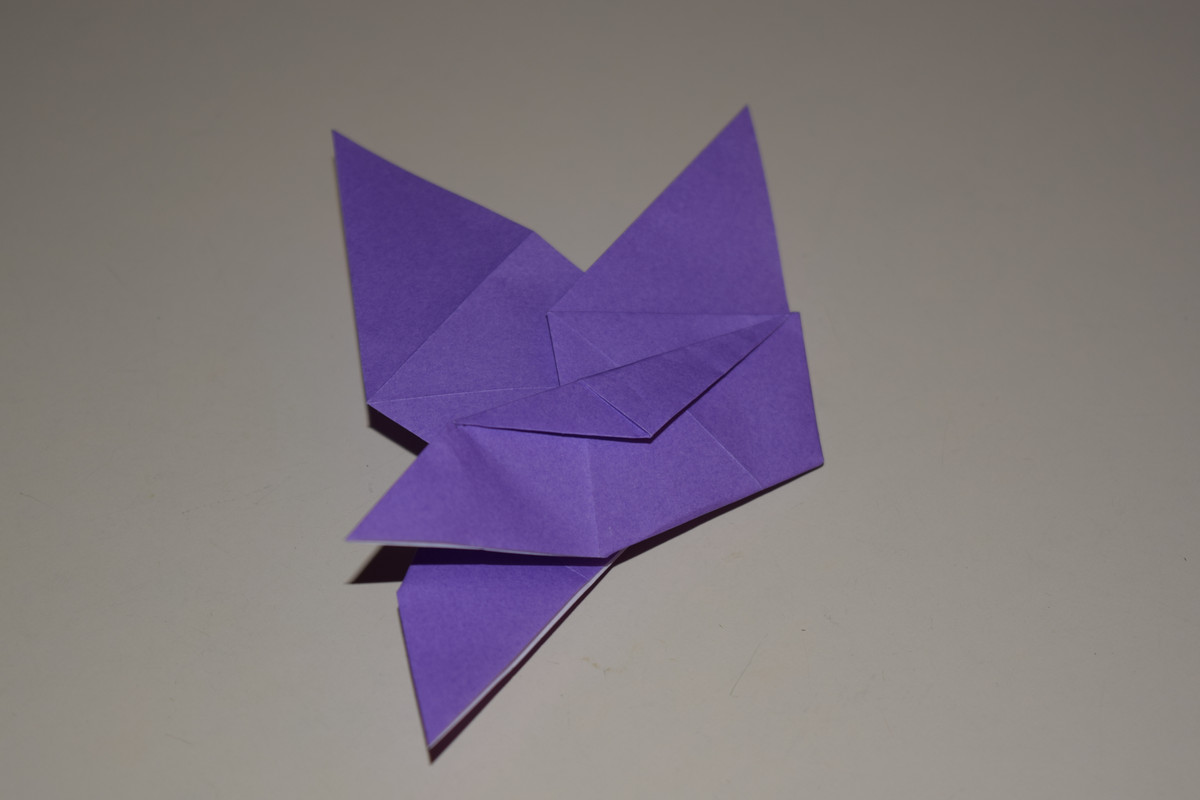
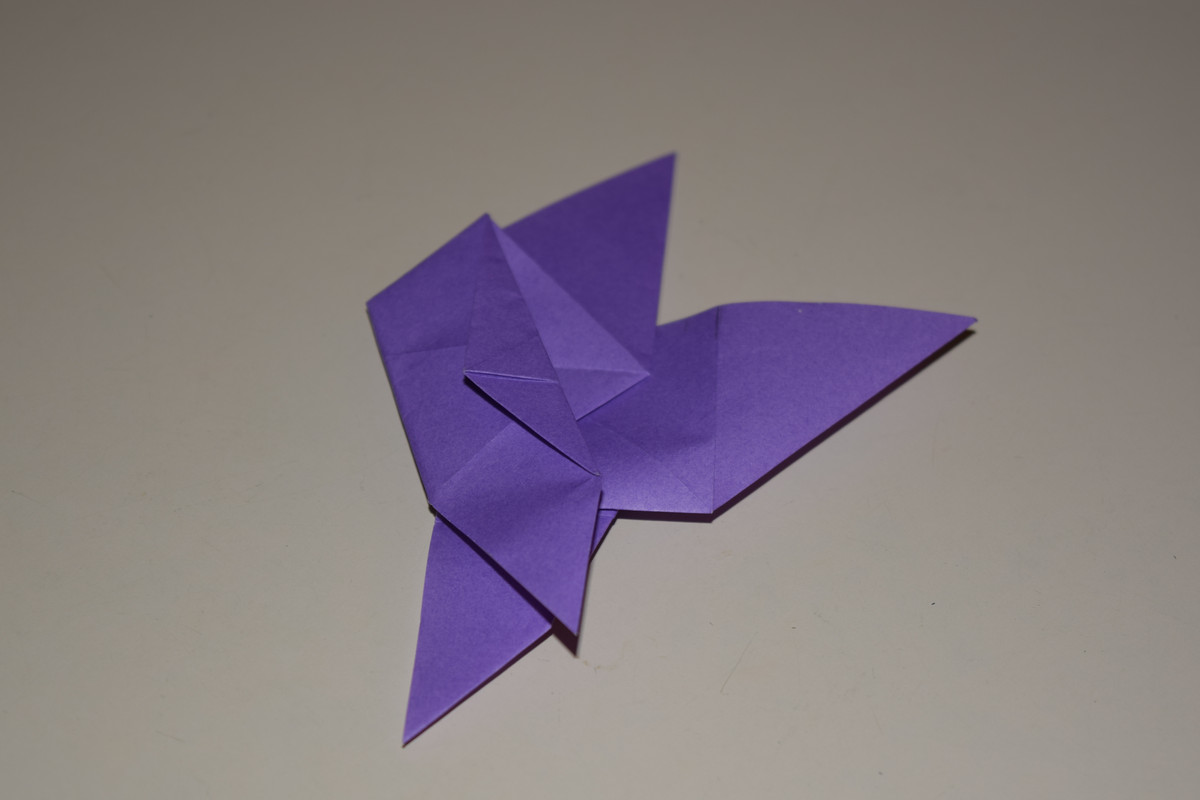
Pinch the middle of the model to make the butterfly's body protrude. You have completed the Butterfly.