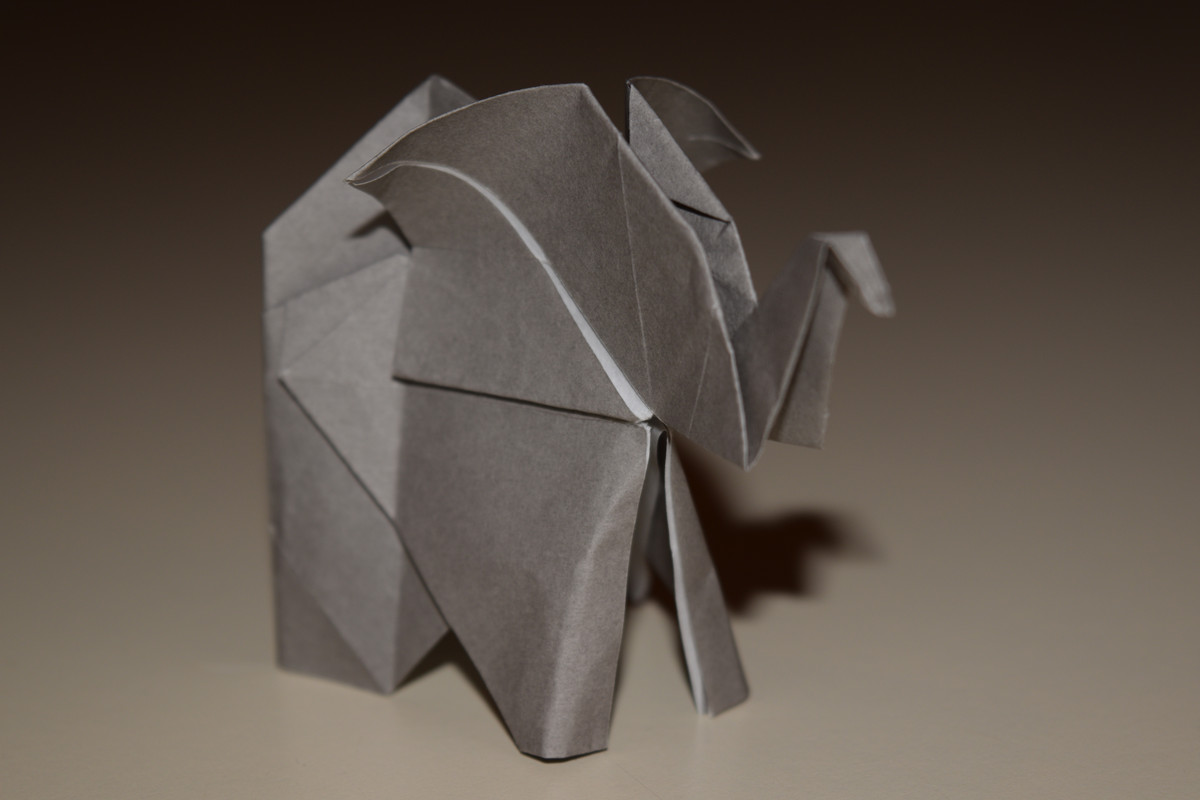
Designed by Fumiaki Kawahata, this elephant includes many complex folds that, if not performed correctly, may affect the alignment of the whole model. Successfully folded, however, it is very satisfying and pleasing to the eye.
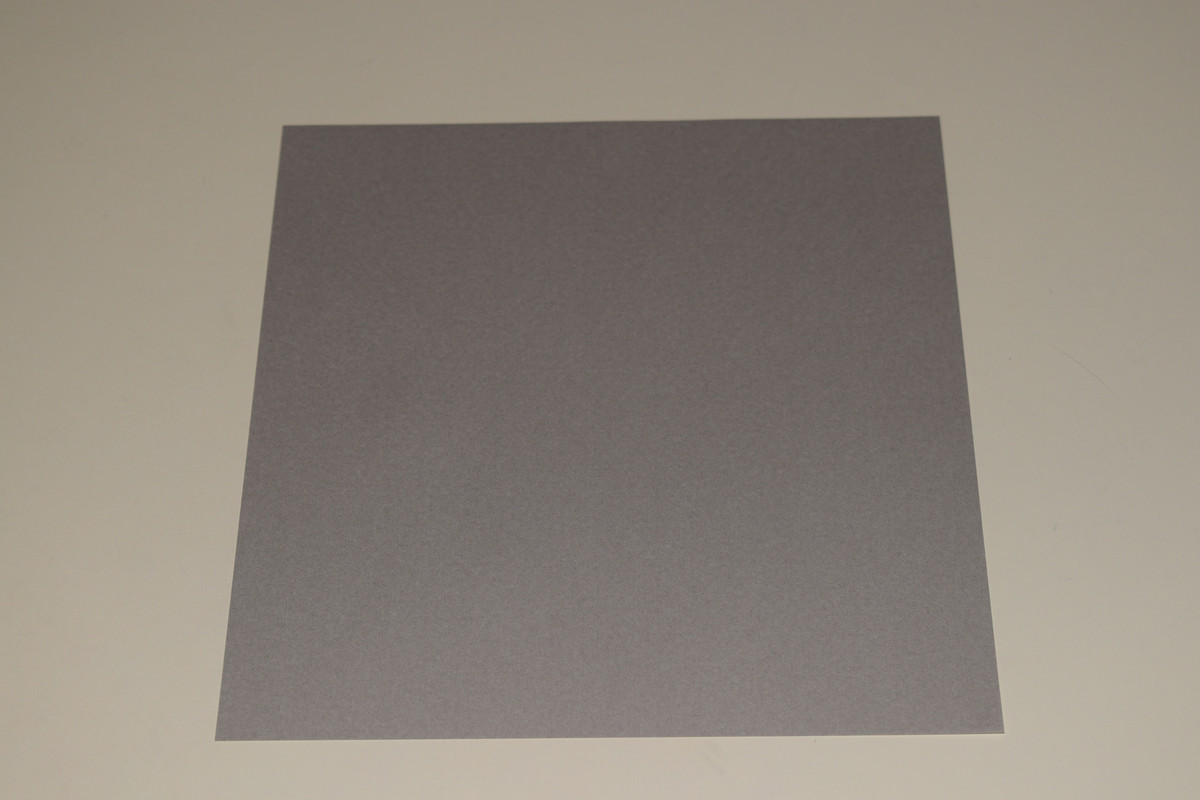
The paper here is 15cm x 15cm, single-sided origami paper. Any paper cut into the shape of a square should be usable.
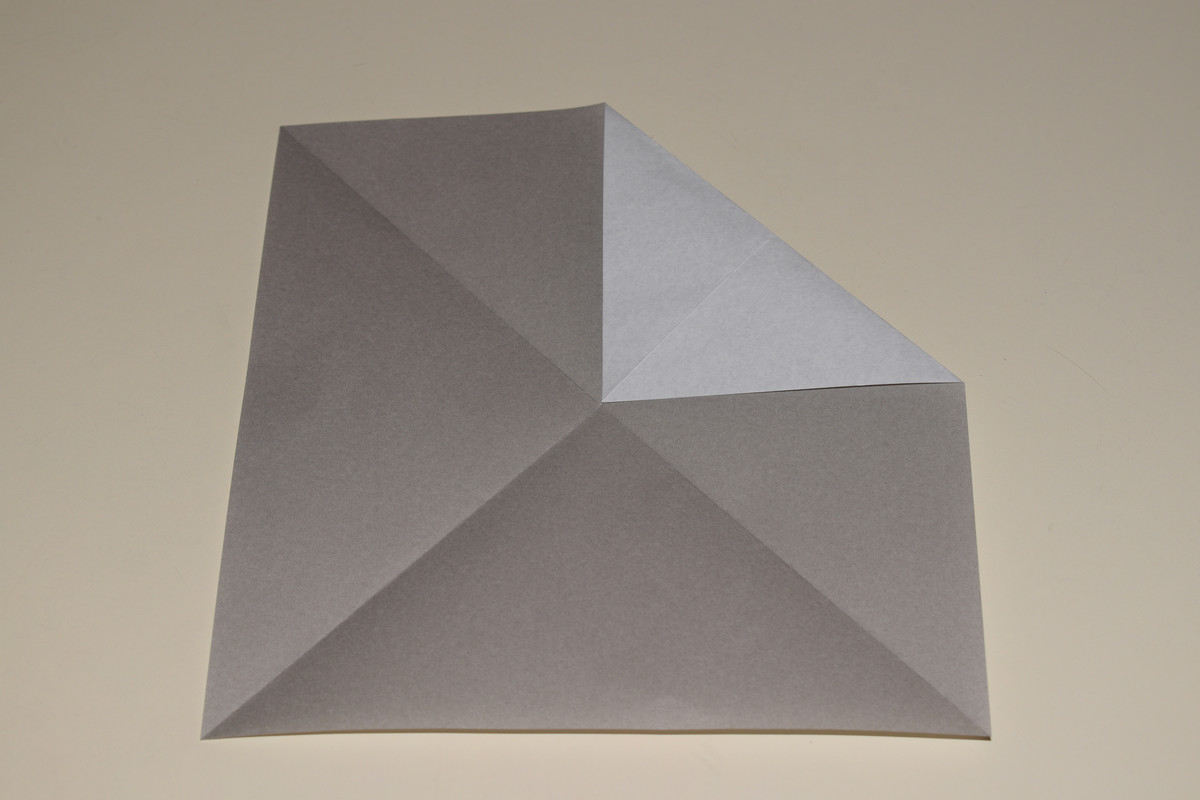
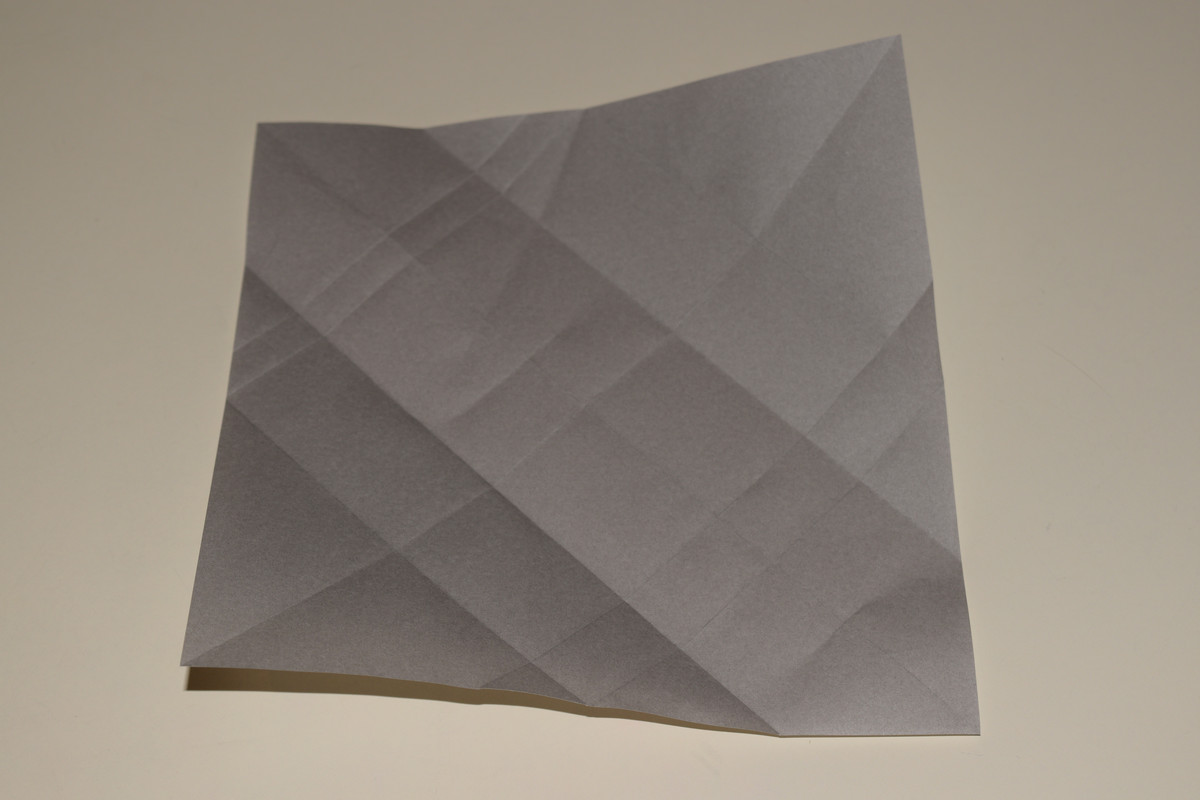
Fold the top right corner down to the bottom left corner. Crease then unfold.

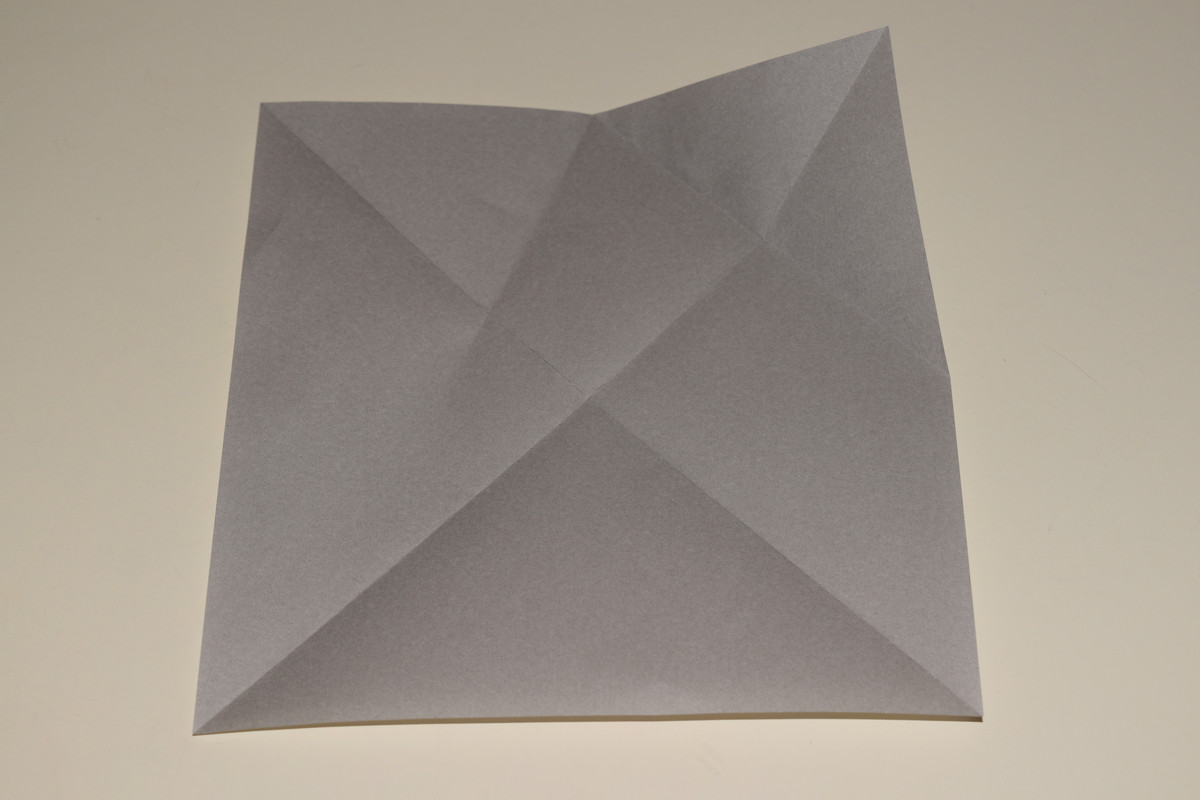
Fold the top left corner down to the bottom right corner and crease.
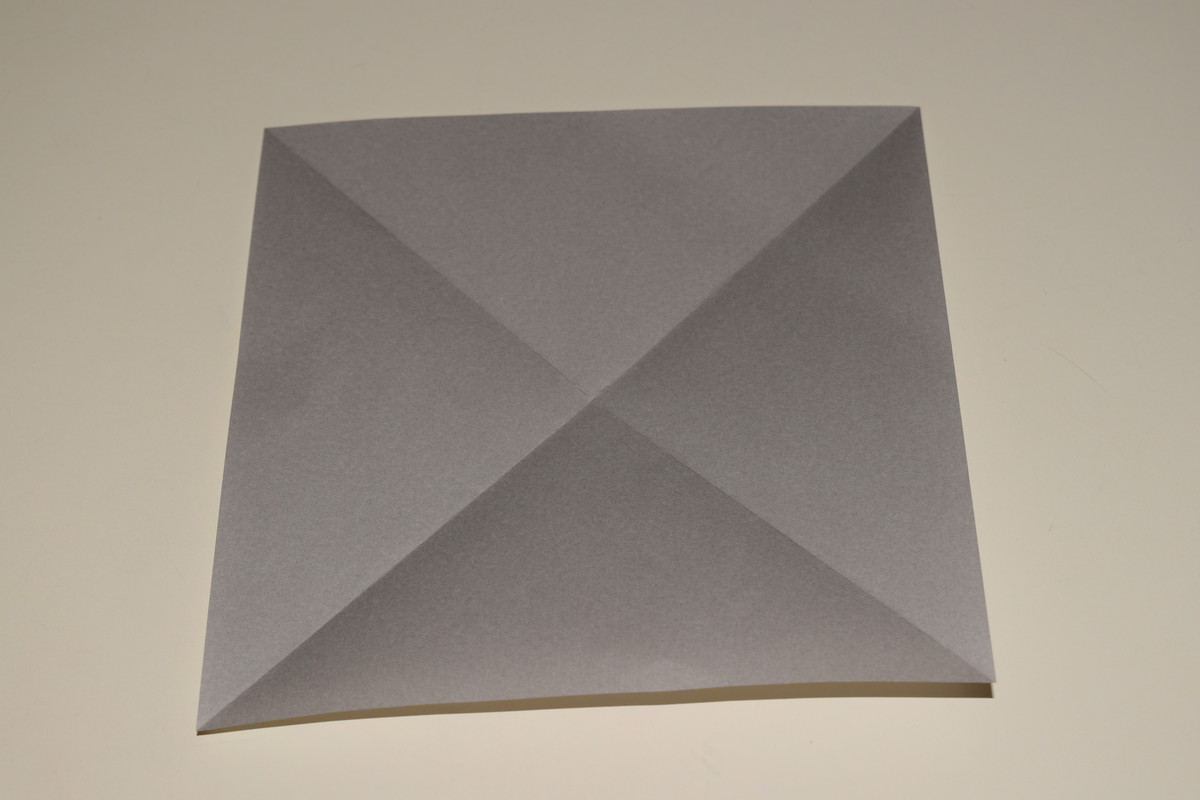
Unfold.
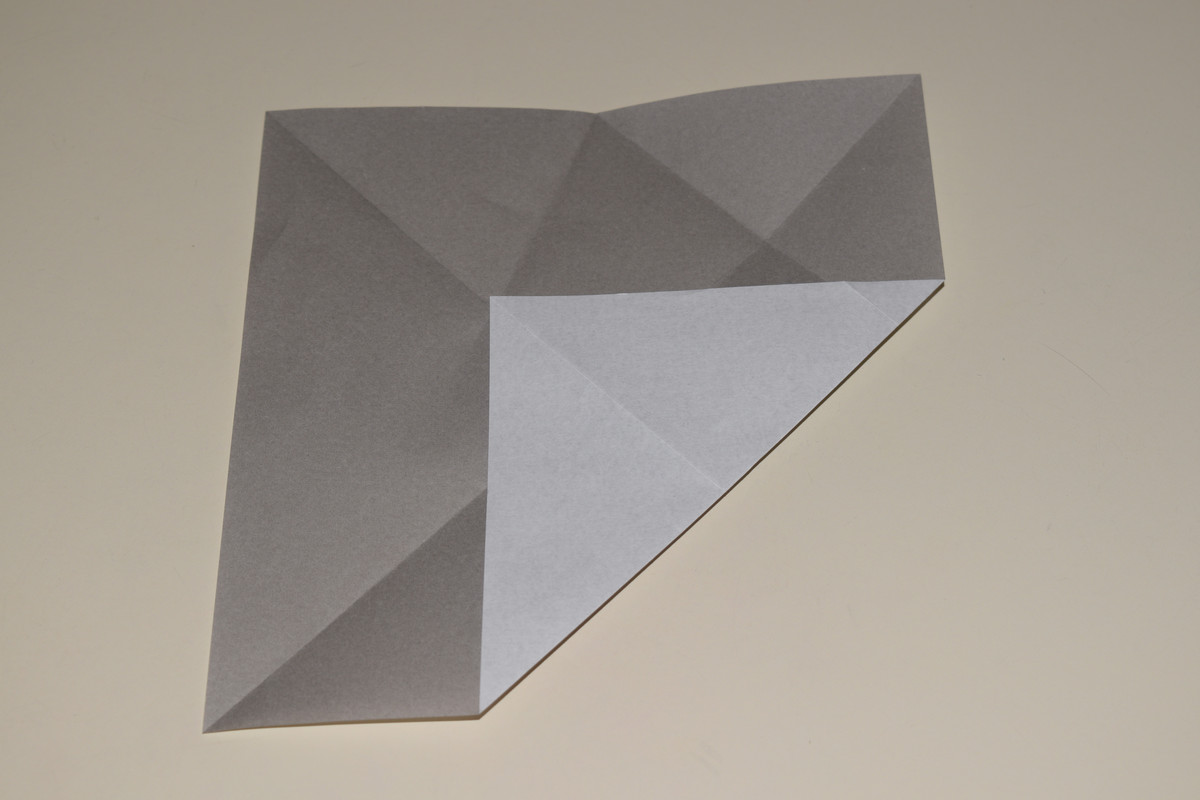
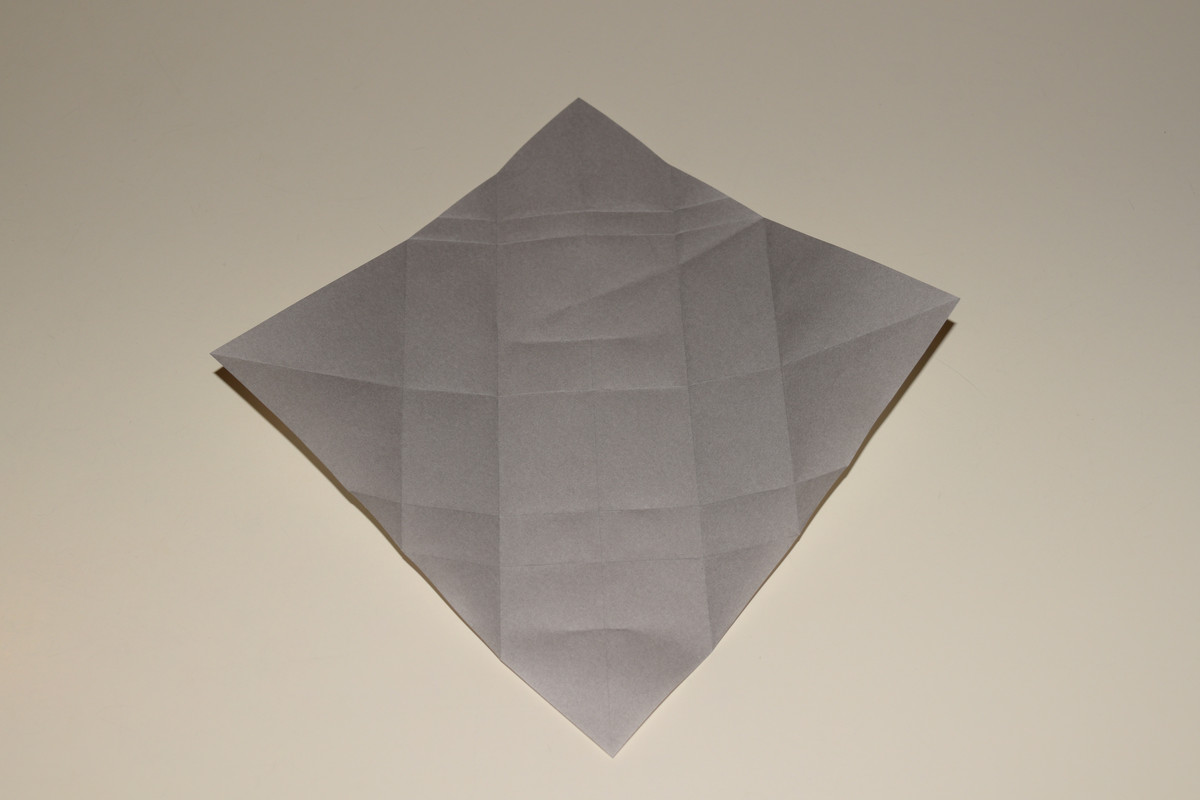
Fold the top right corner down to the center point and crease.

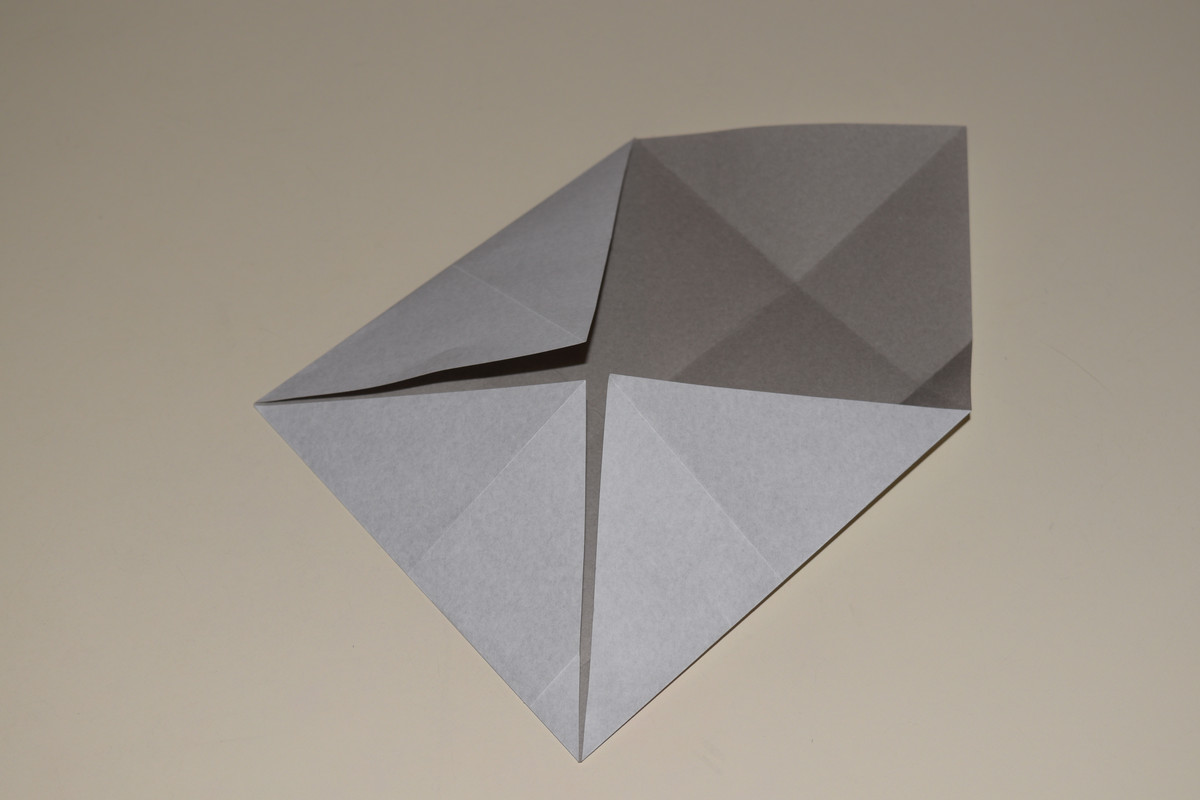
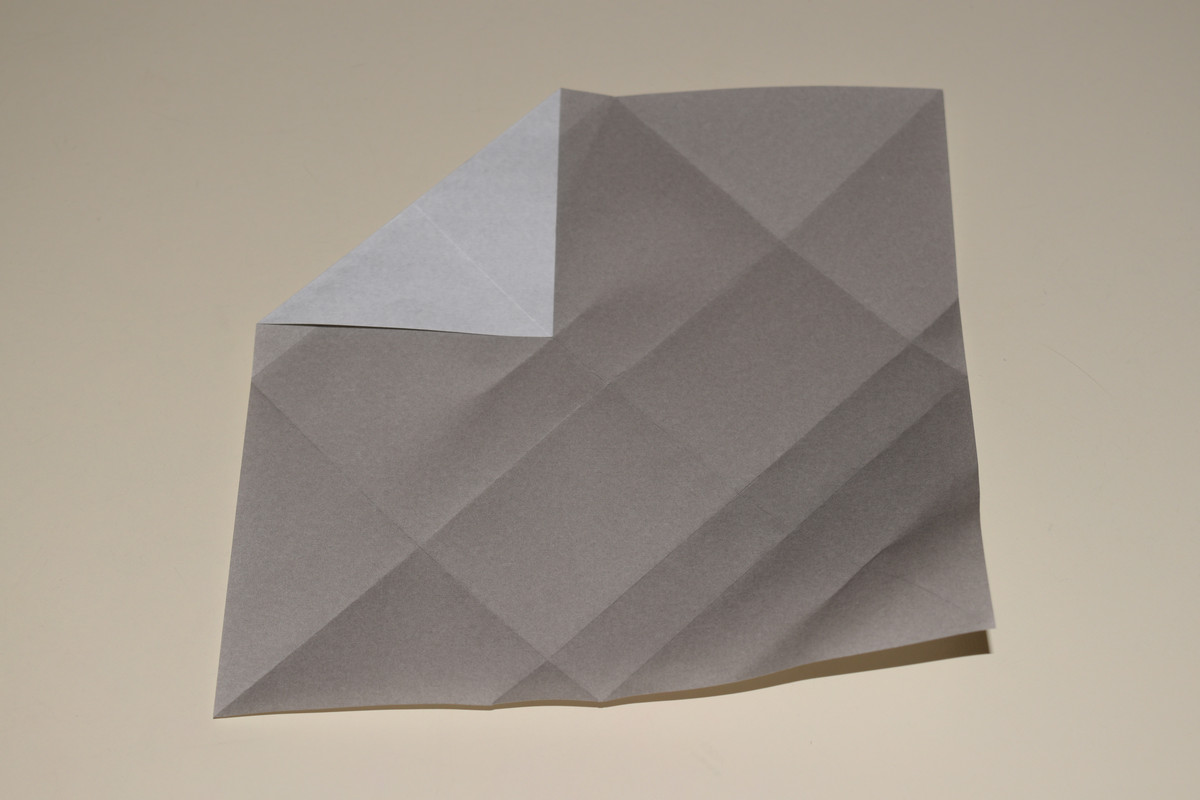
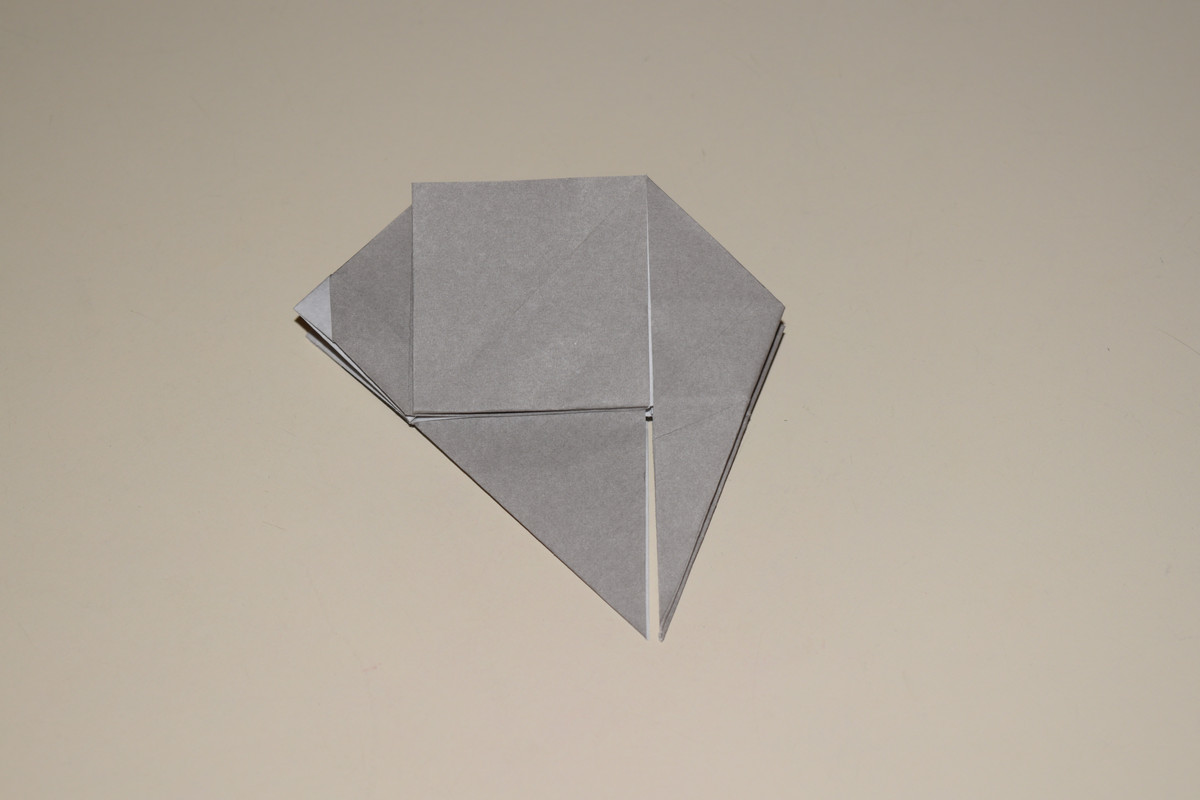
Bring the top left corner over so that the top edge meets the diagonal edge. DO NOT crease all the way. Only pinch on the corner's diagonal crease.
Unfold. The paper should look as pictured.
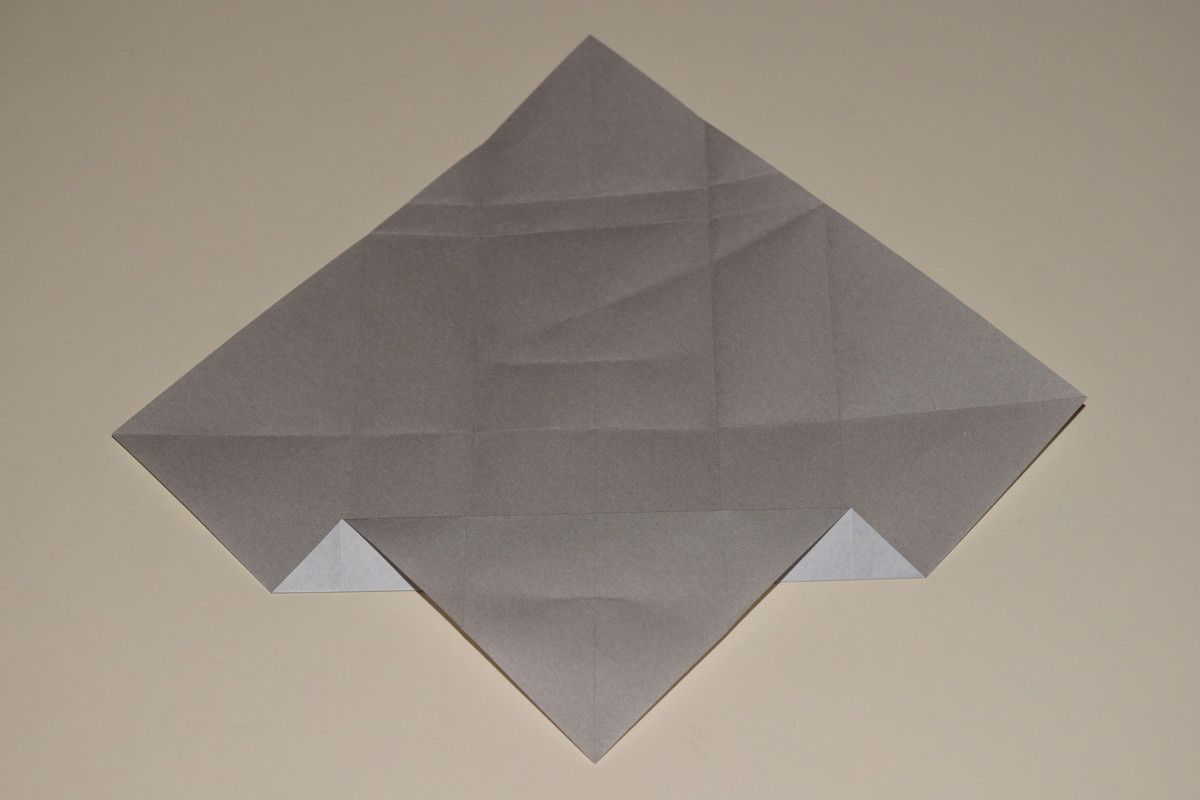
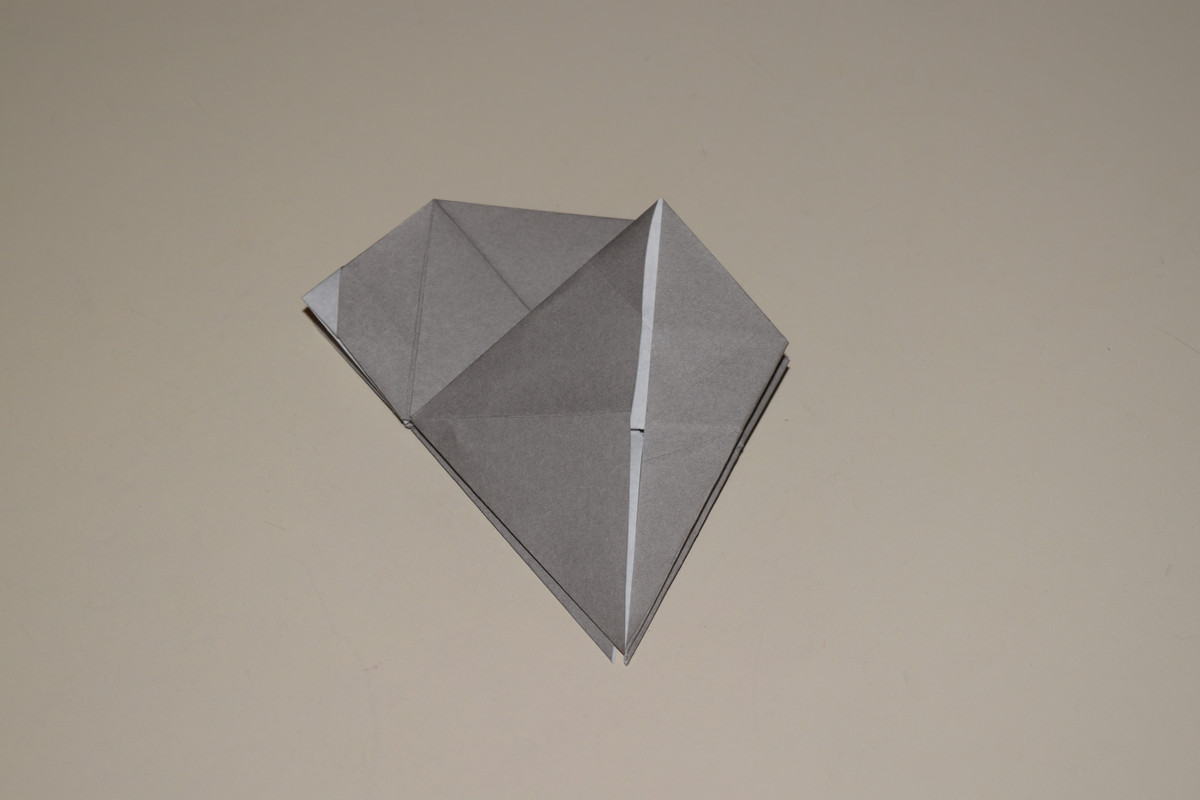
Fold the bottom right corner up to the point made in Step 6. Crease and unfold.
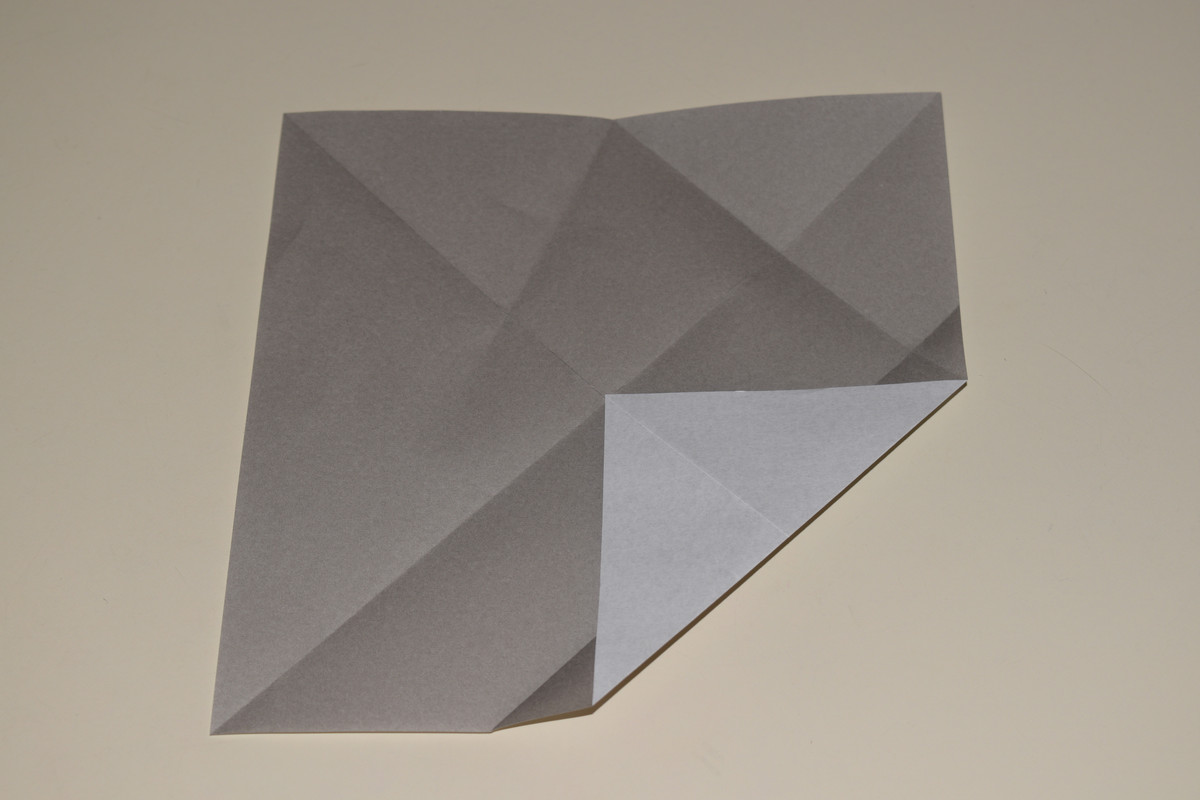
Fold the bottom right corner up to the center point and crease.
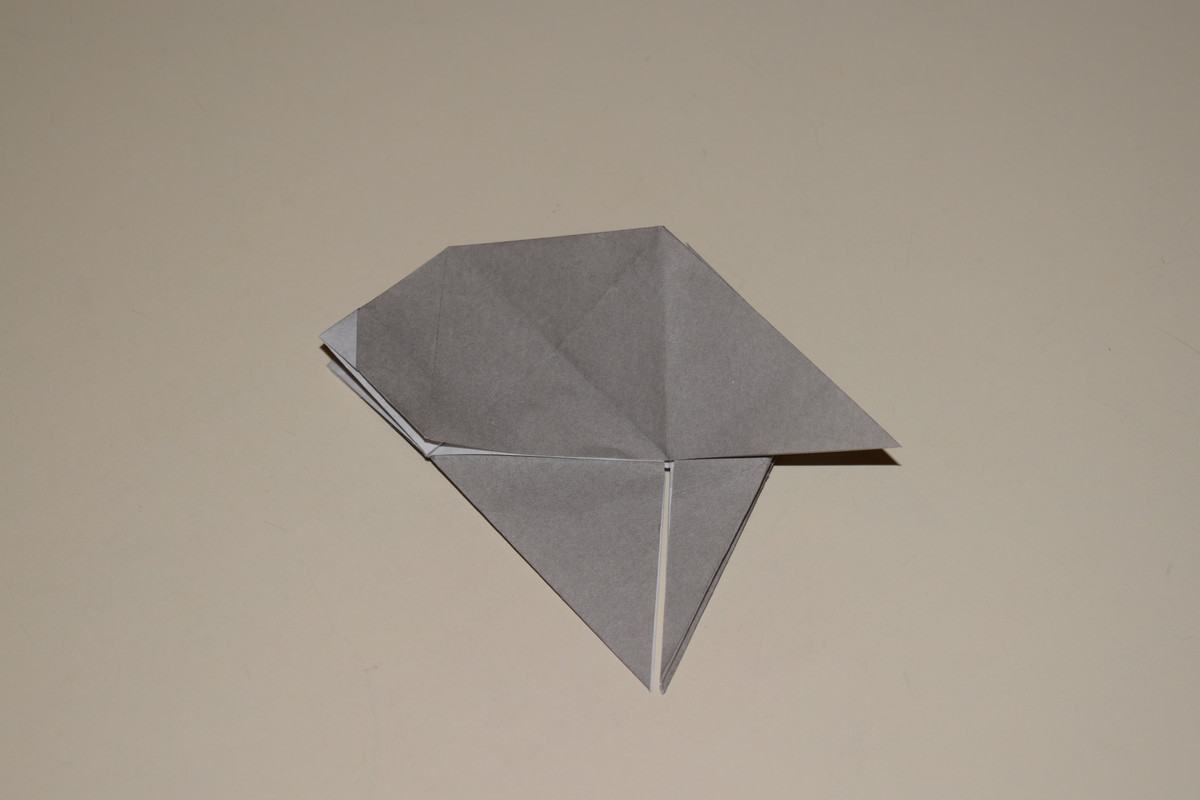
Fold the other two corners in to the center point and crease.
Unfold.
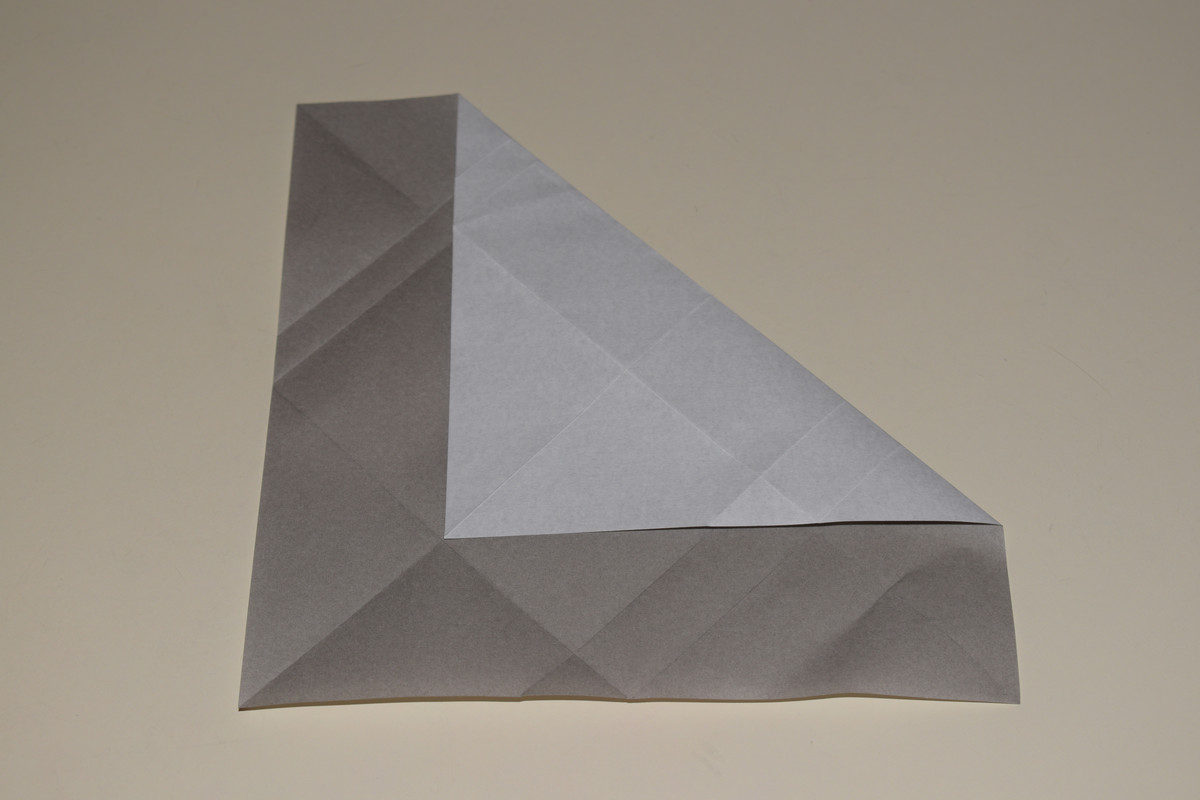
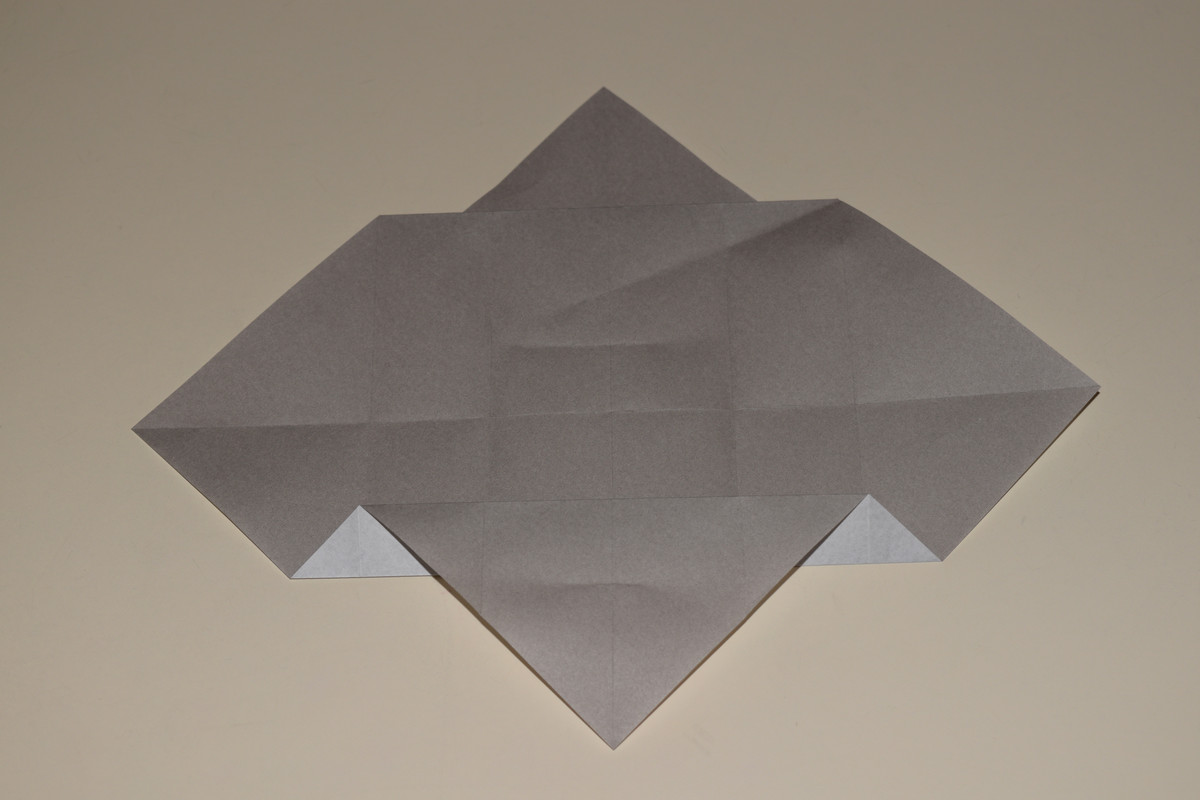
Take the bottom right corner and bring it to the line to the bottom right of the diagonal center line. DO NOT crease all the way. Only pinch the corner's diagonal crease.
Take the top left corner and bring it to the previously made pinch. DO NOT crease all the way. Only pinch the corner's diagonal crease.
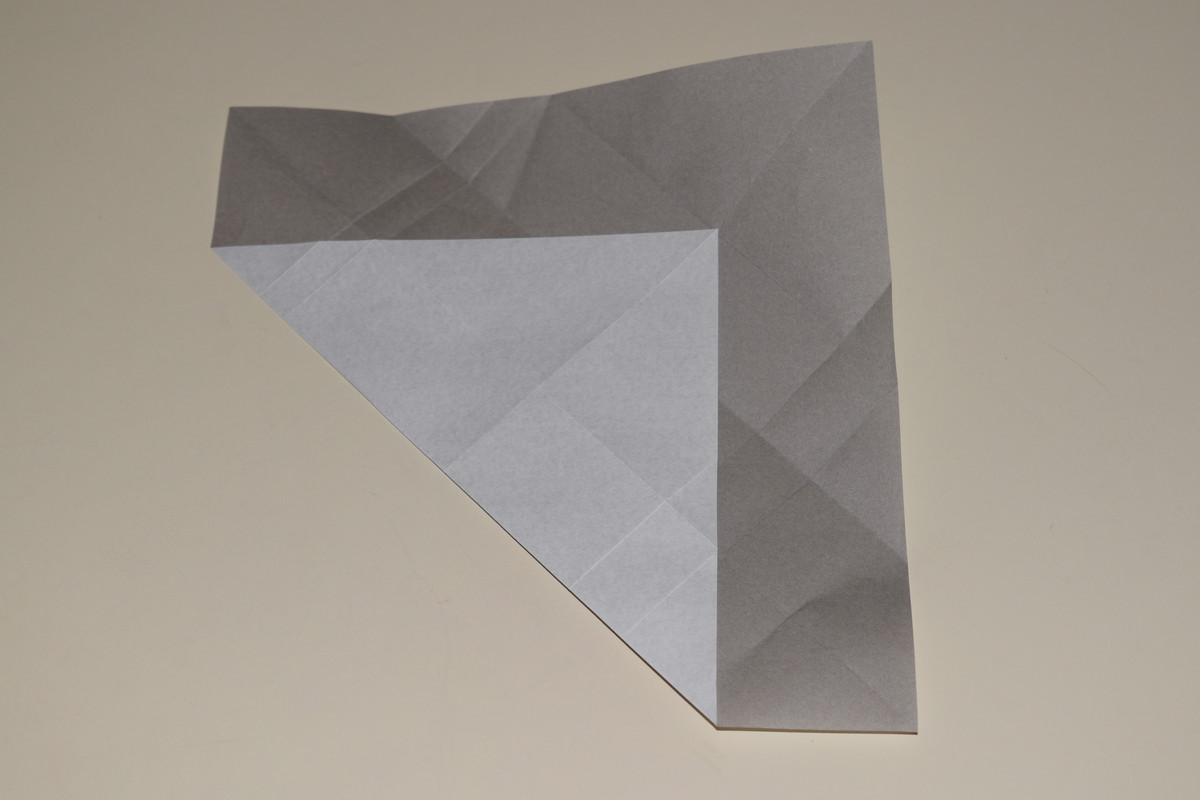
Fold the top left corner to the previously made pinch and crease.
Unfold.
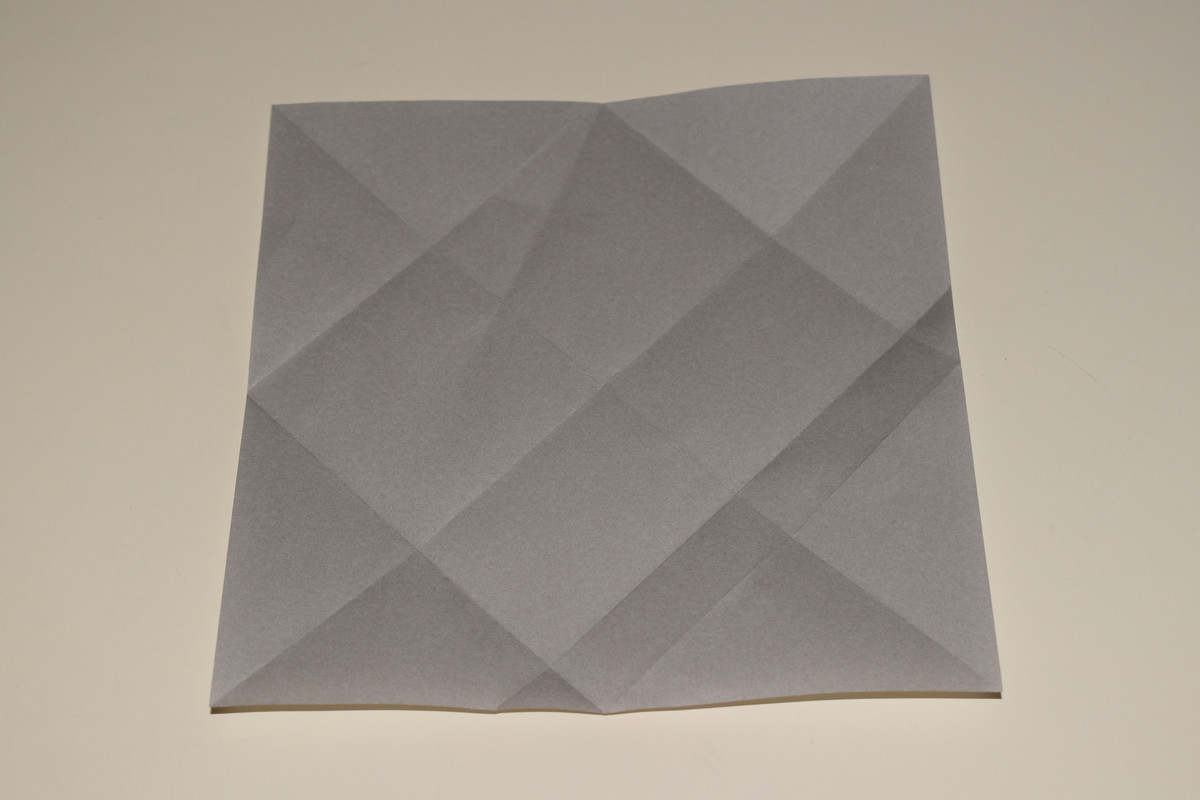
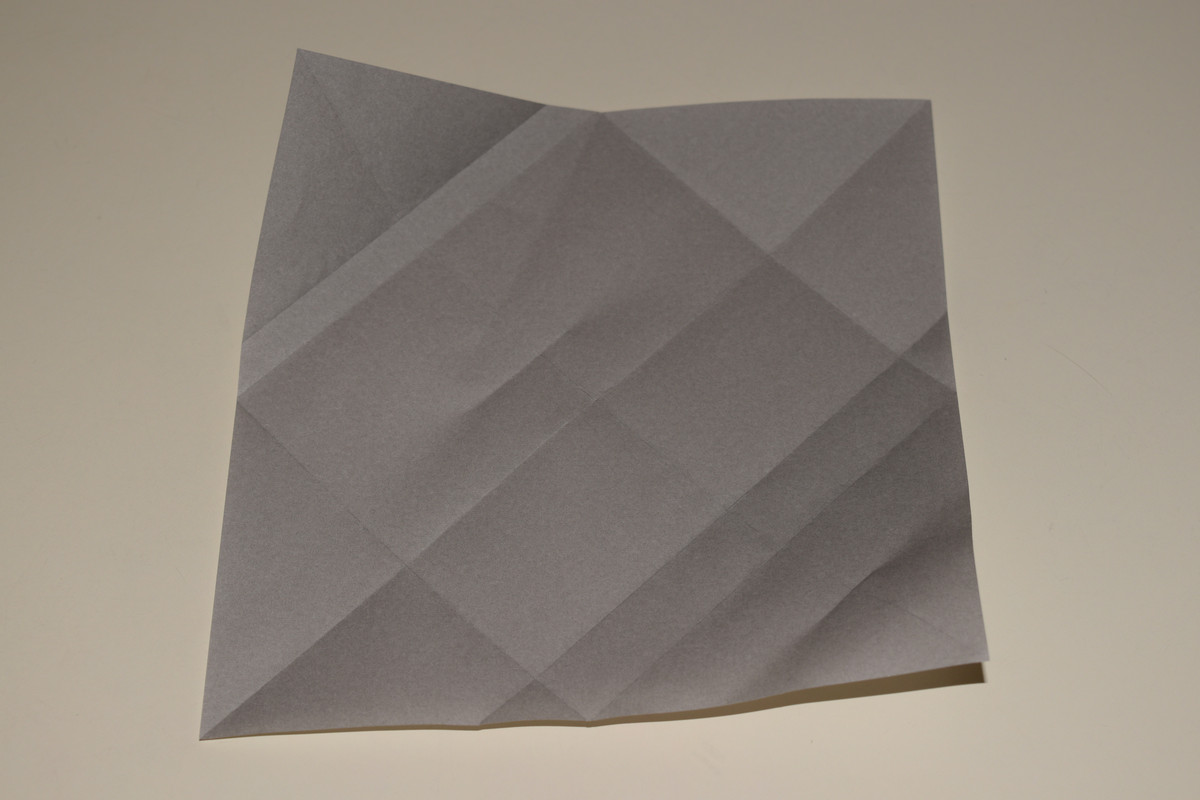
Fold the top right corner down to the furthest line in the bottom left corner. Crease then unfold.
Fold the top left corner up to the furthest line in the top right corner and crease.
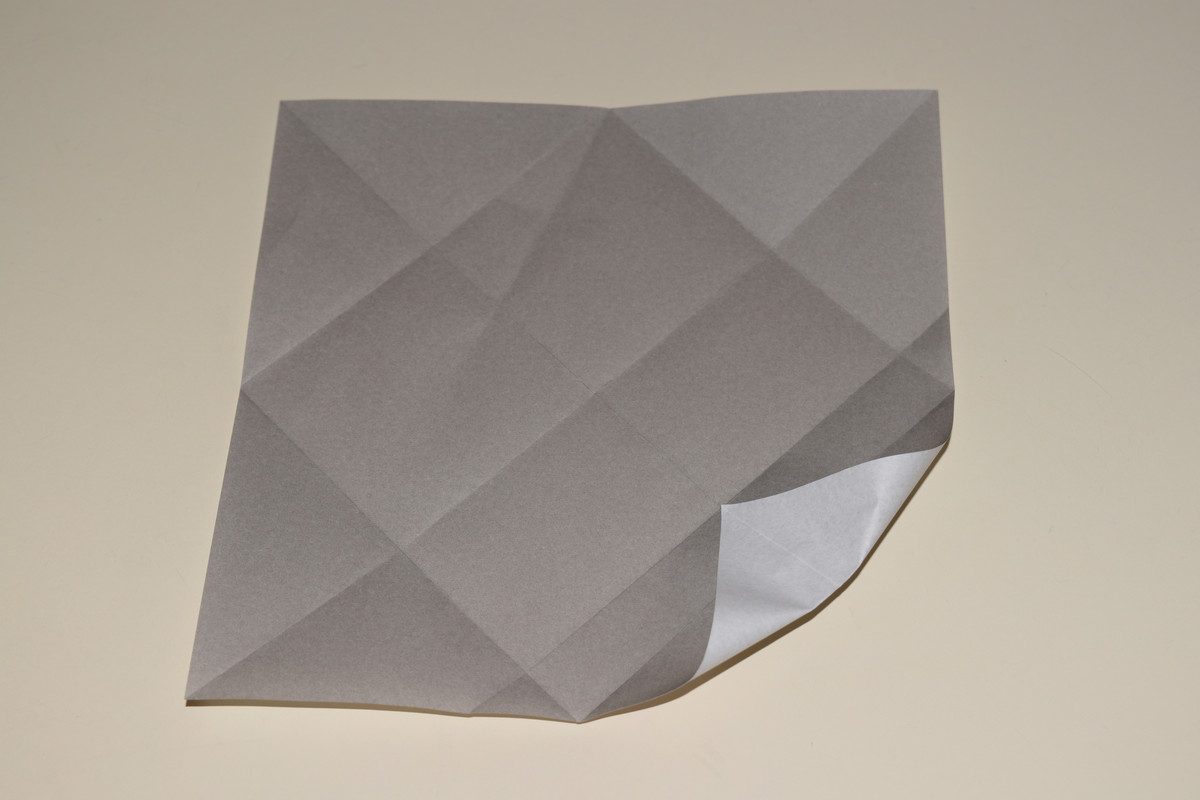
Unfold.
Rotate the paper 45° clockwise.
Take the pair of lines right under the horizontal center line. Valley fold on the first one and crease mountain fold on the second.
Take the pair of lines right before the top corner. Valley fold on the first and crease mountain fold on the second.
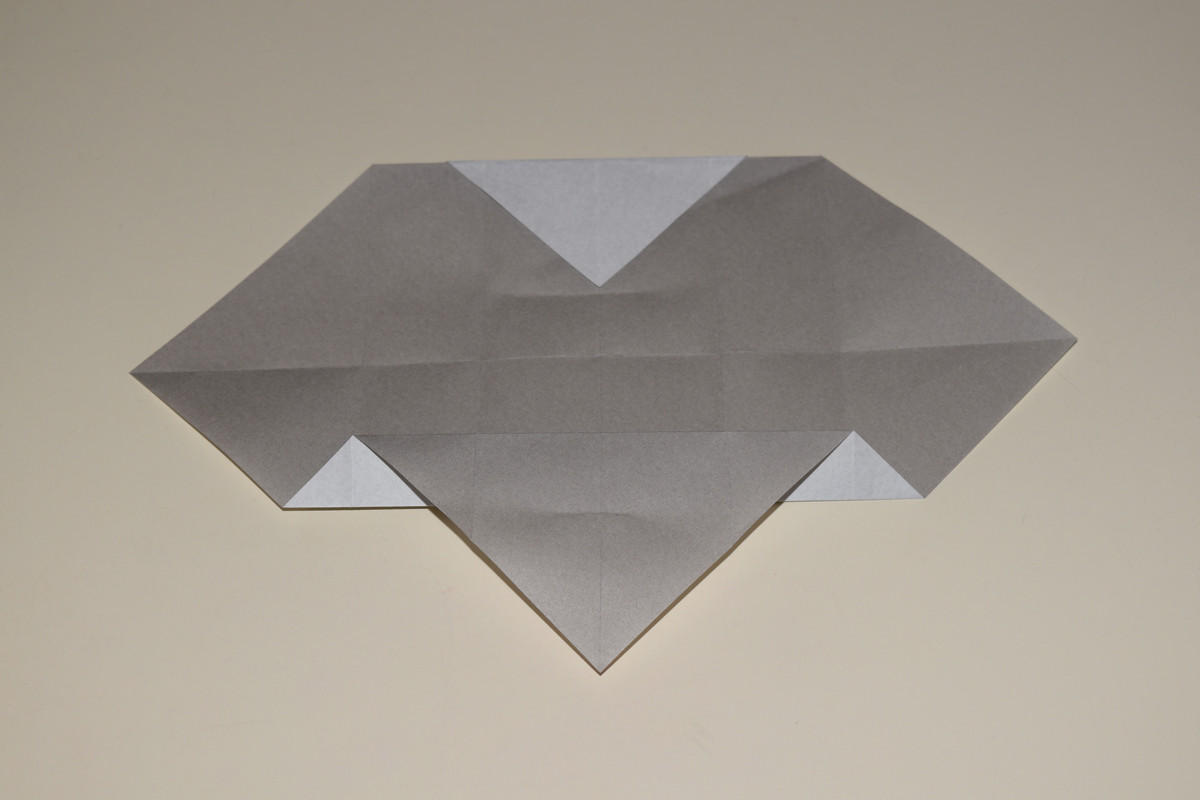
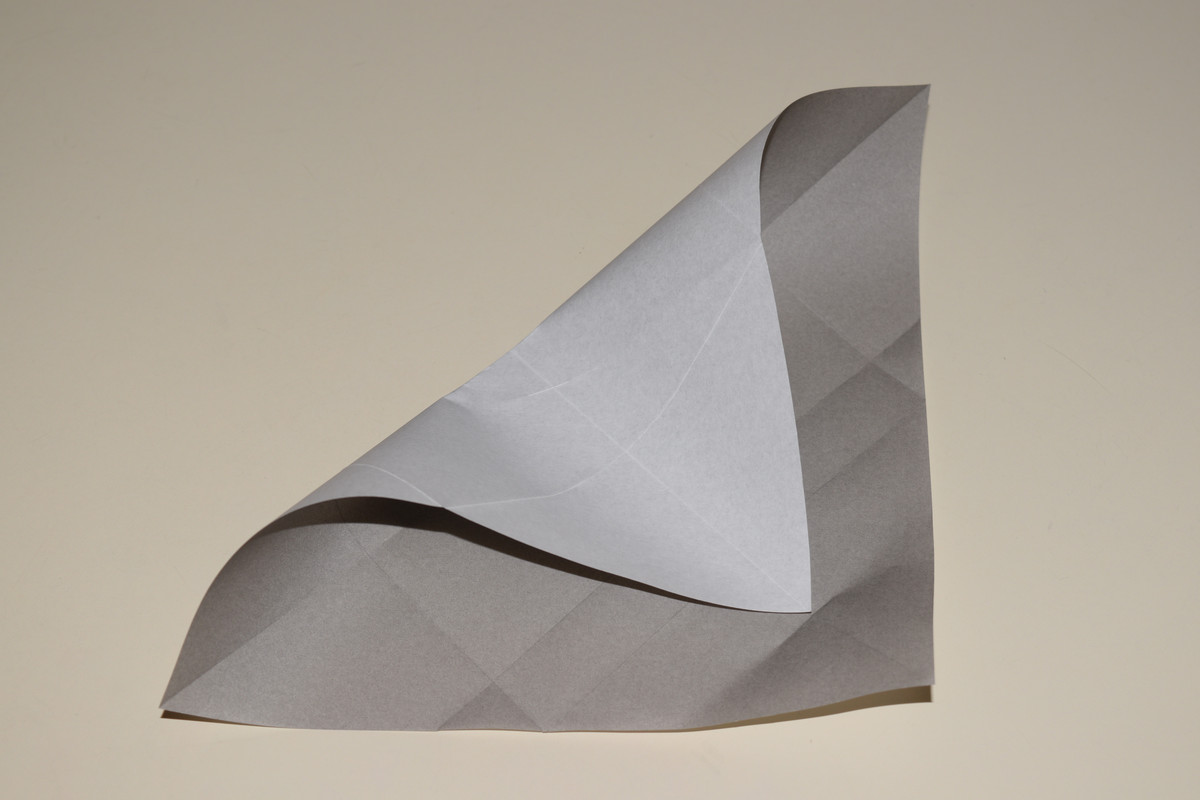
Fold the remainder of the top corner down and crease.
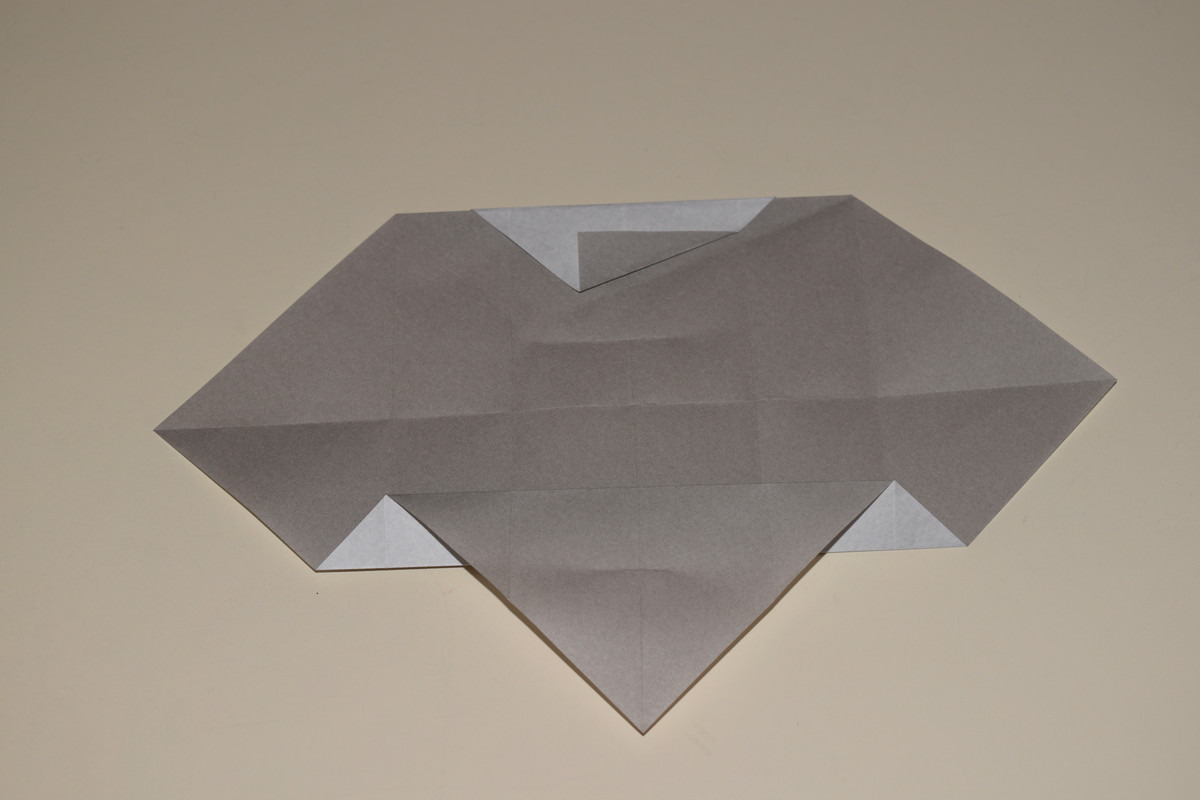
Fold the left edge up to meet the imaginary line running between the two vertical parallel lines. Crease then unfold.

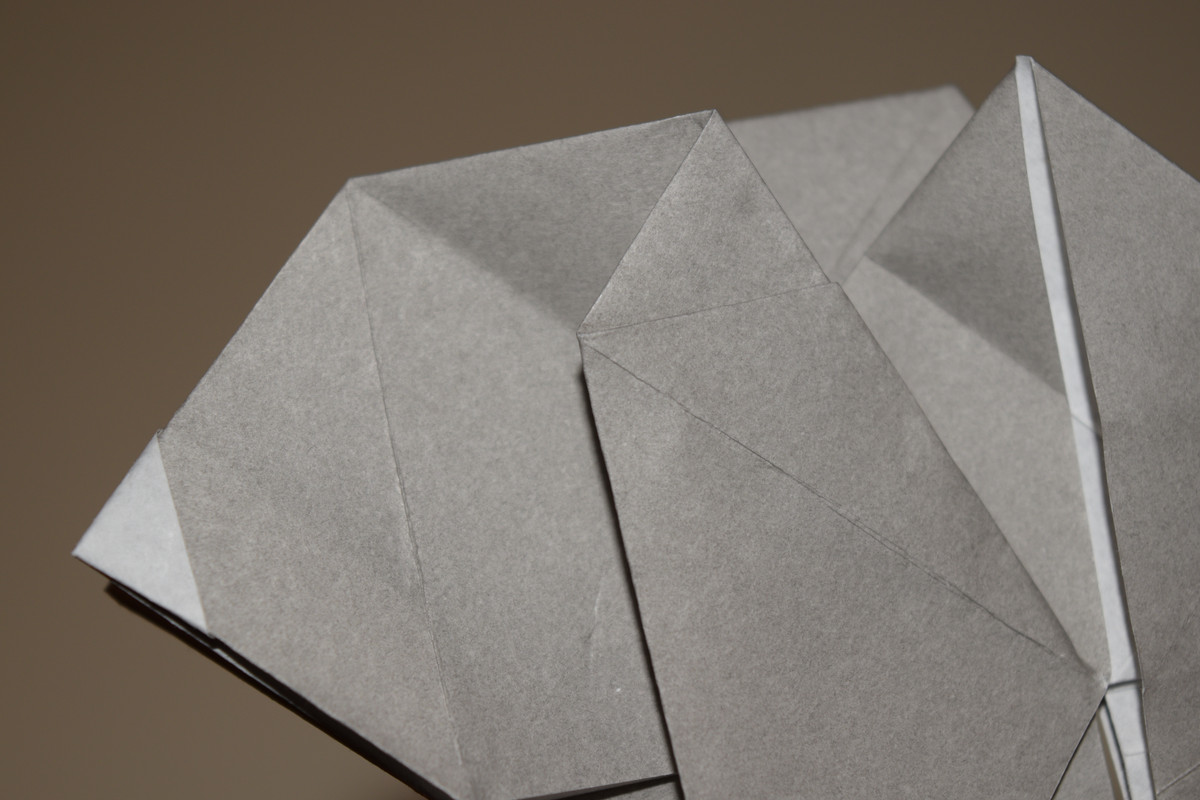
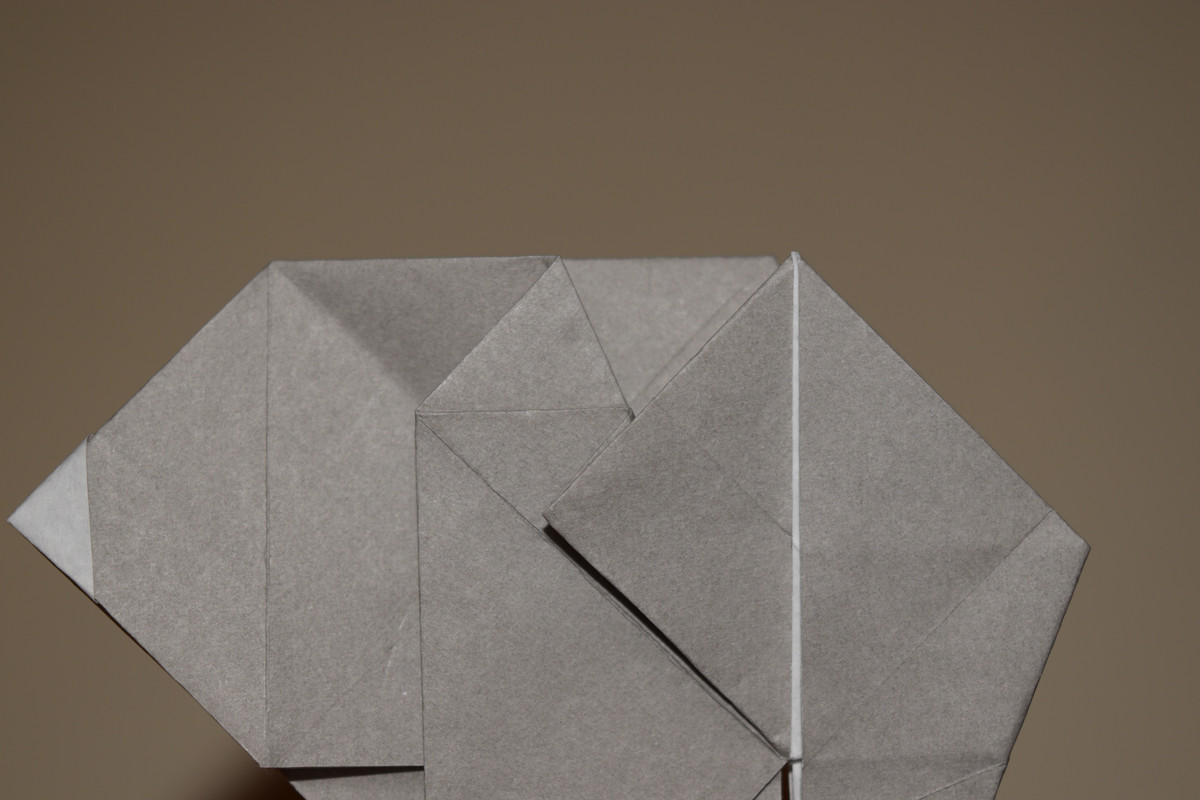
Close up of Step 23.
Repeat Step 23 on the left side. Crease then unfold.
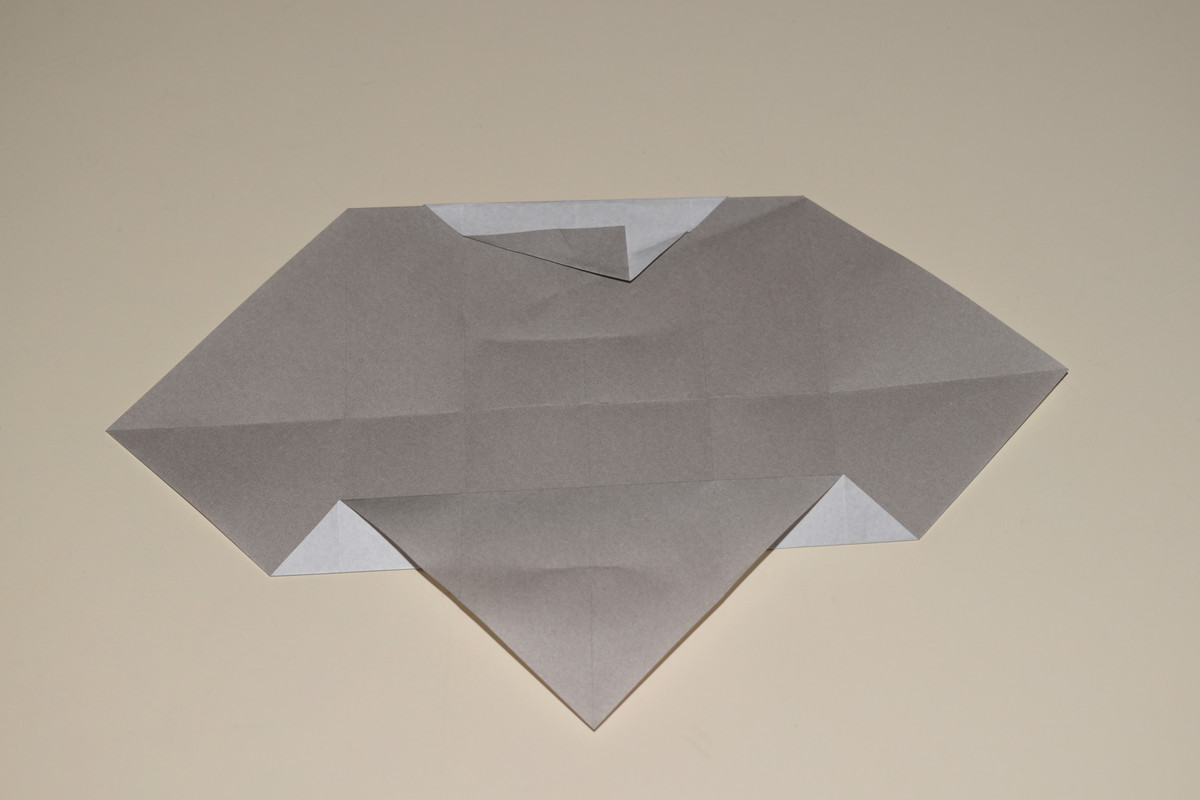
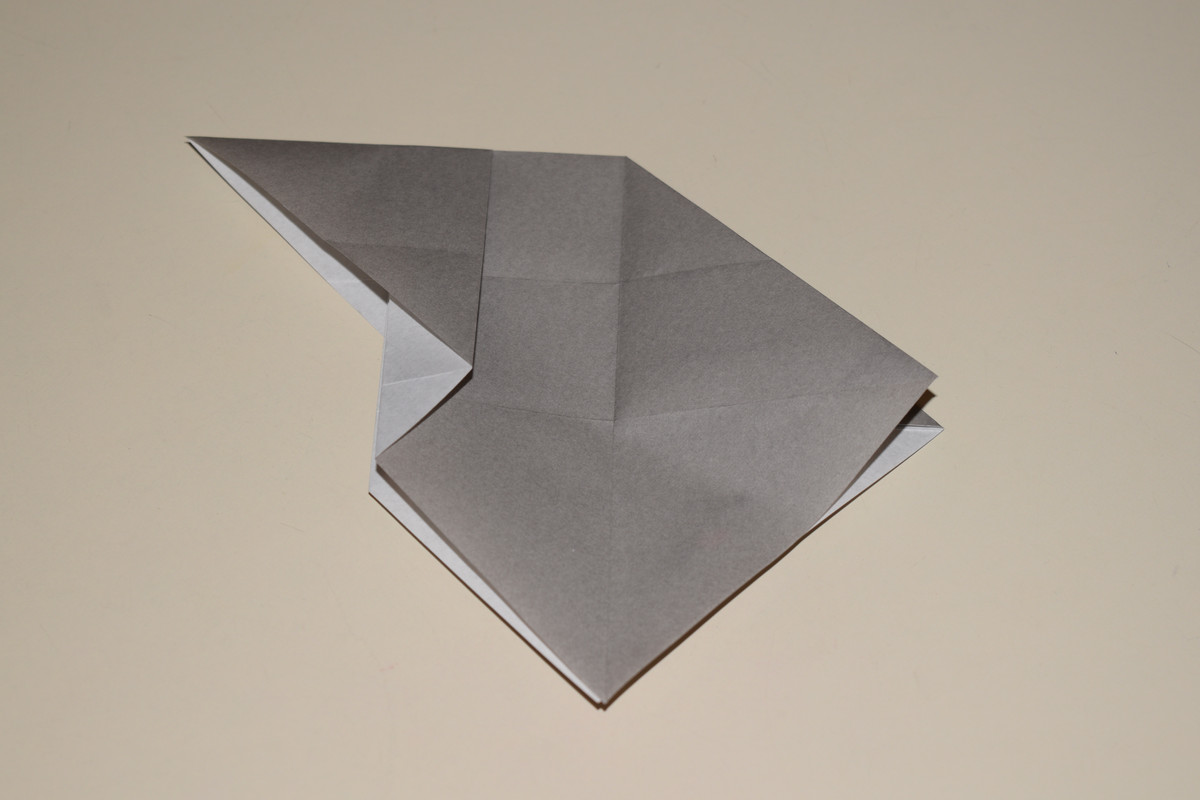
Begin a rabbit ear fold.
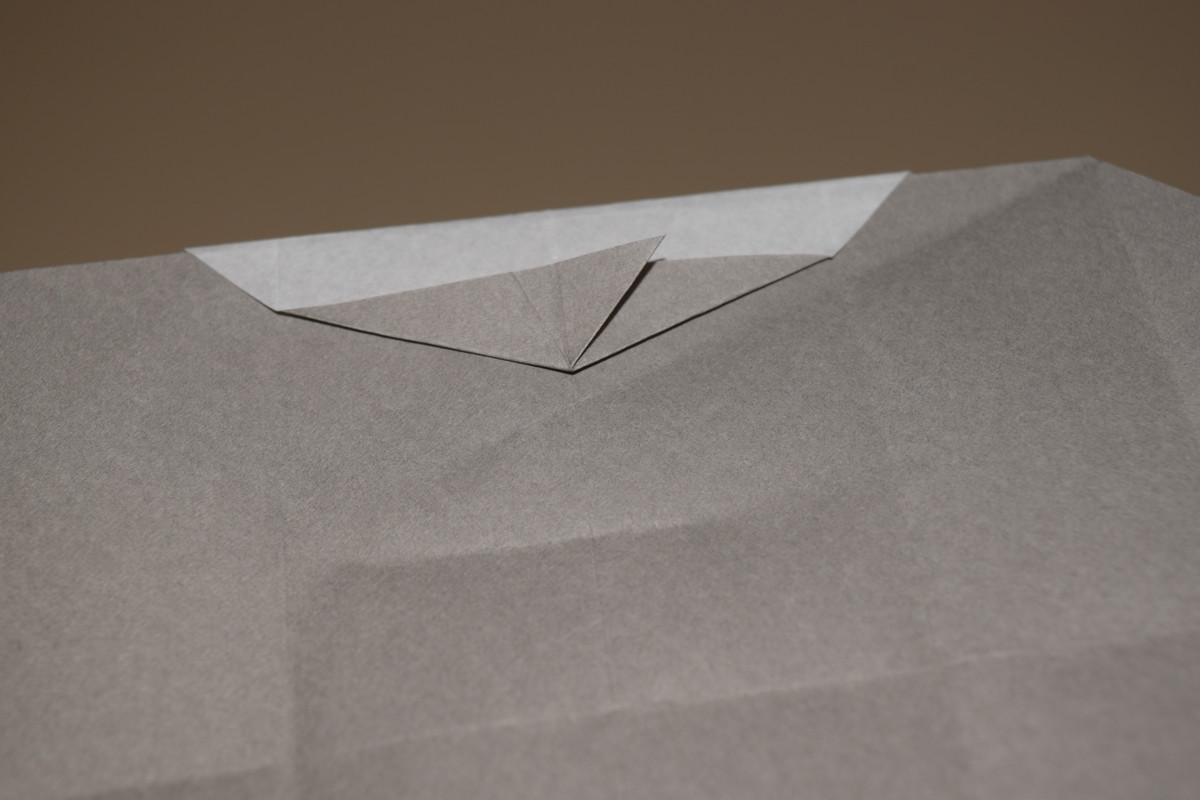
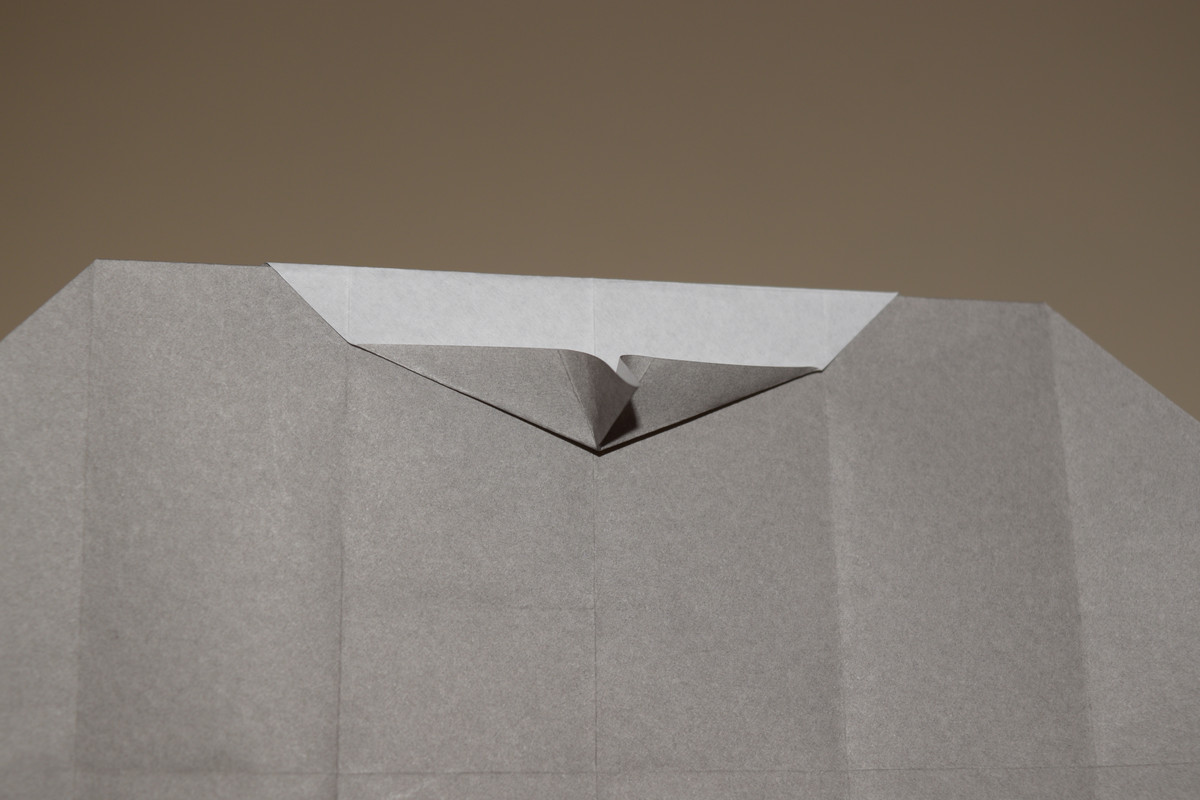
Fold the flap to the right. Crease and unfold.
Fold the flap to the left. Crease and unfold.

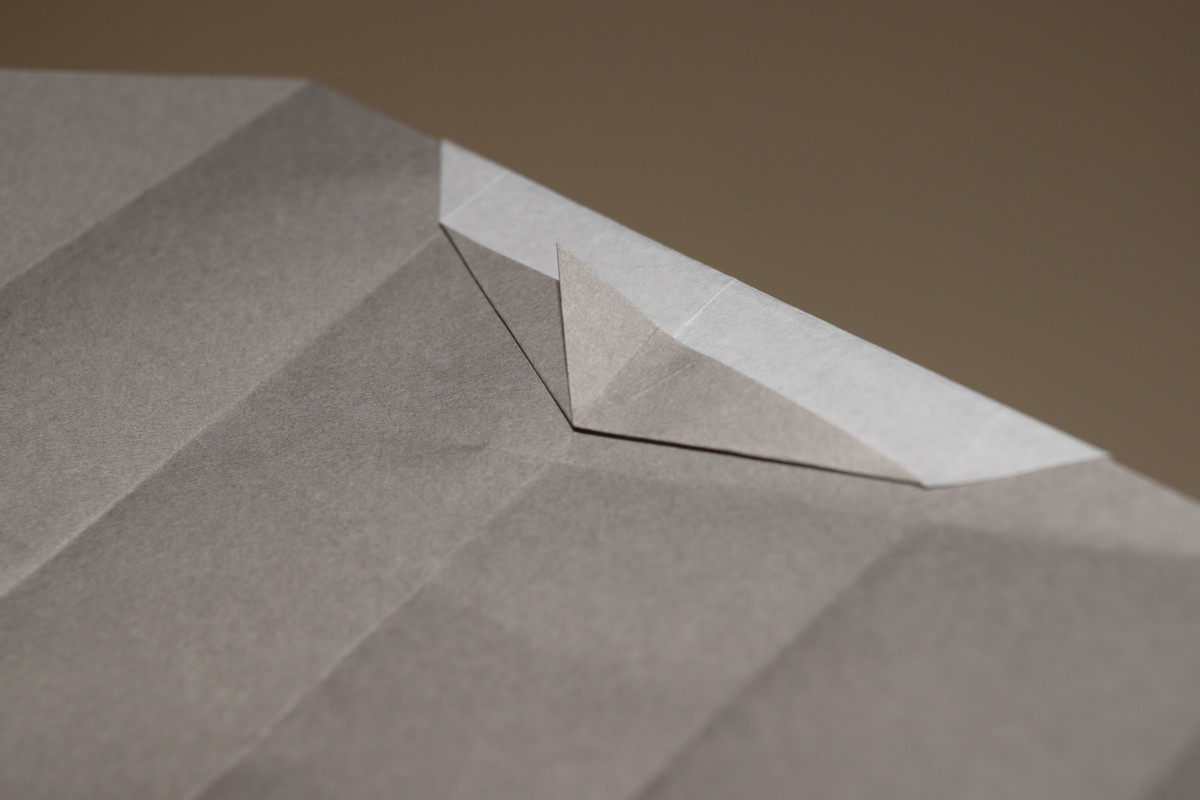
Mountain fold on the vertical center line. Leave the previously folded flap to stand straight up.
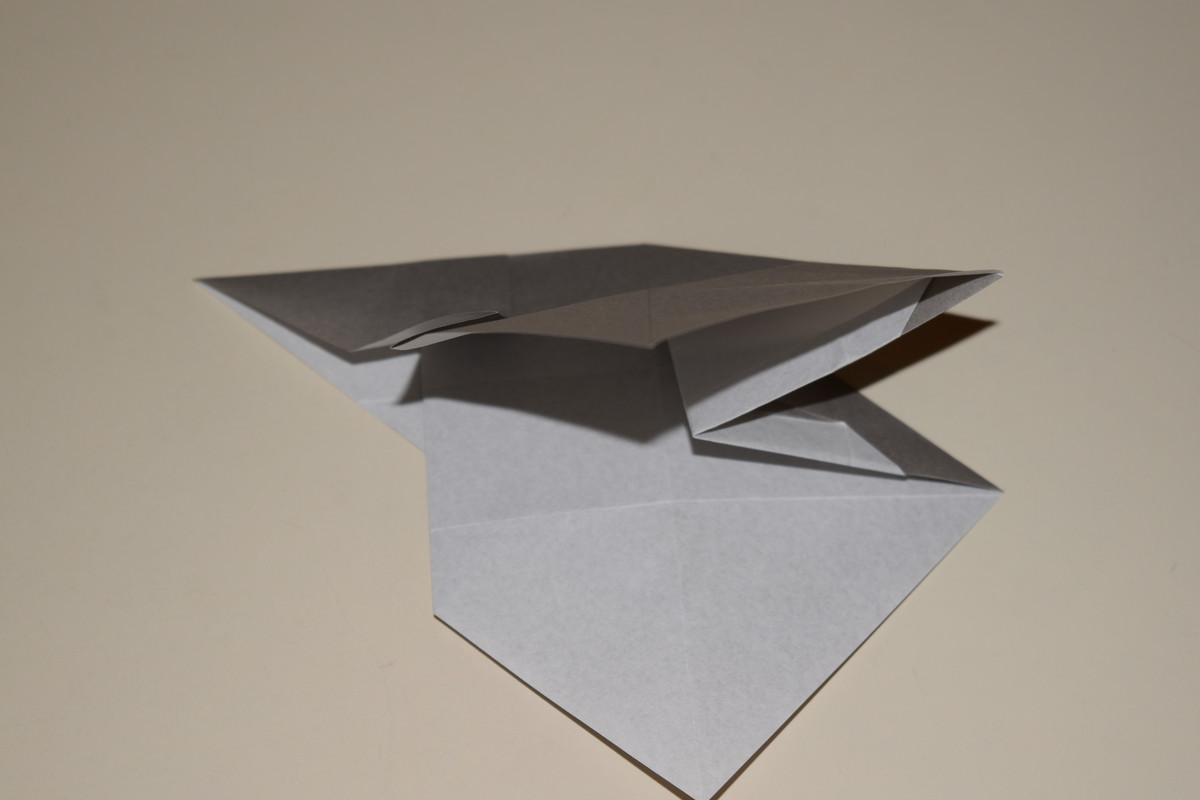
Open the right side.
Squash fold.
Fold the left flap back over.
Lift the topmost layer.
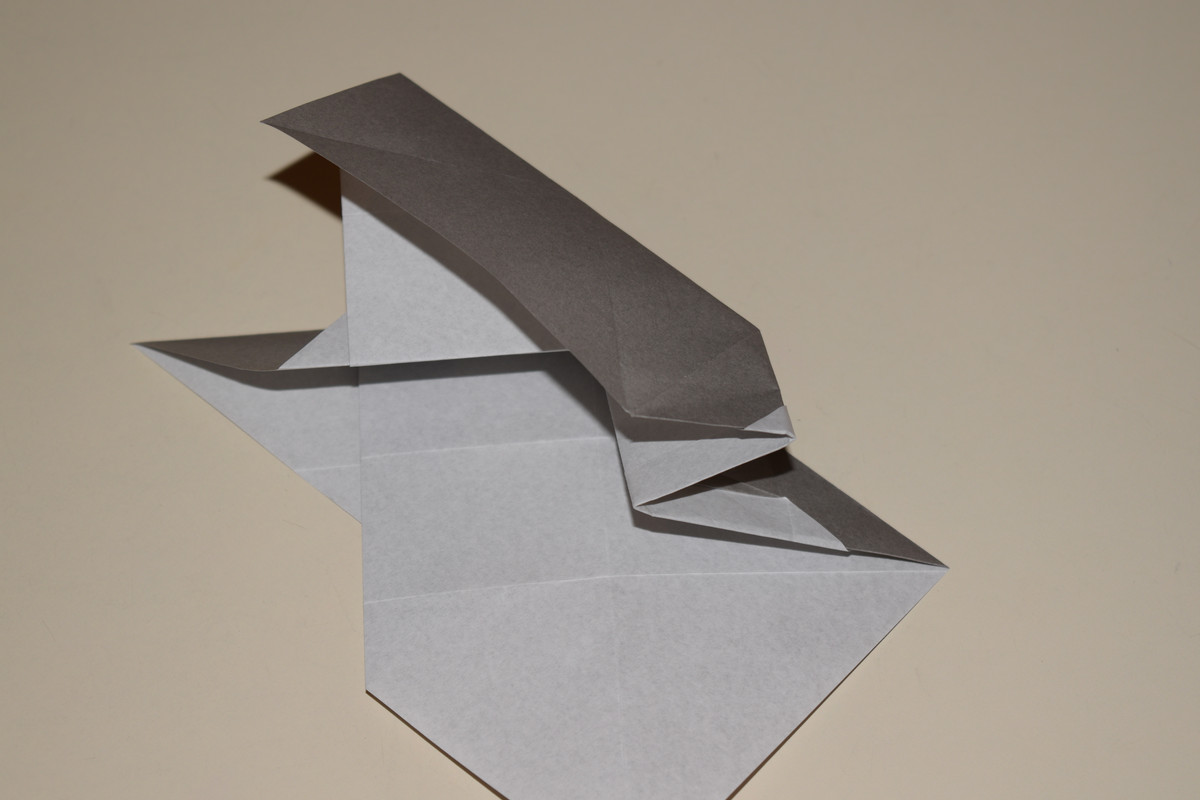
Use the previously folded creases as guides to collapse the flap. The flap as a whole will be valley folded just under the top spine. The crease previously to the left of the vertical center line will be mountain folded.

Flatten the flap and crease. The corner should line up with the top spine.
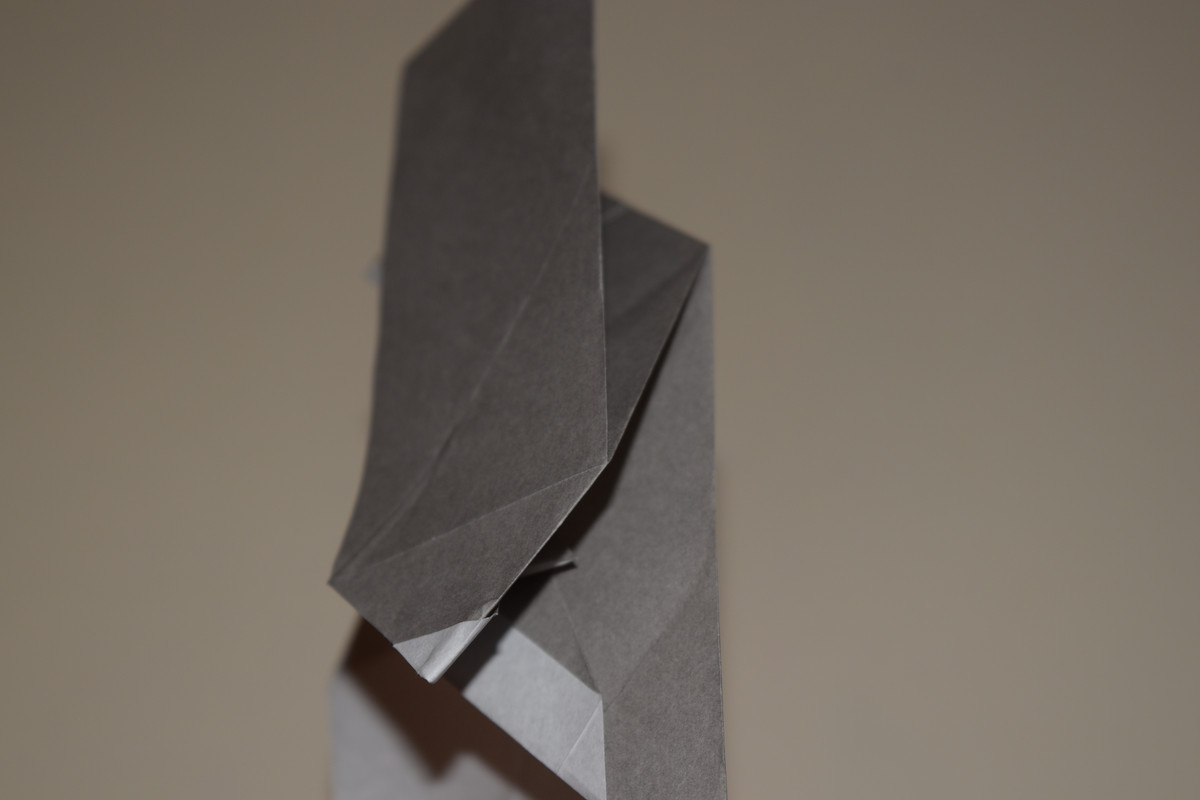
Step 35 as seen from the right side down the top spine.
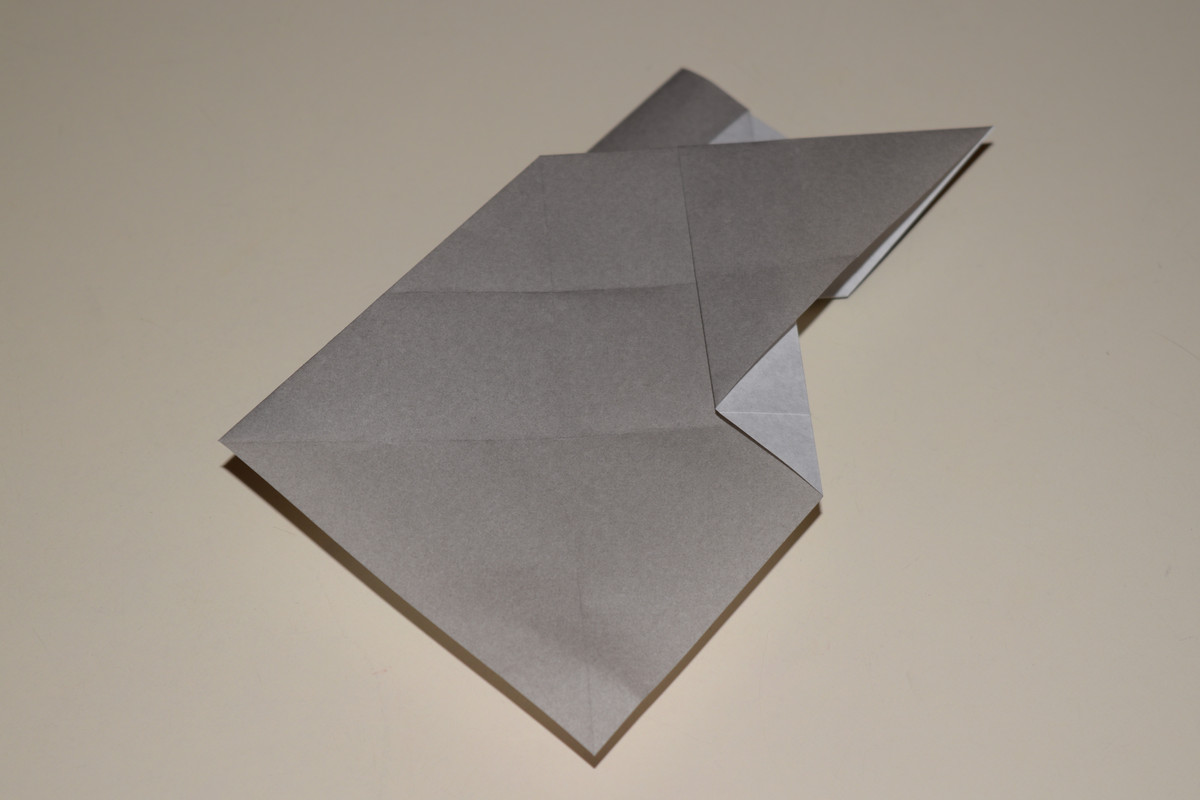
Turn the model over.
Repeat Steps 33 and 34.
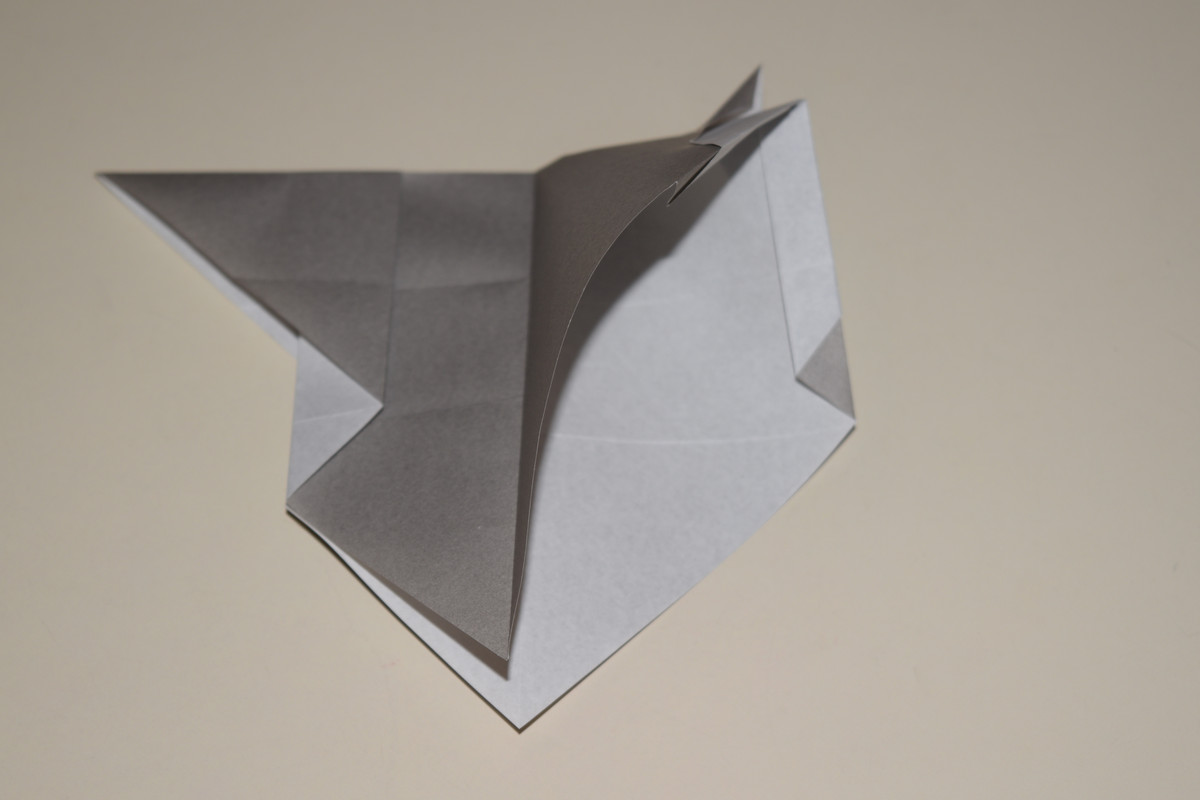
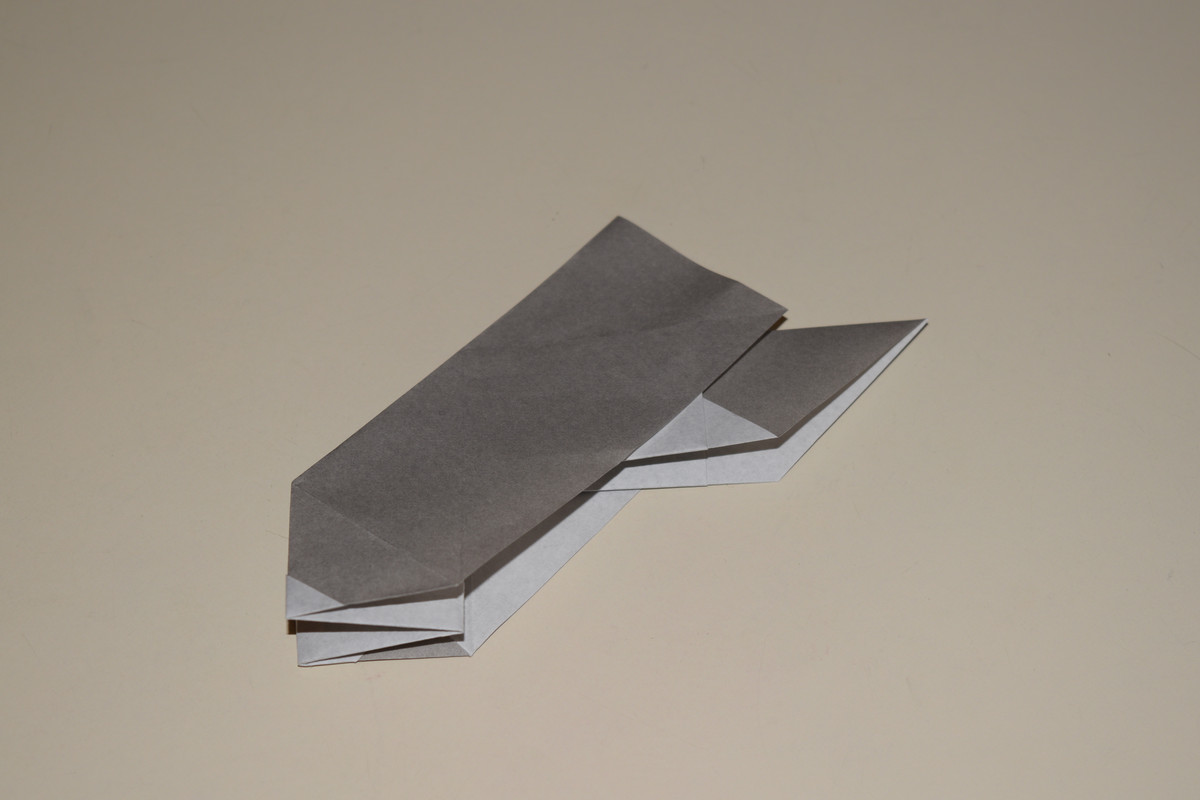
Fold the topmost flap down.
Turn the model over.
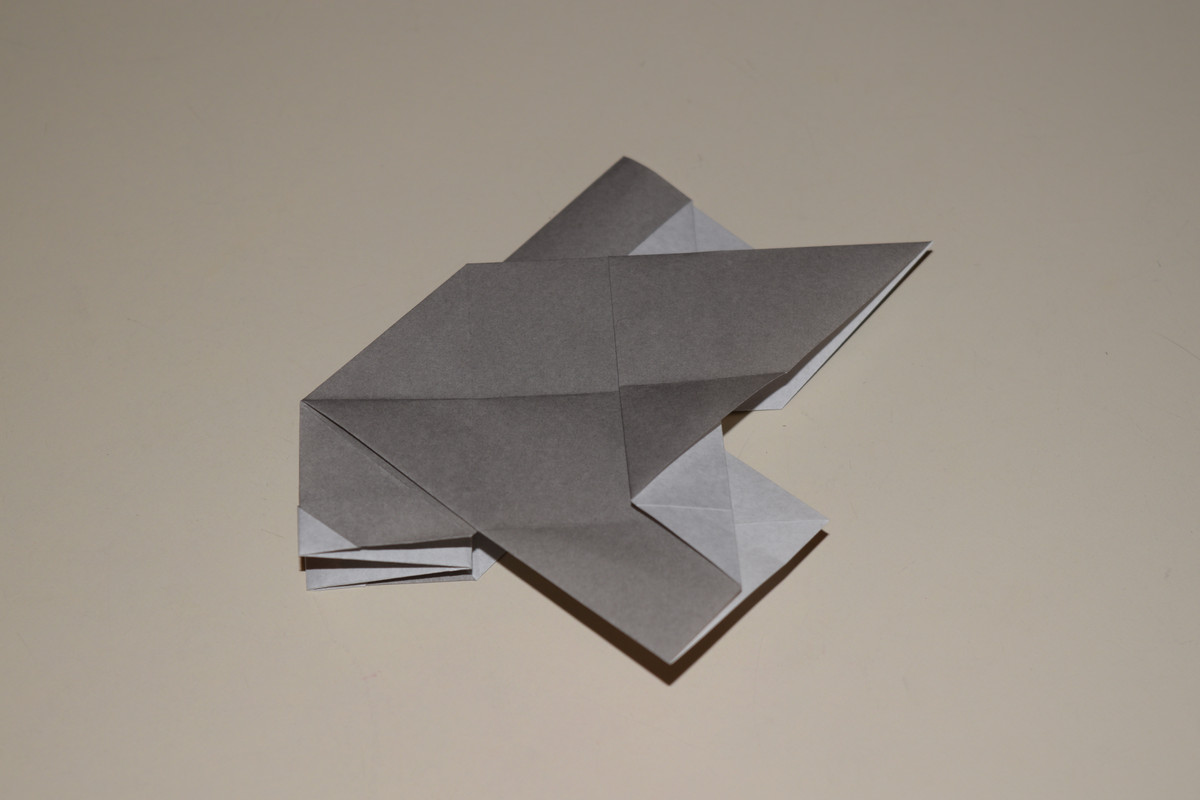
Fold the topmost flap down.
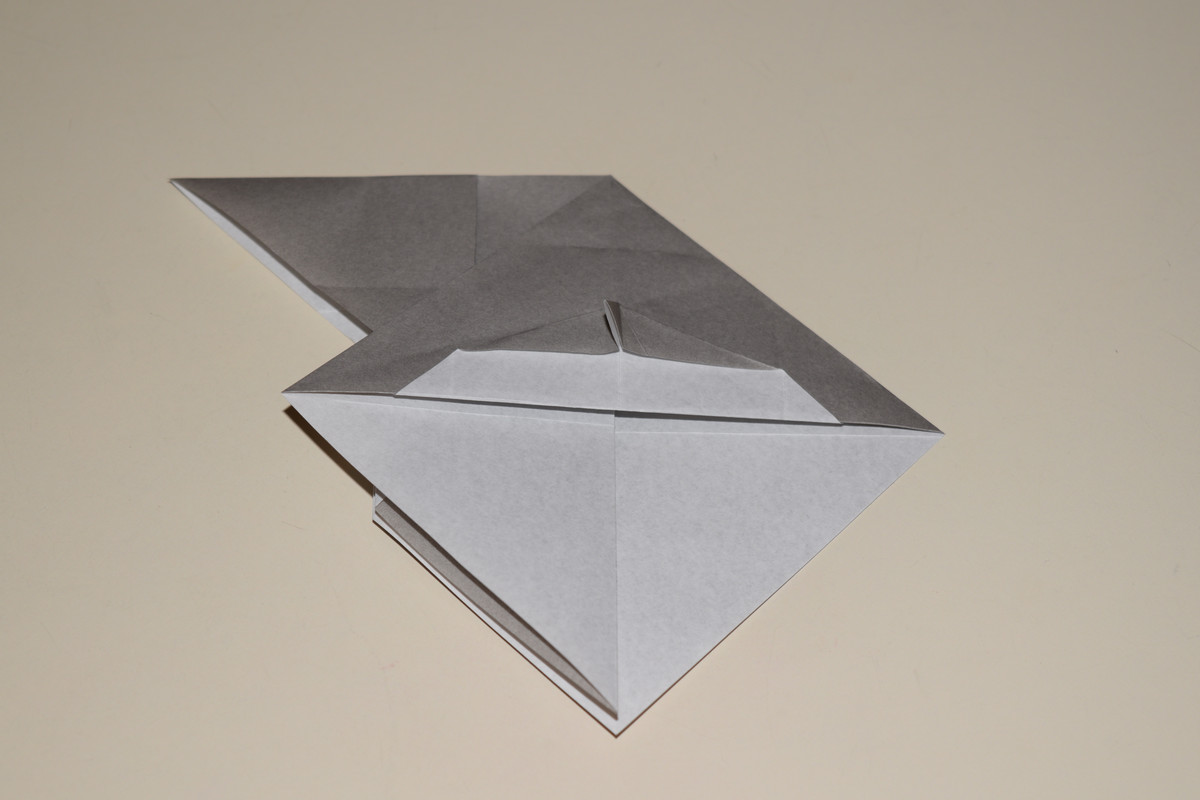
Fold the left triangle over the rest of the model. Crease then unfold.
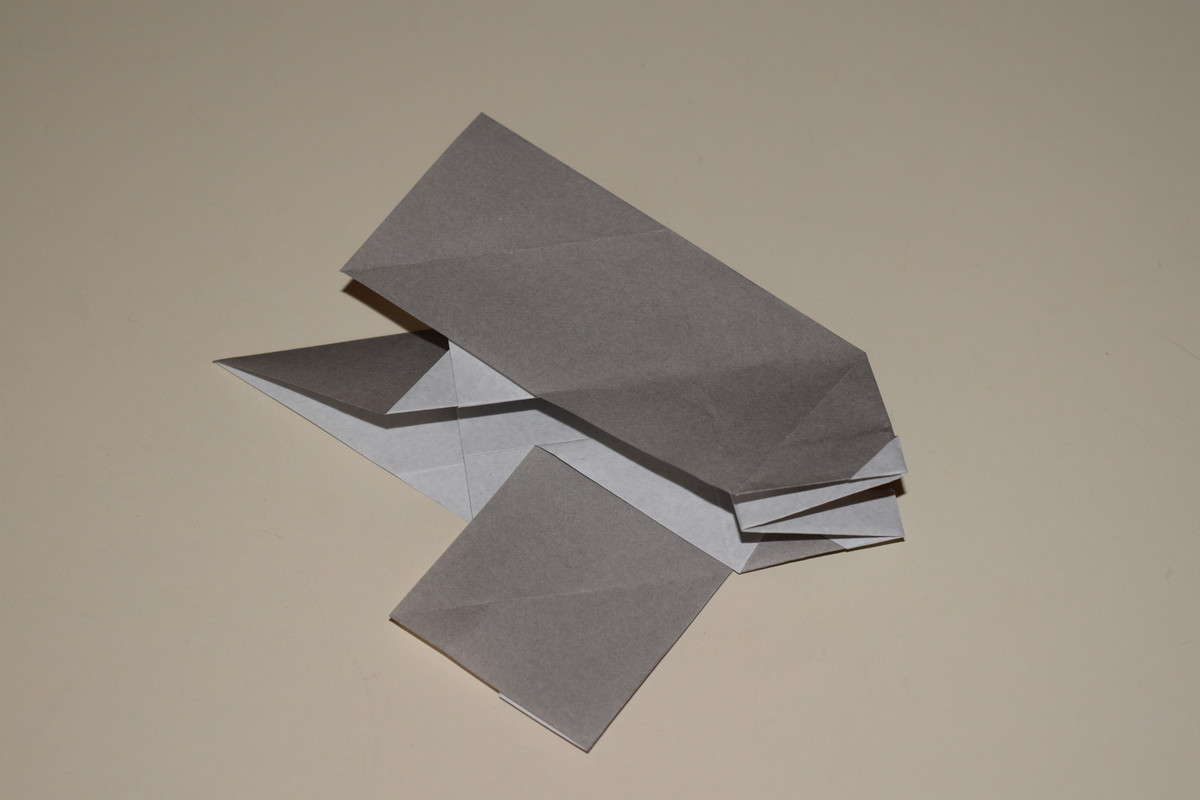
Squash fold.

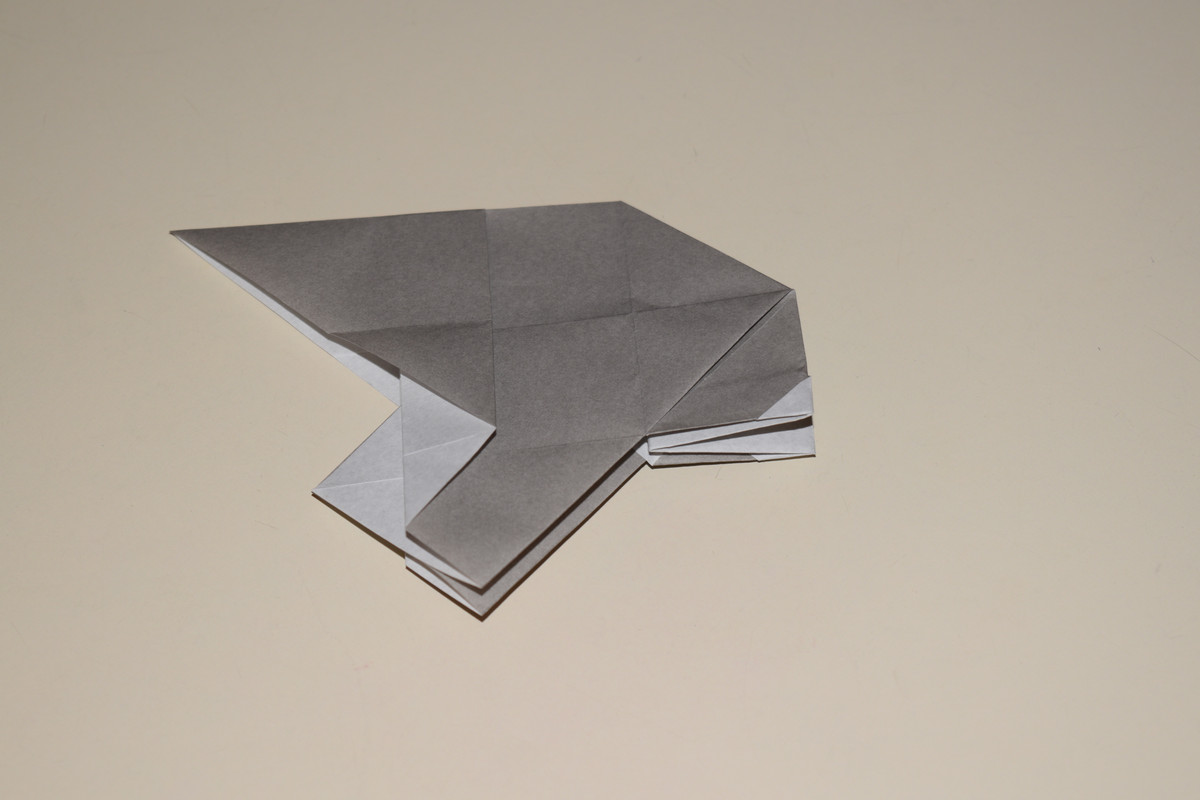
Fold the right flap back up.
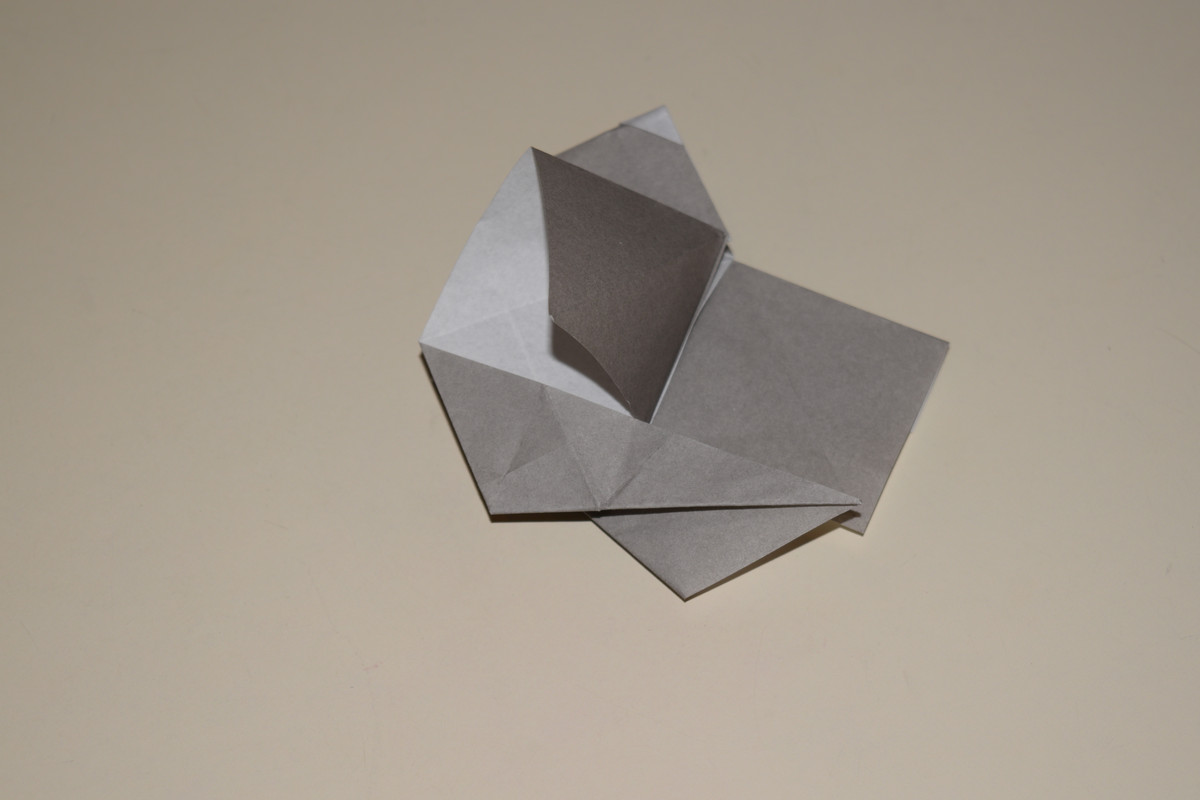
Take the square towards the bottom of the model and lift it.
Fold it so that the bottom edge of the square meets the top edge of the model. Make sure to pull out the other layers of paper as you fold.
Squash fold the triangle on the left side at the same time and crease.
Open the square's topmost layer.
Bring the square's top left corner down to meet the bottom corner of the triangle, squash fold, and crease.

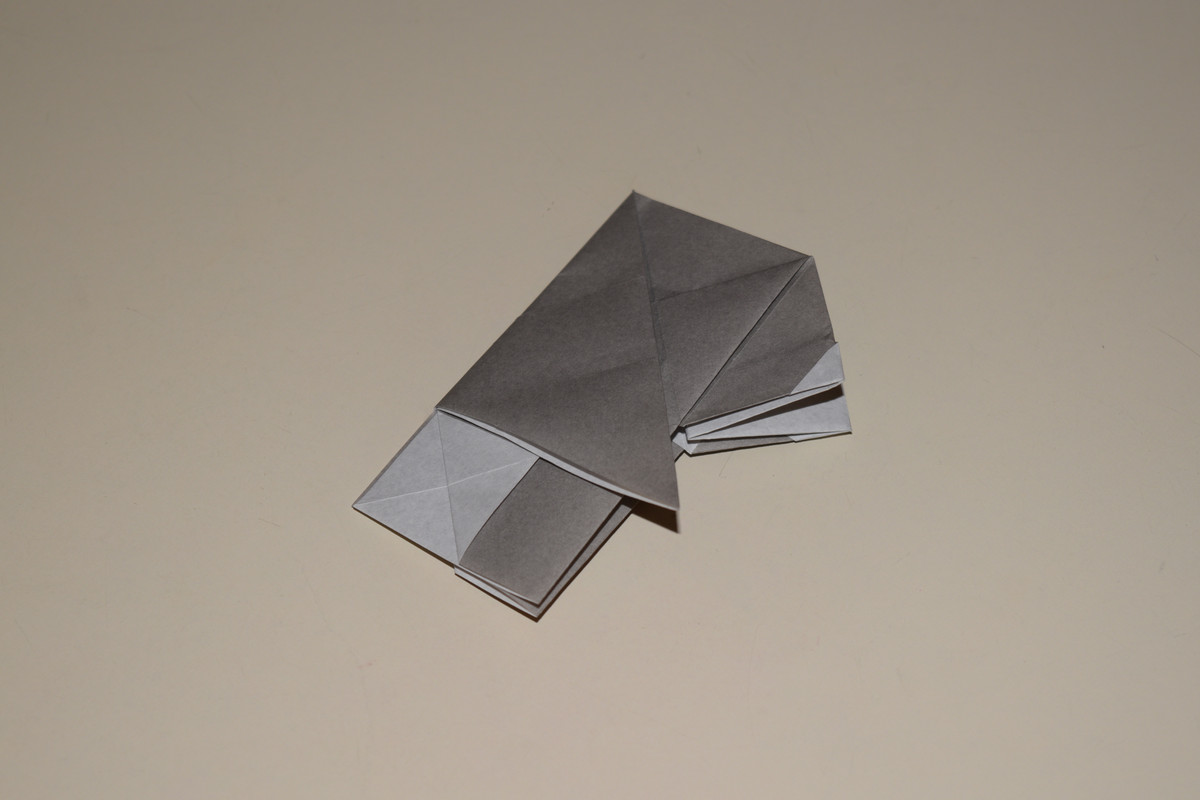
Turn the model over.
Repeat Steps 43 through 45.
Repeat Steps 46 and 47.
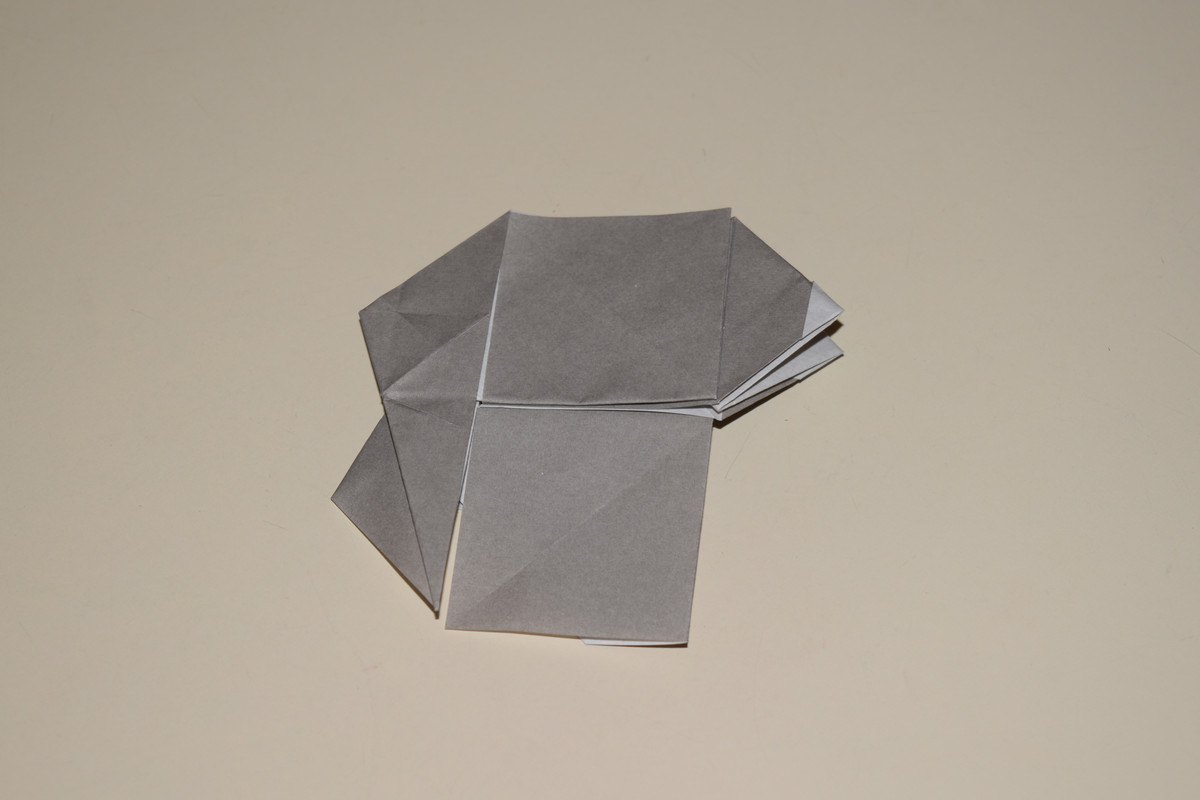
Take the topmost layer of the bottom left edge and fold it to the top right. Crease.

Fold part of the same flap to the left so that the crease on the triangle's edge meets the diagonal crease on the rest of the model.
Close up of Step 52.
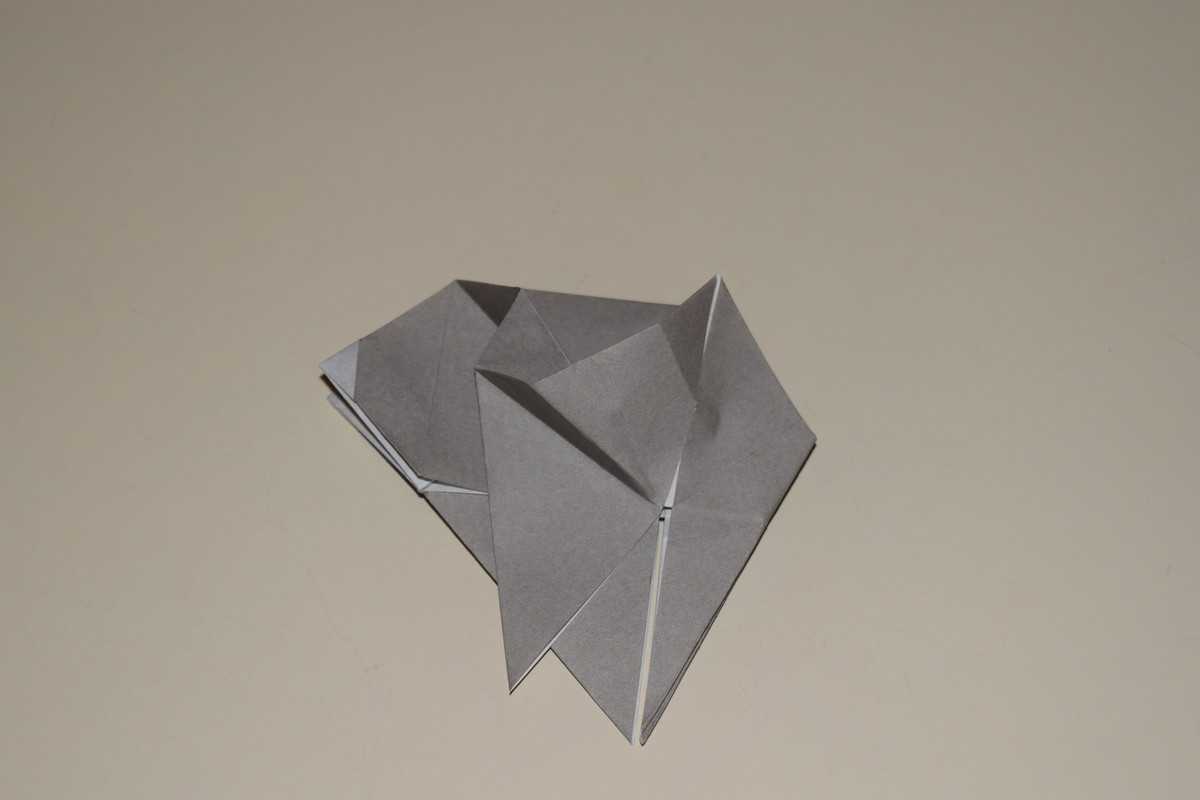
Open the layer starting at the right of the fold made in Step 52.
Flatten it so that the right square overlaps the left side.
Close up of Step 54.
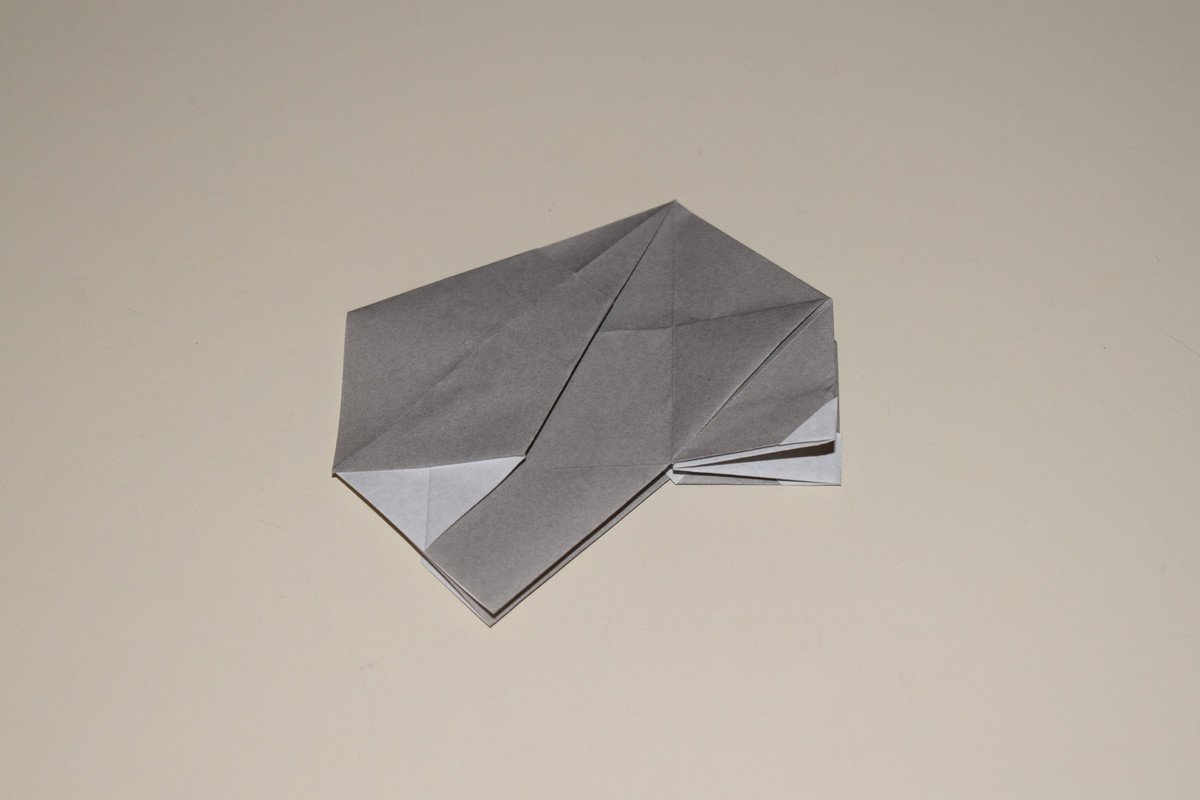
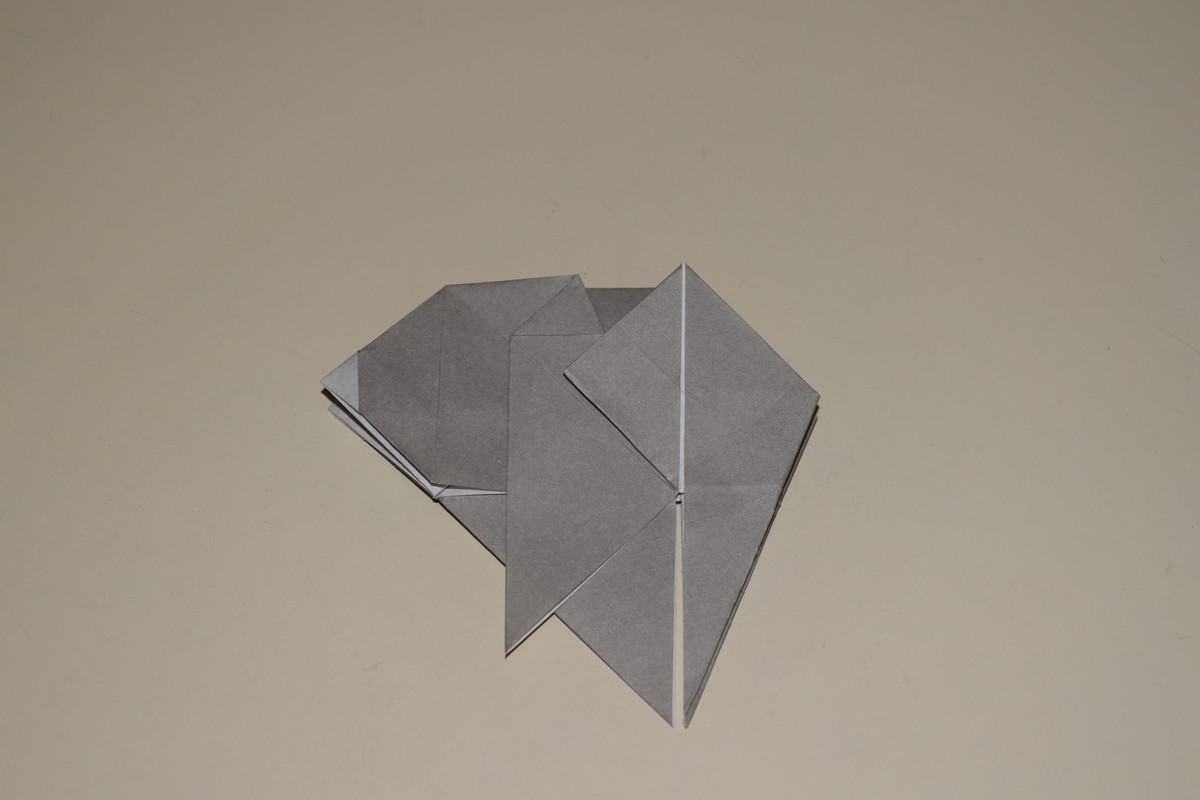
Turn the model over.
Repeat Steps 51 through 54.
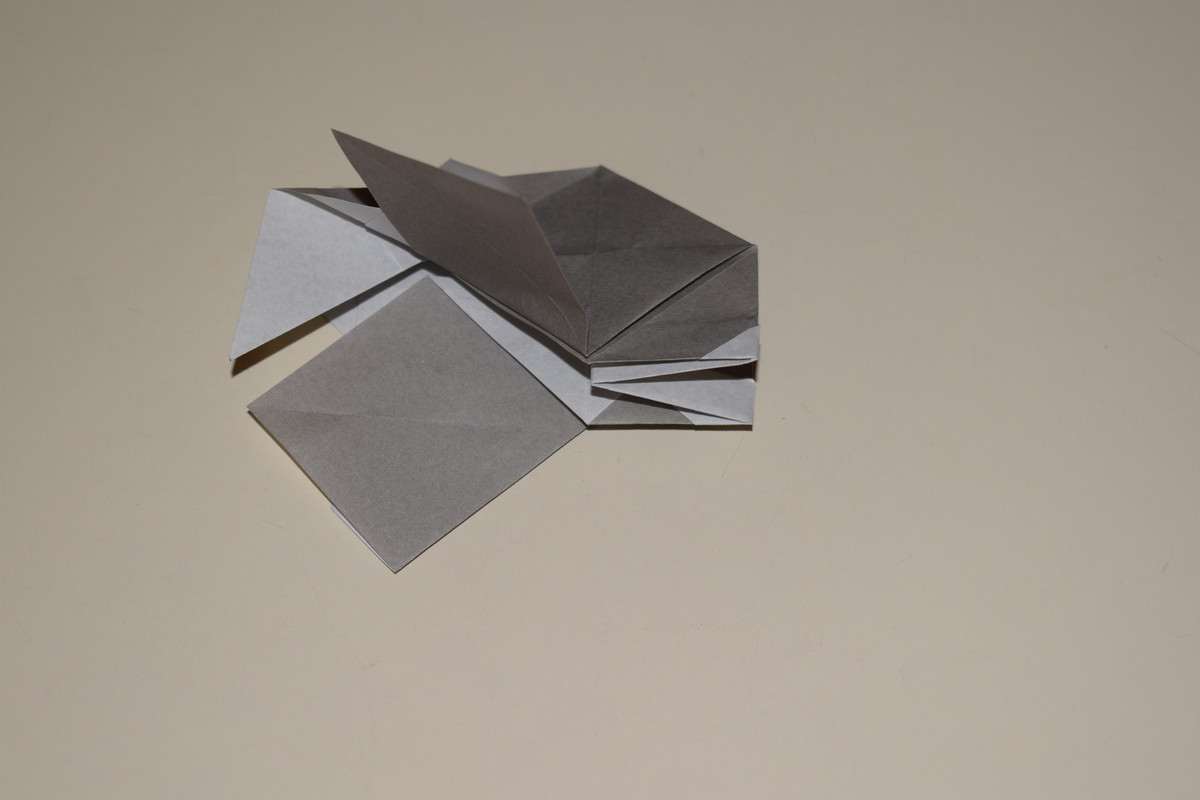
Directly to the right of the piece folded in Step 56, take the topmost flap and fold it down so that the top right edge meets the horizontal center line. Crease then unfold.
Take the same flap and fold it inside using the same crease.
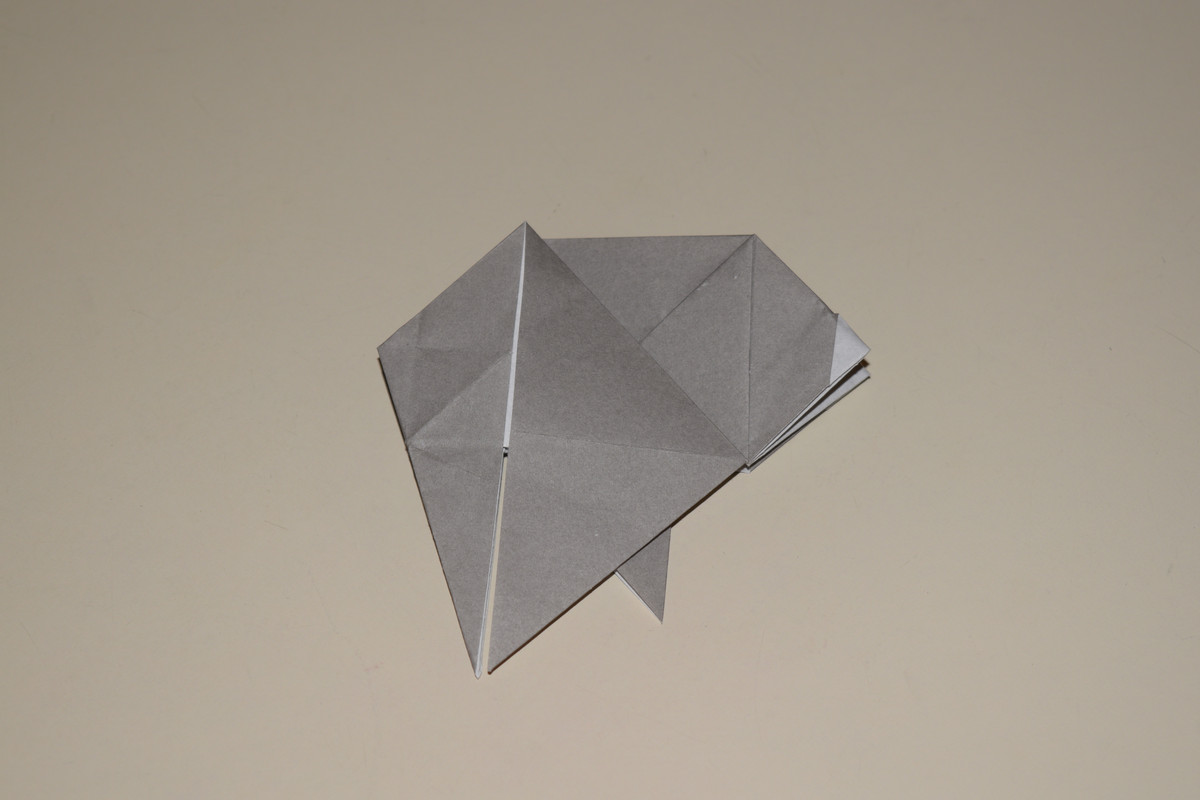
Turn the model over.

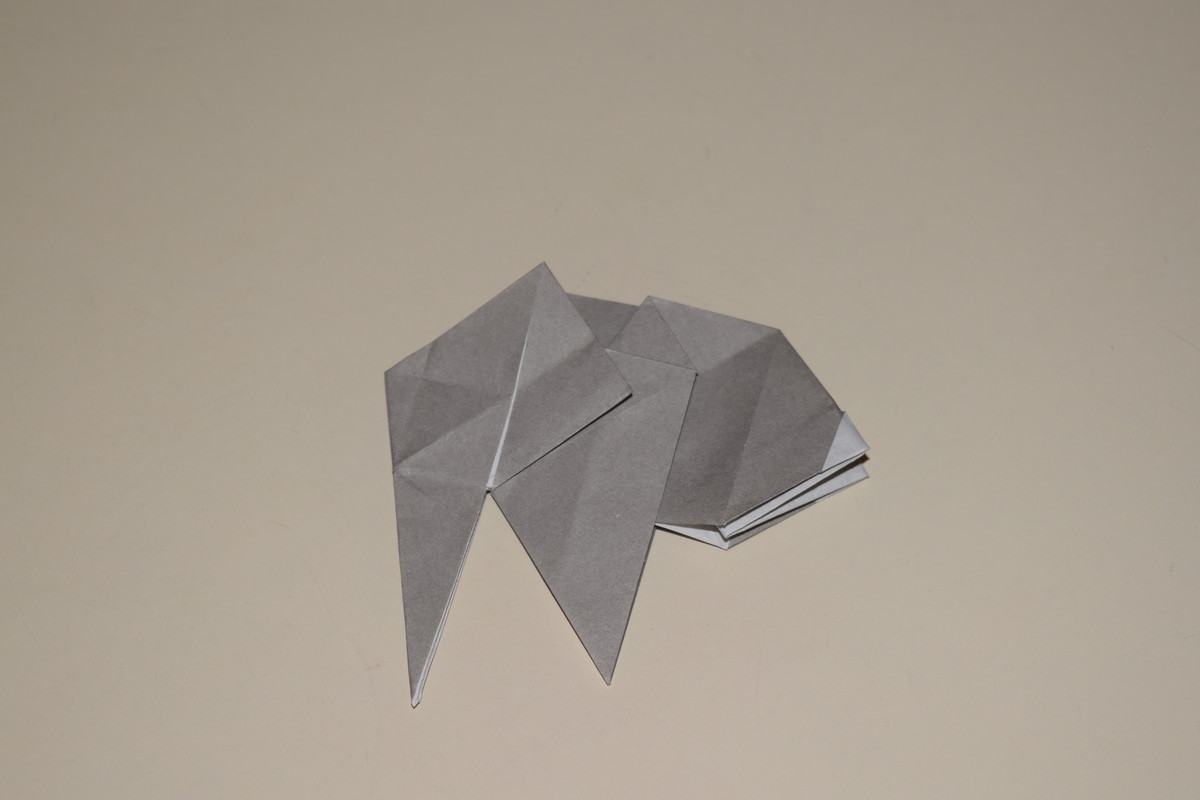
Repeat Steps 57 and 58
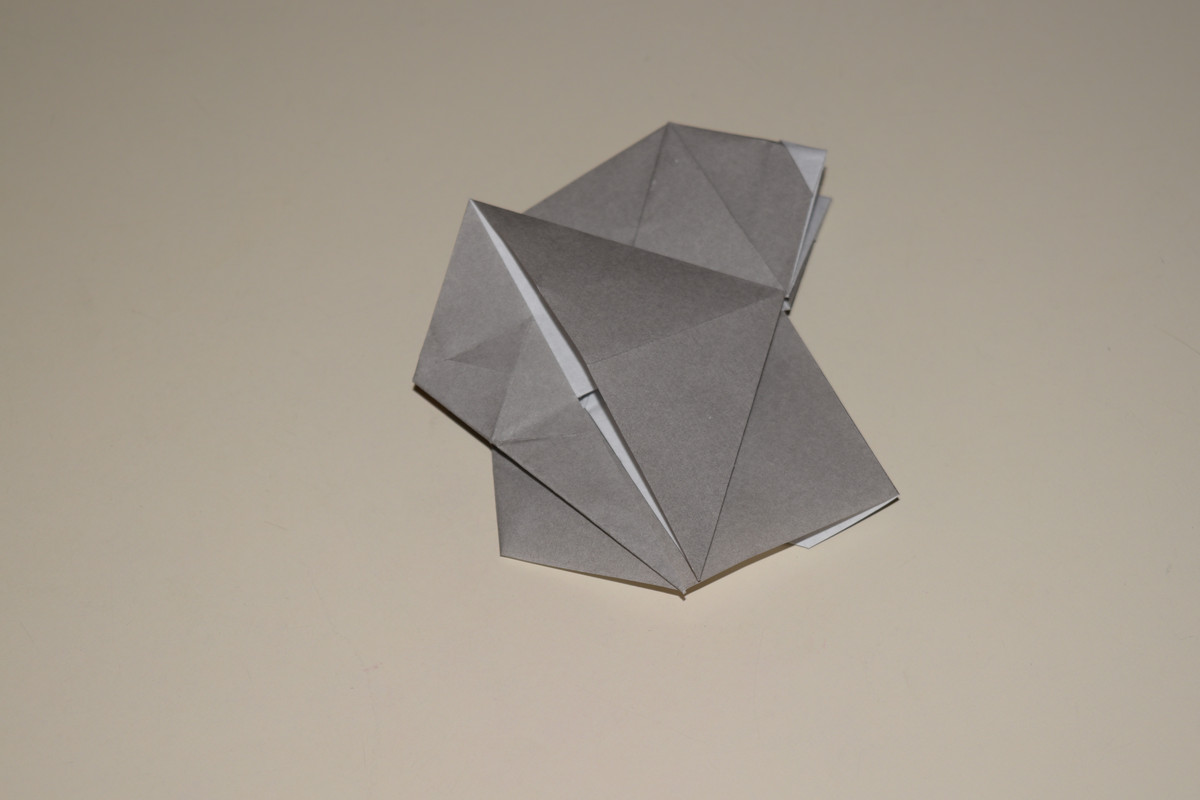
Fold the bottom right corner up to continue the line made by the part to the left.

Inside reverse fold.
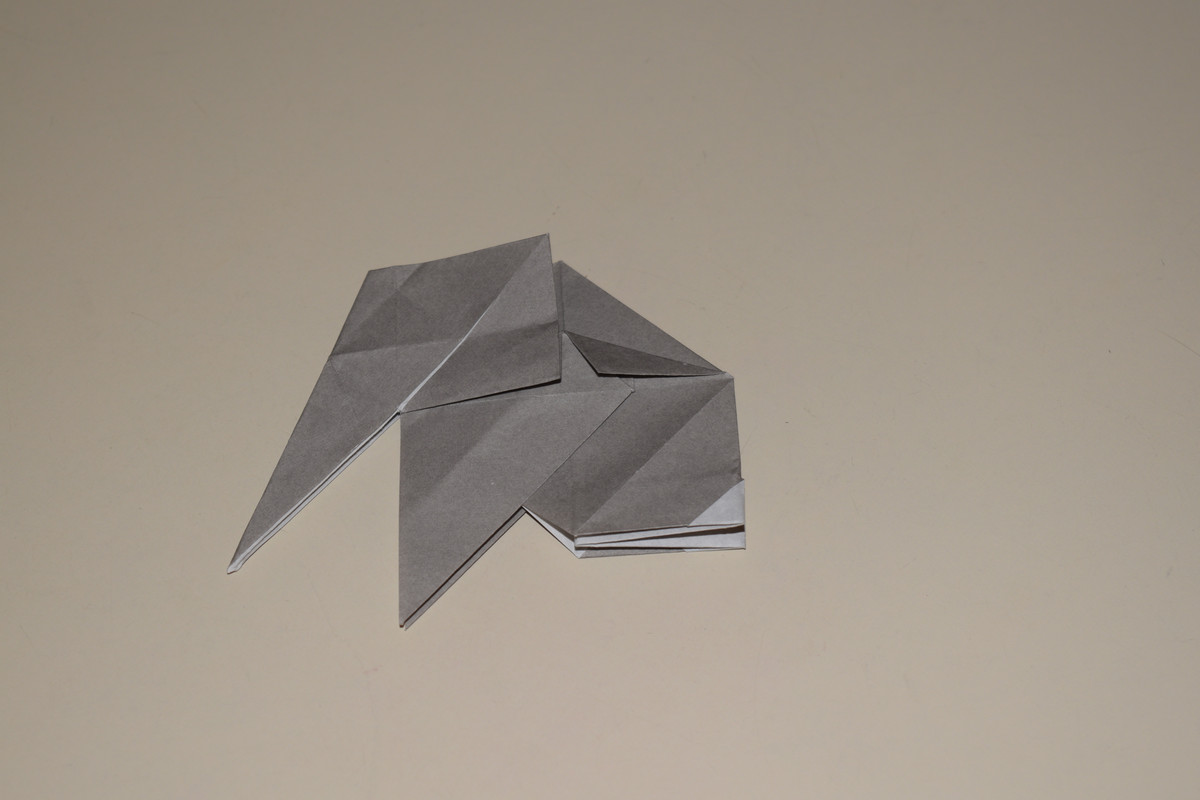
Turn the model over.

Repeat Steps 61 and 62.
Take the small triangle in the bottom right and valley fold on its top left edge. Crease then unfold.
Inside reverse fold.
Turn the model over.
Repeat Steps 65 and 66.
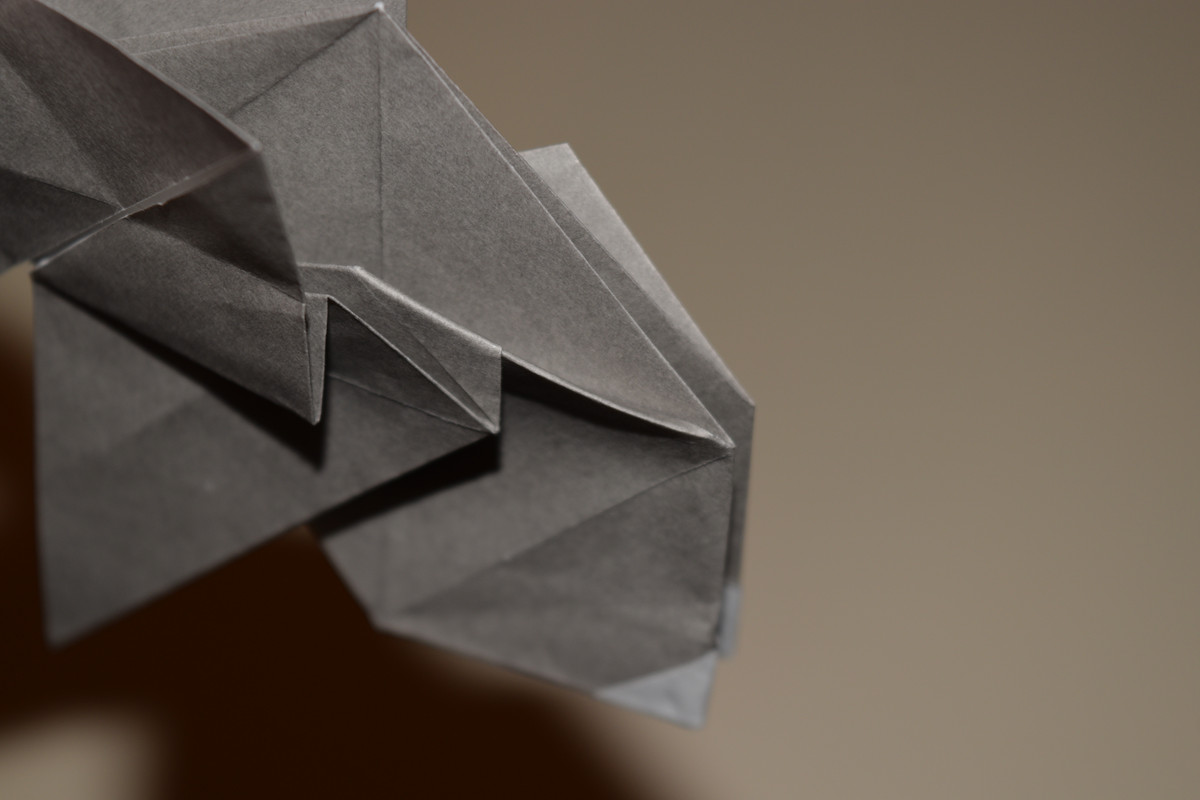
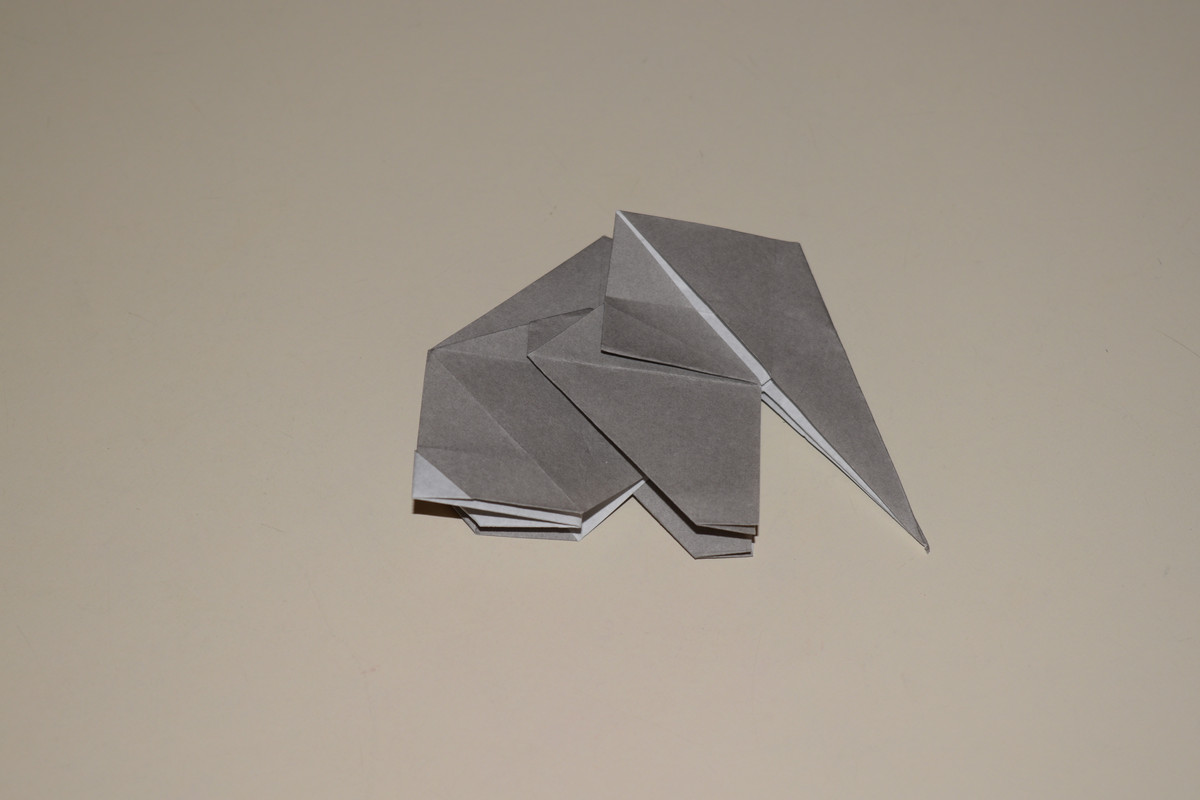
Take the topmost left flap and fold it over.
Fold the left edge in to meet the horizontal center line.

Repeat on the right side.
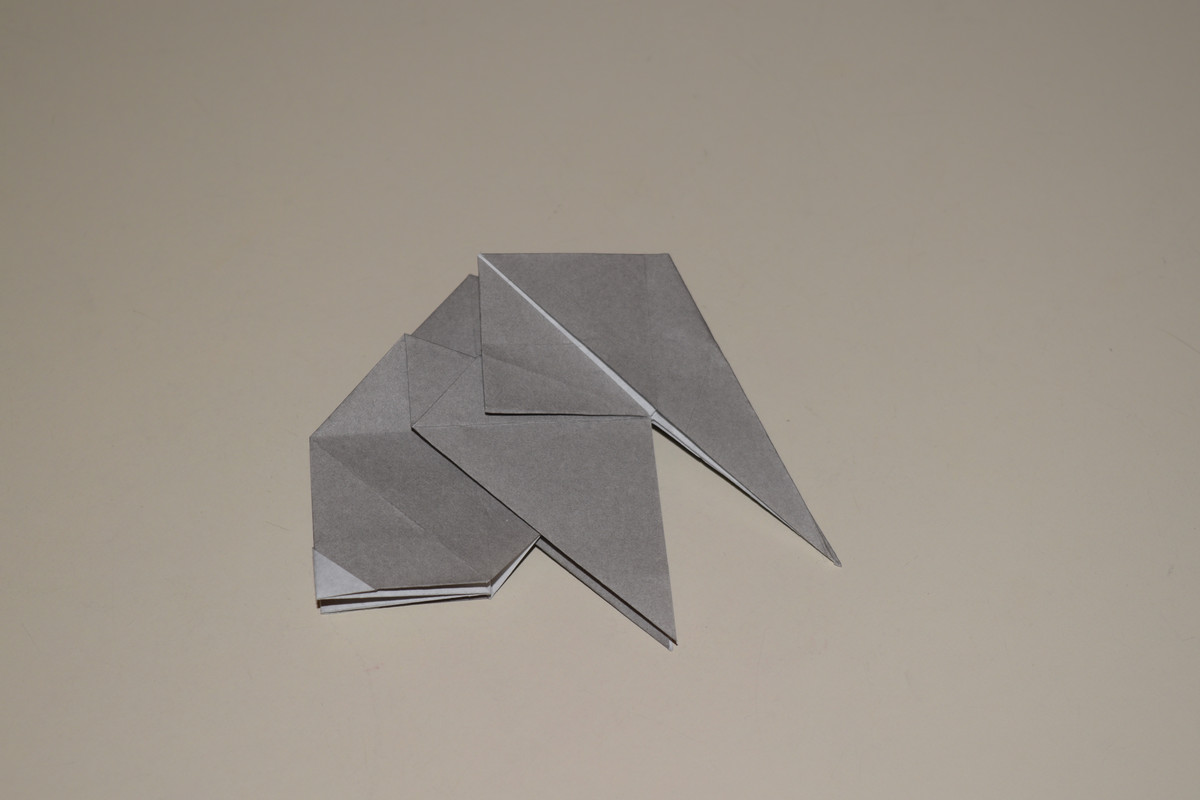
Fold the flap back over.
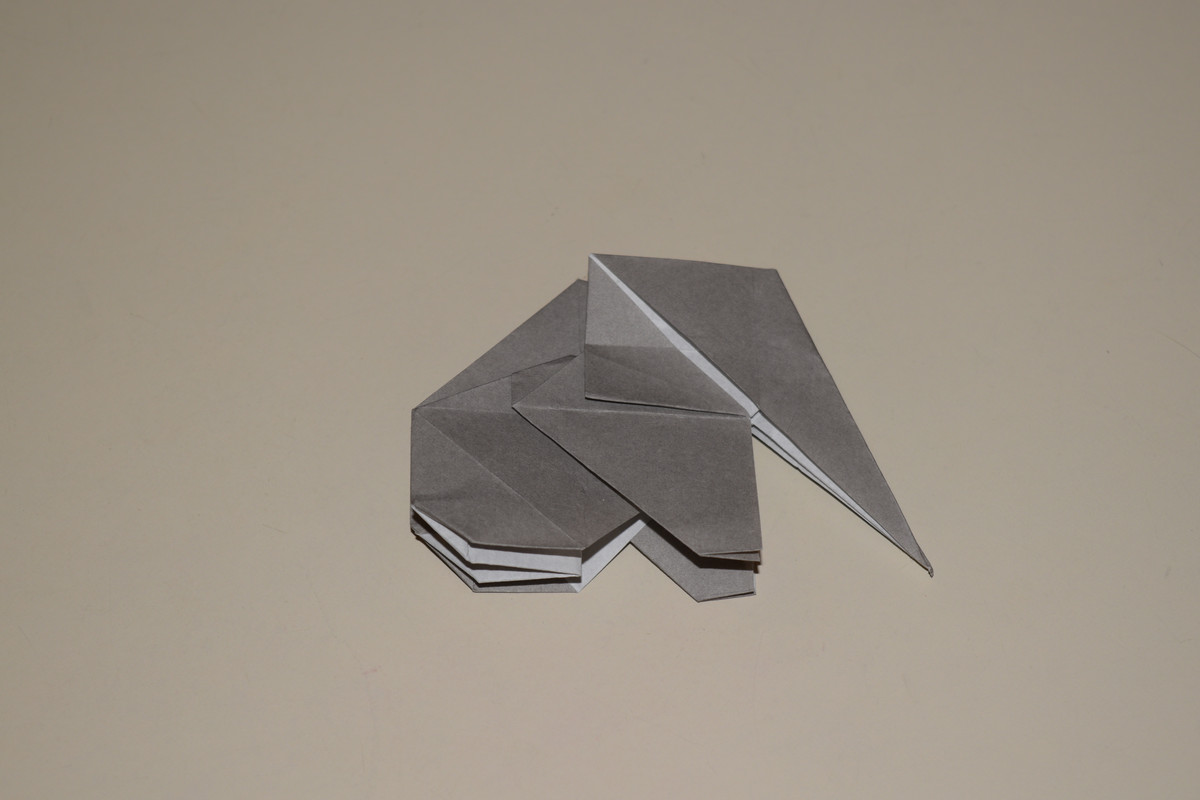
Fold the trunk up to continue the line made by the ears. Crease then unfold.
Inside reverse fold.
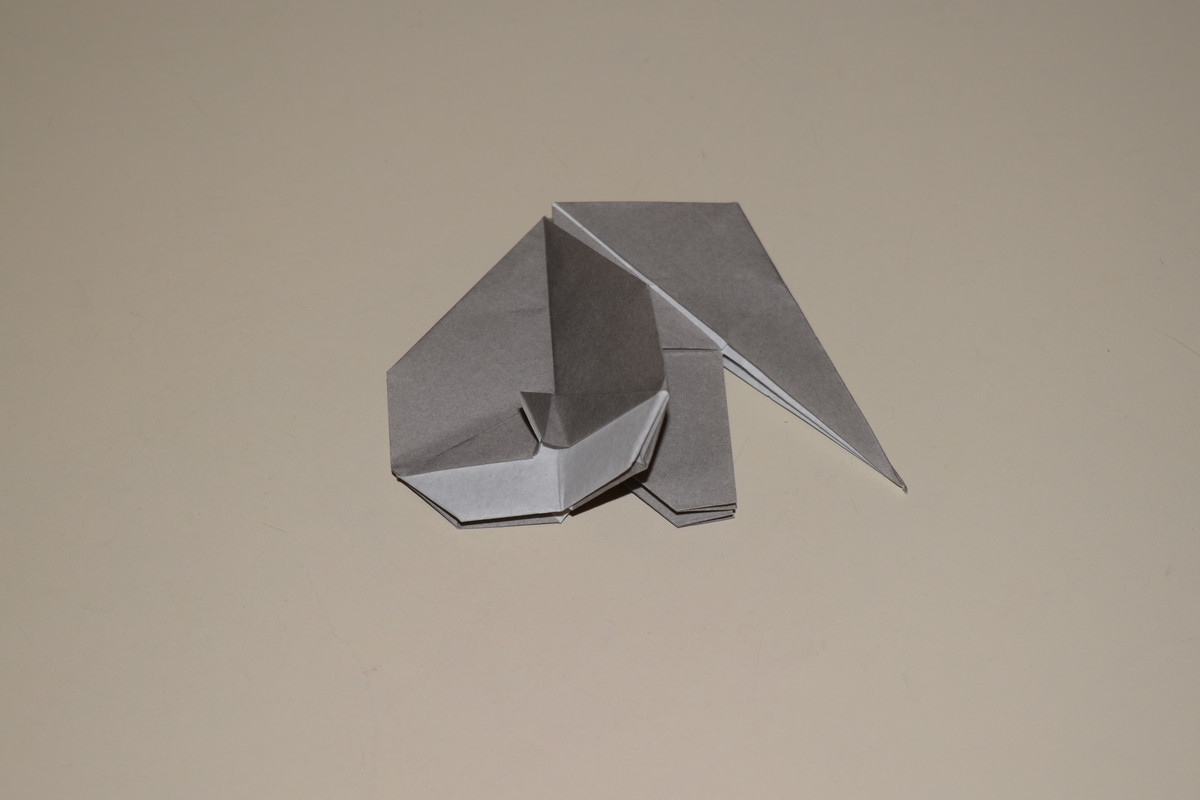
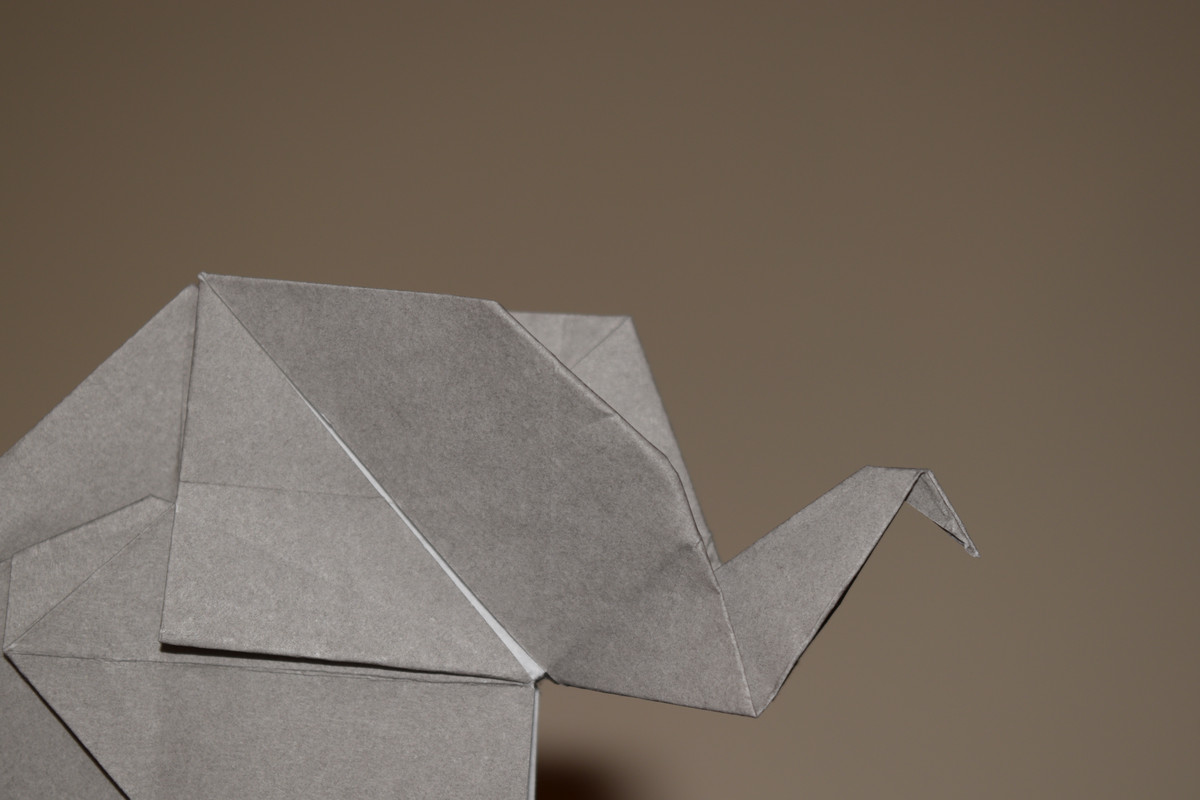
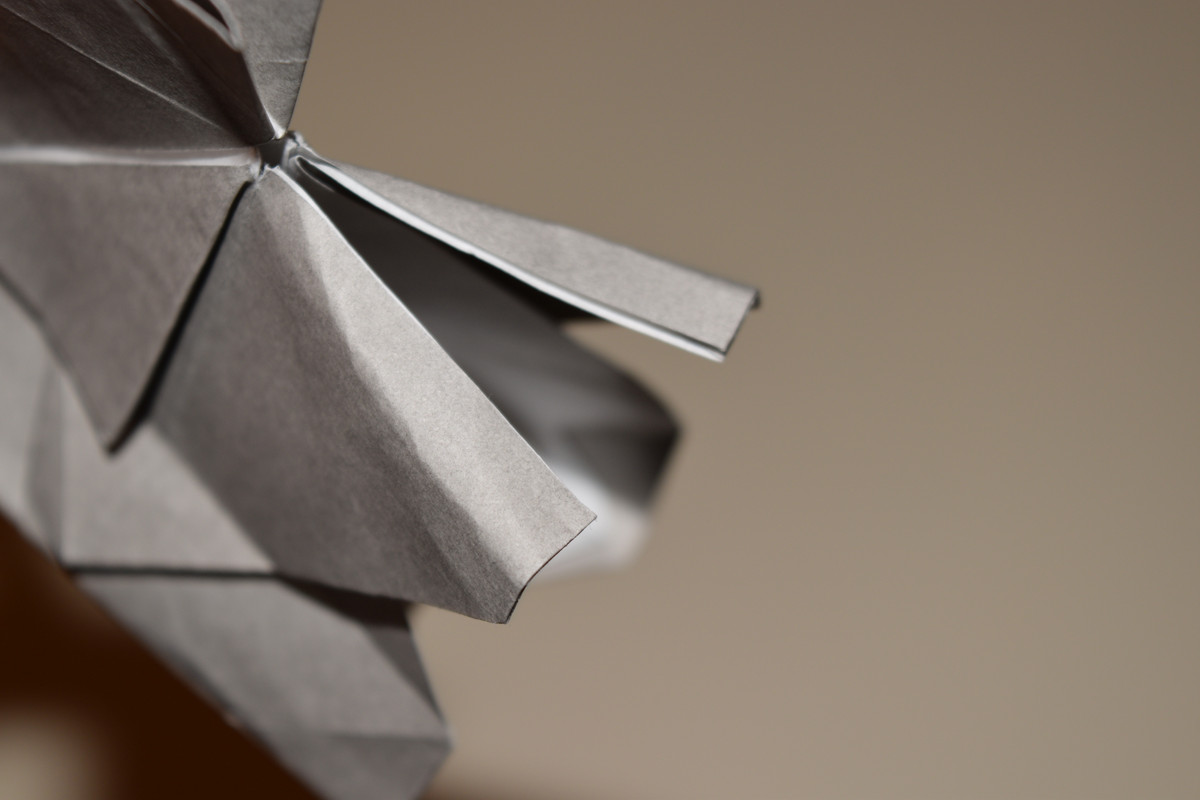
Inside reverse fold the tip of the trunk.
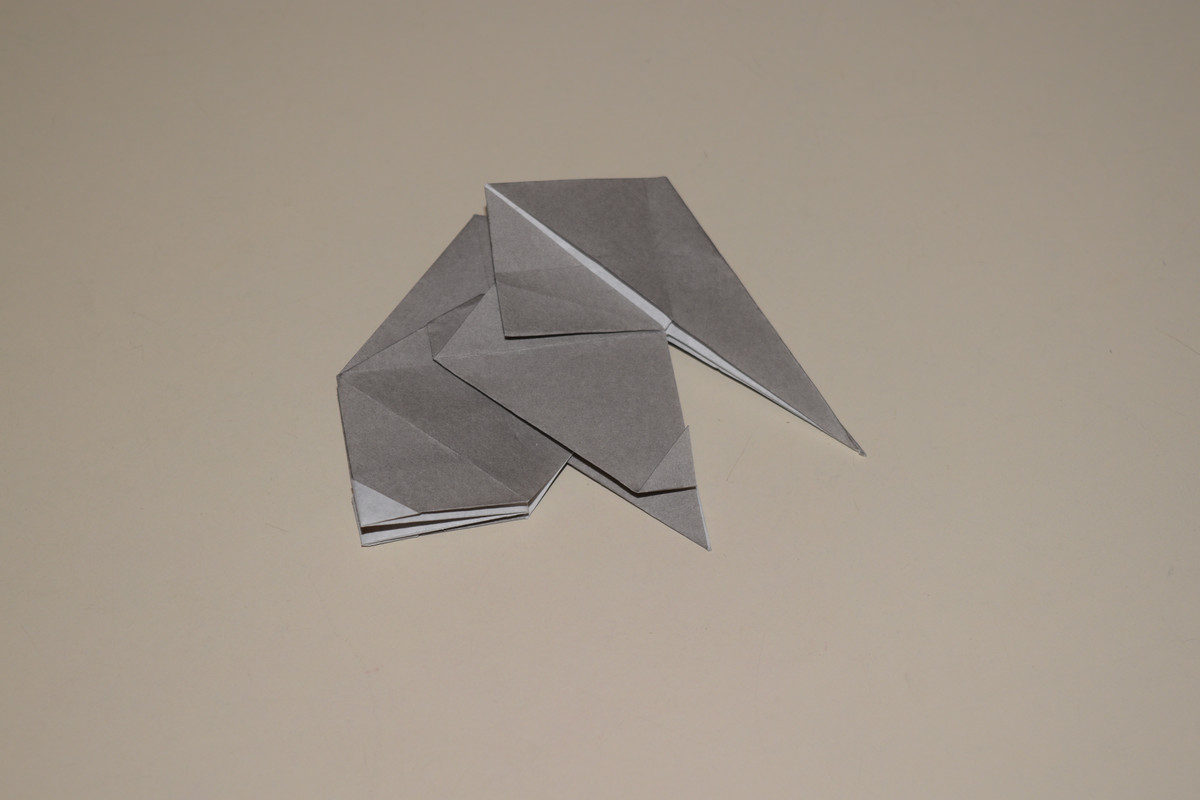
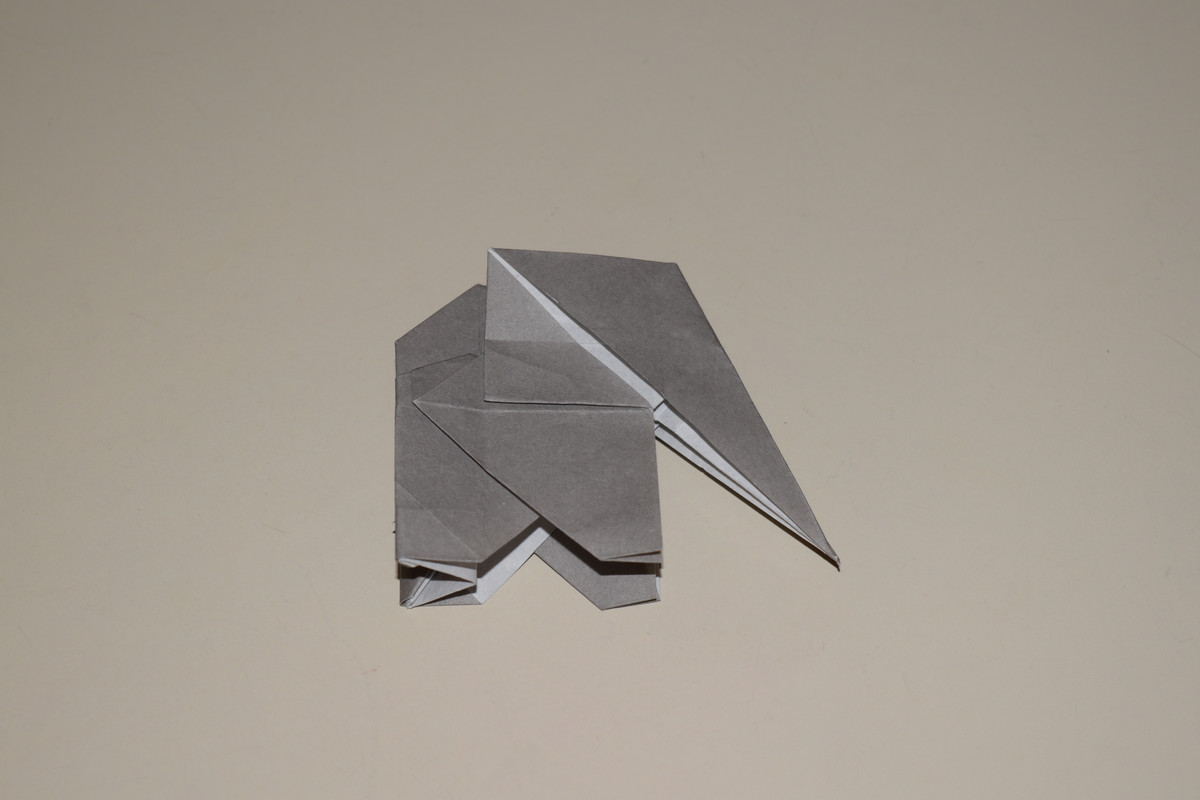
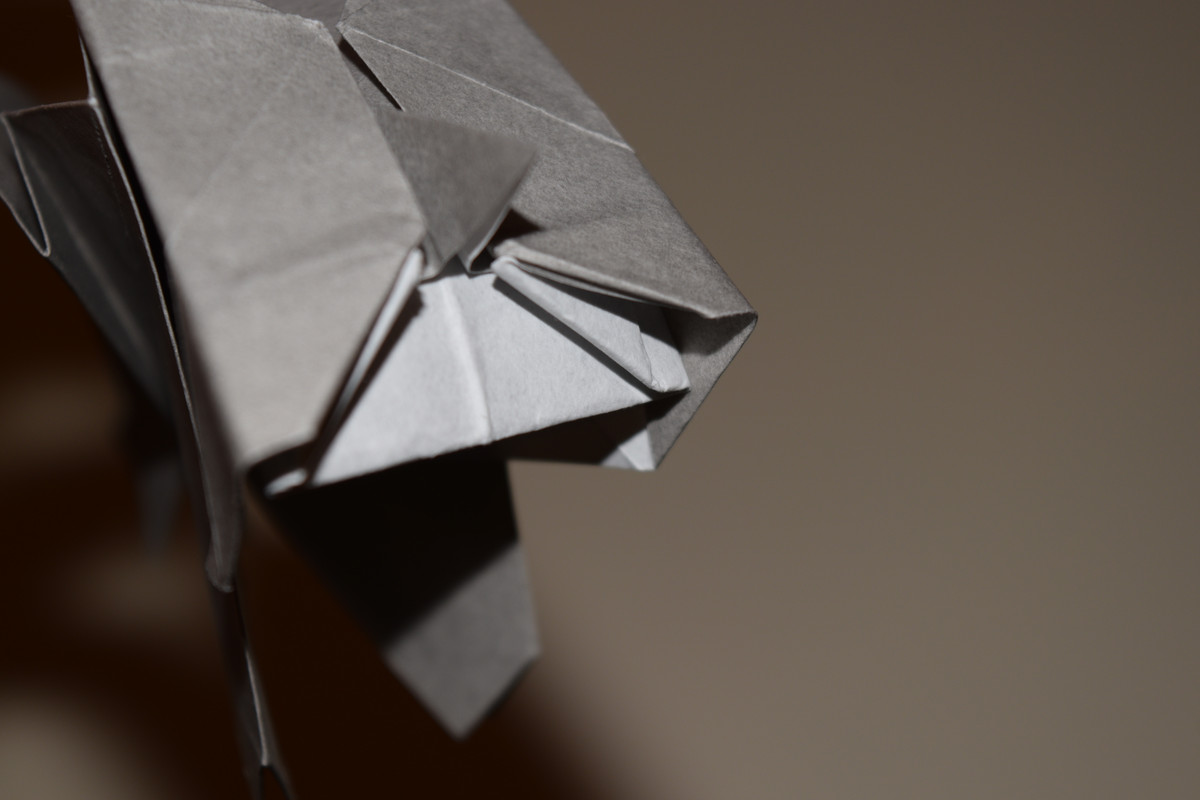
Take the corner on the head and fold it in.

Repeat on the other side.
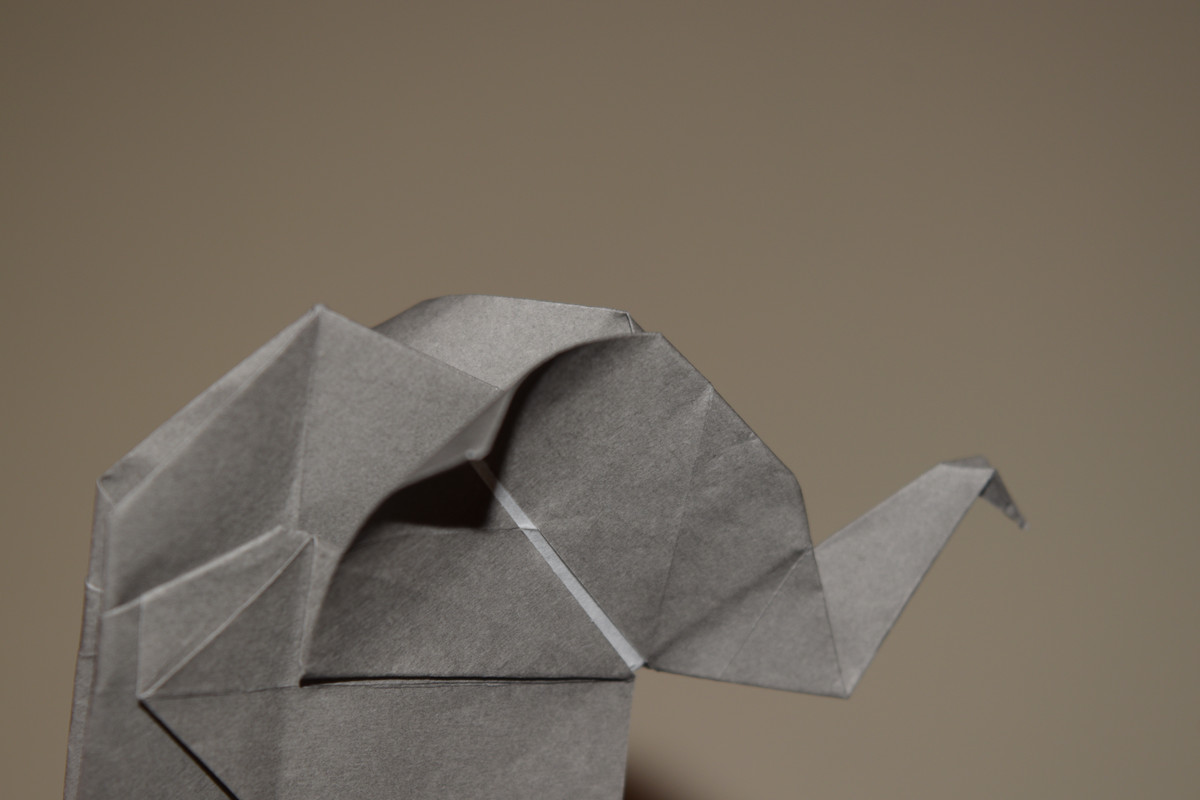
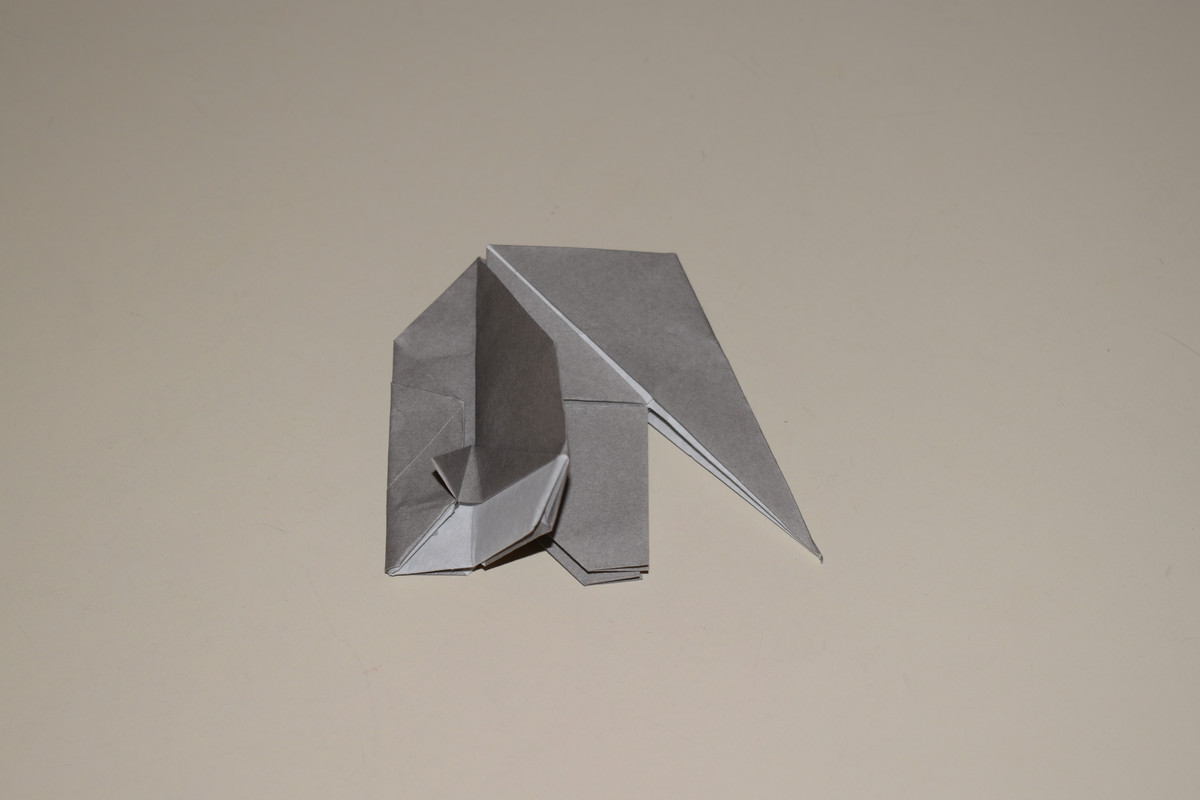
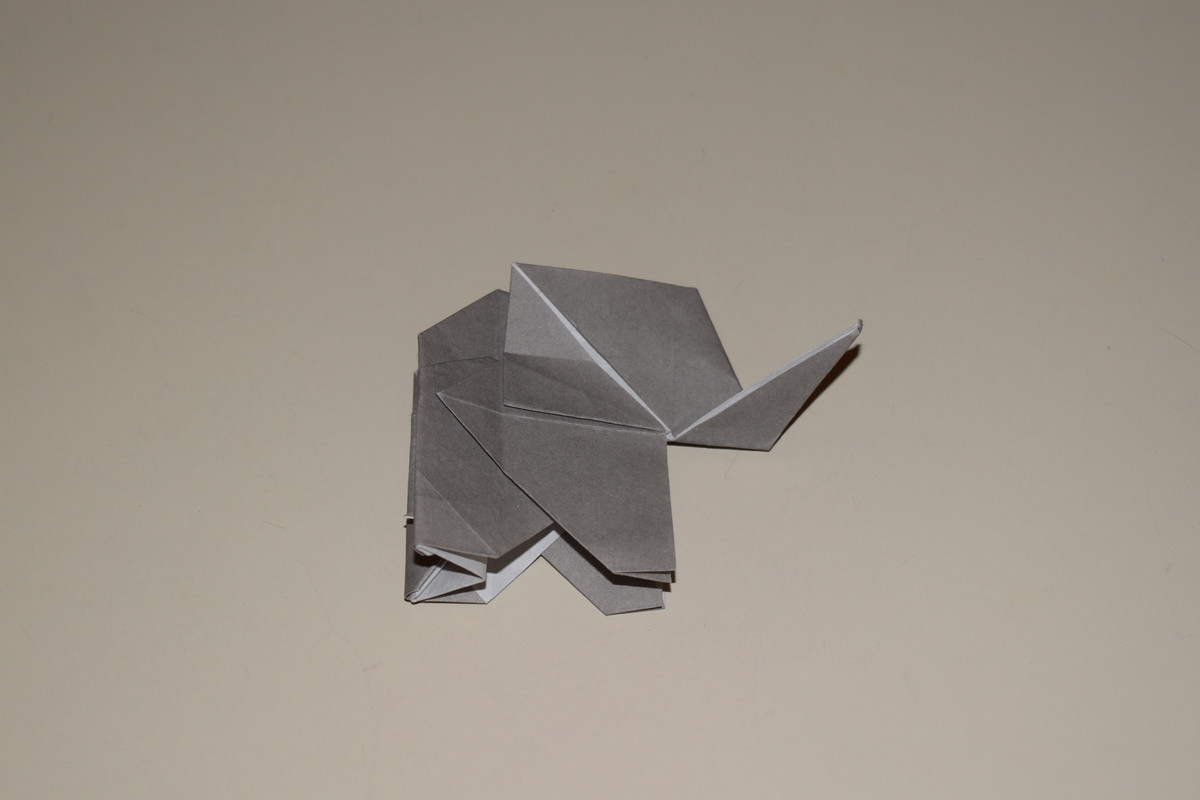
Curl the ears

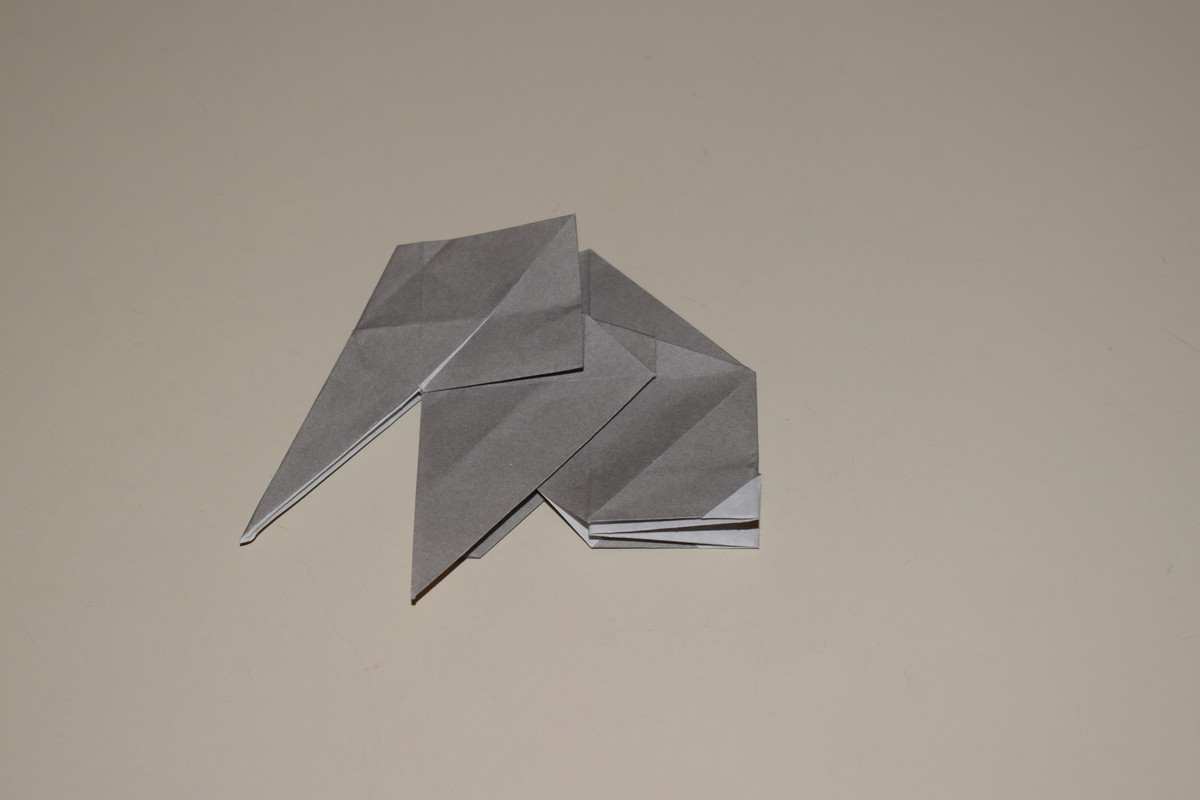
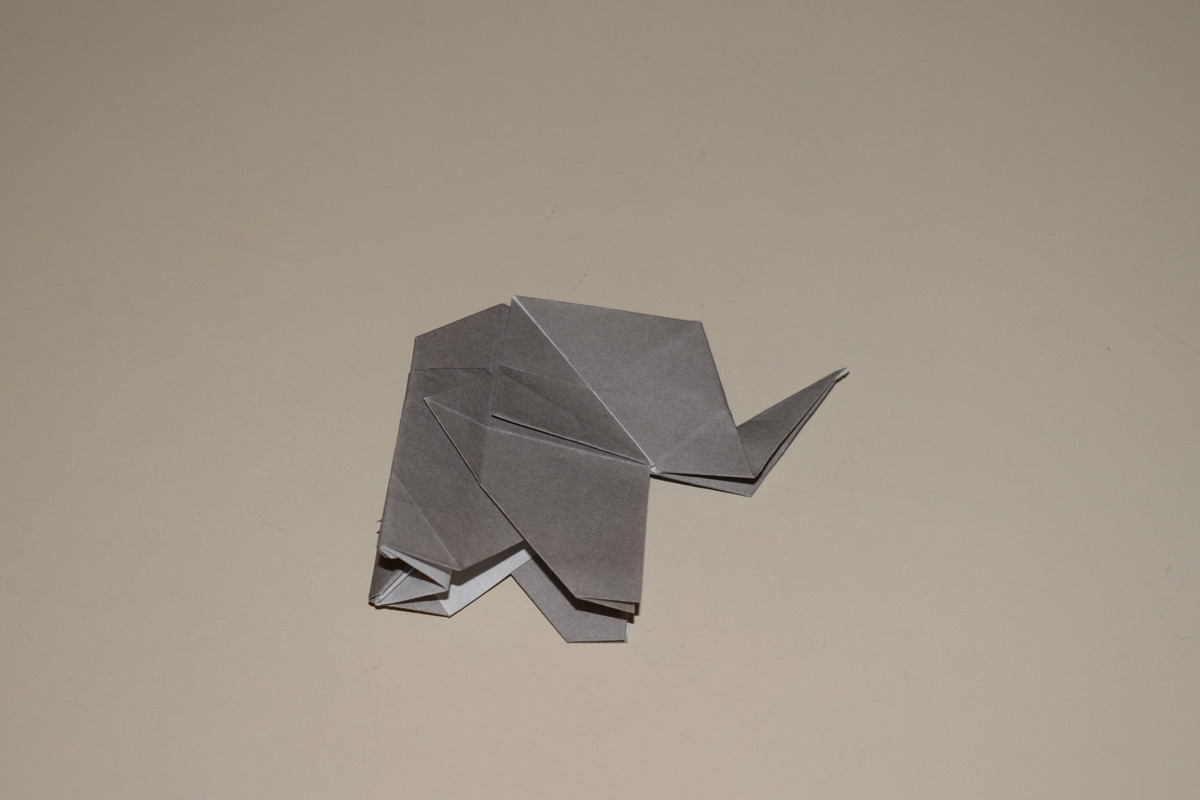
Open the bottom to make a triangle-like shape.
Turn to see the back.
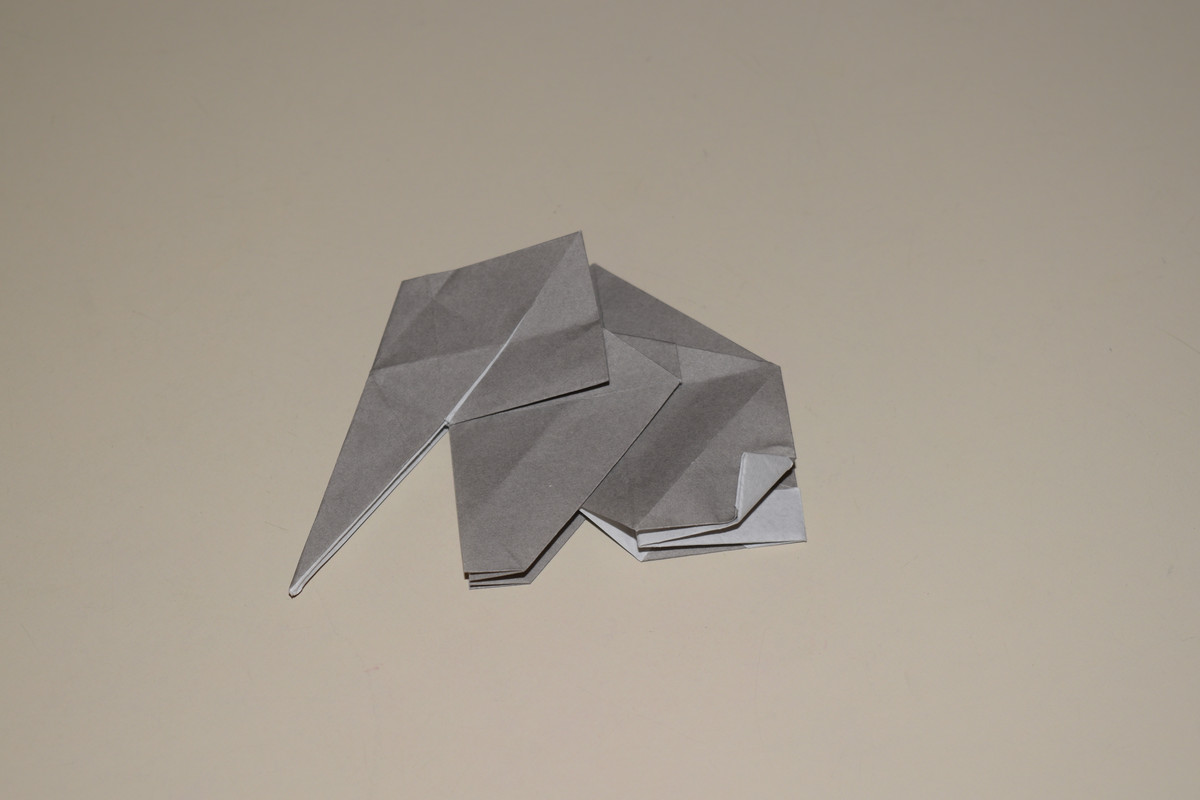
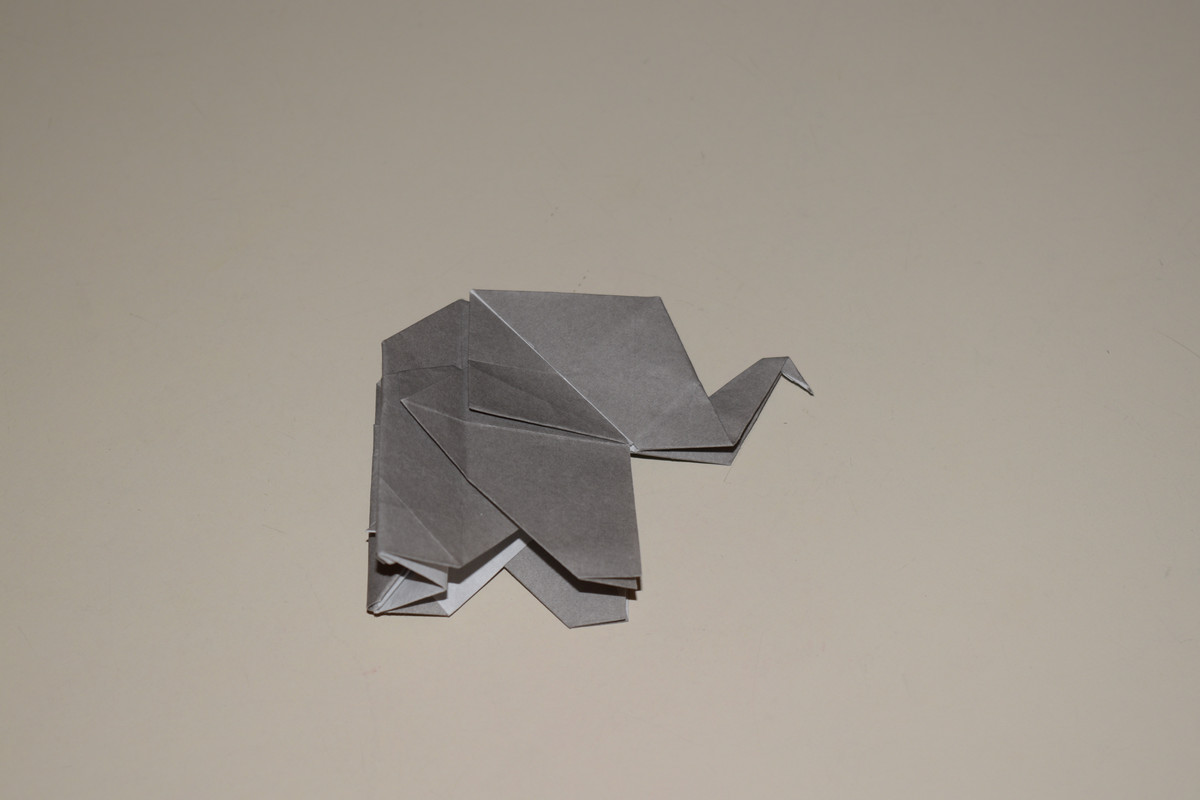
Fold the small white rectangle back up into the bottom. This will make the model stand on its own.
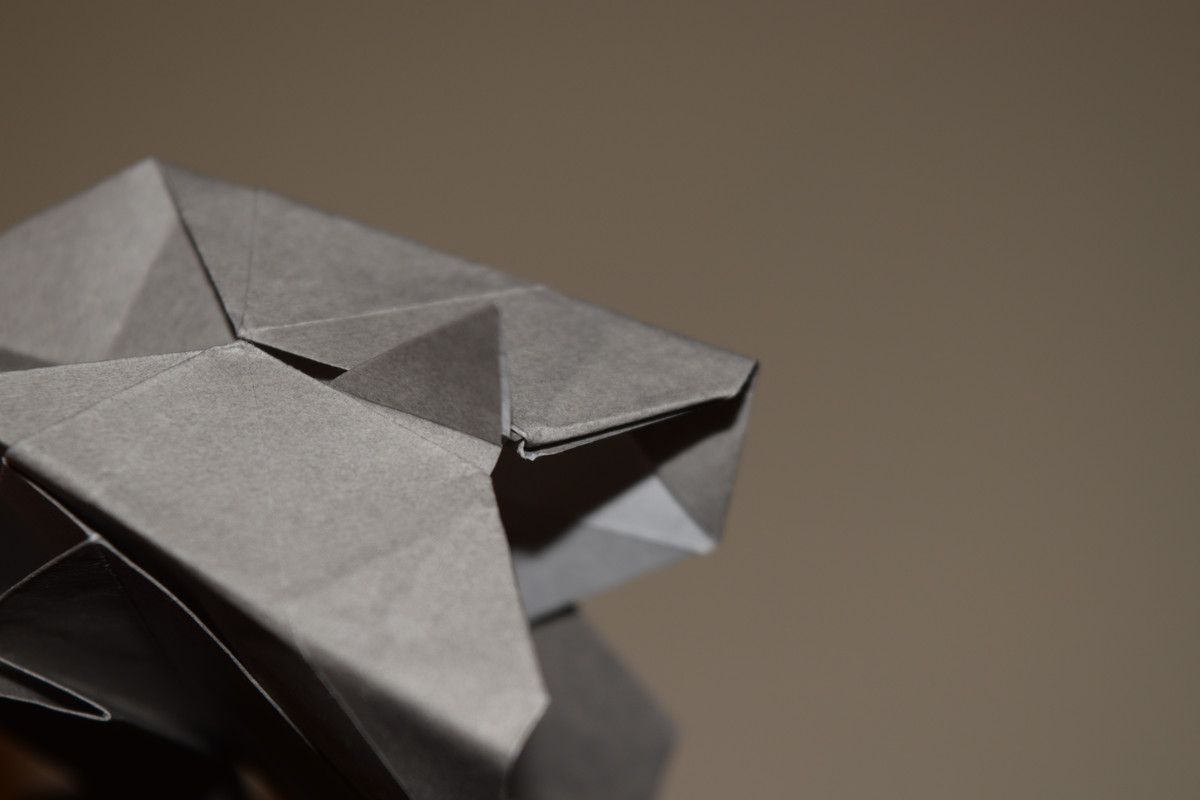
Looking at the front part, round off the paper to make the front legs.
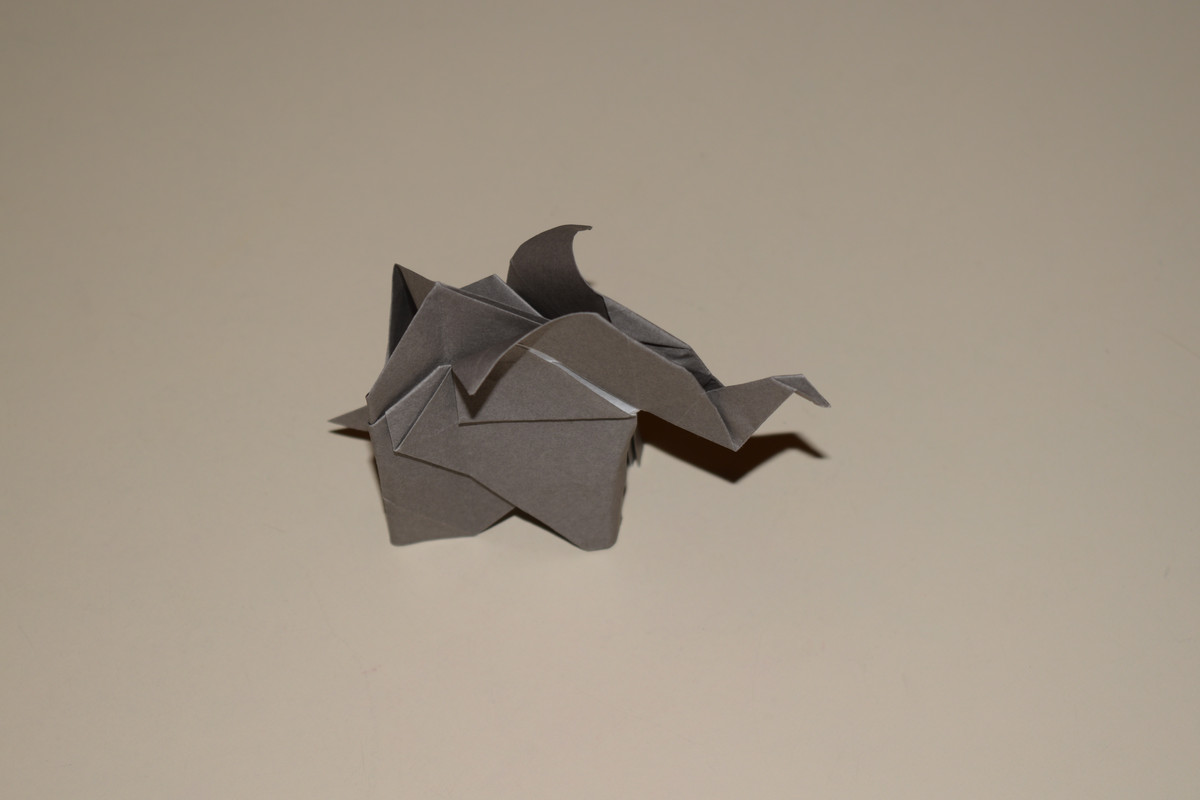
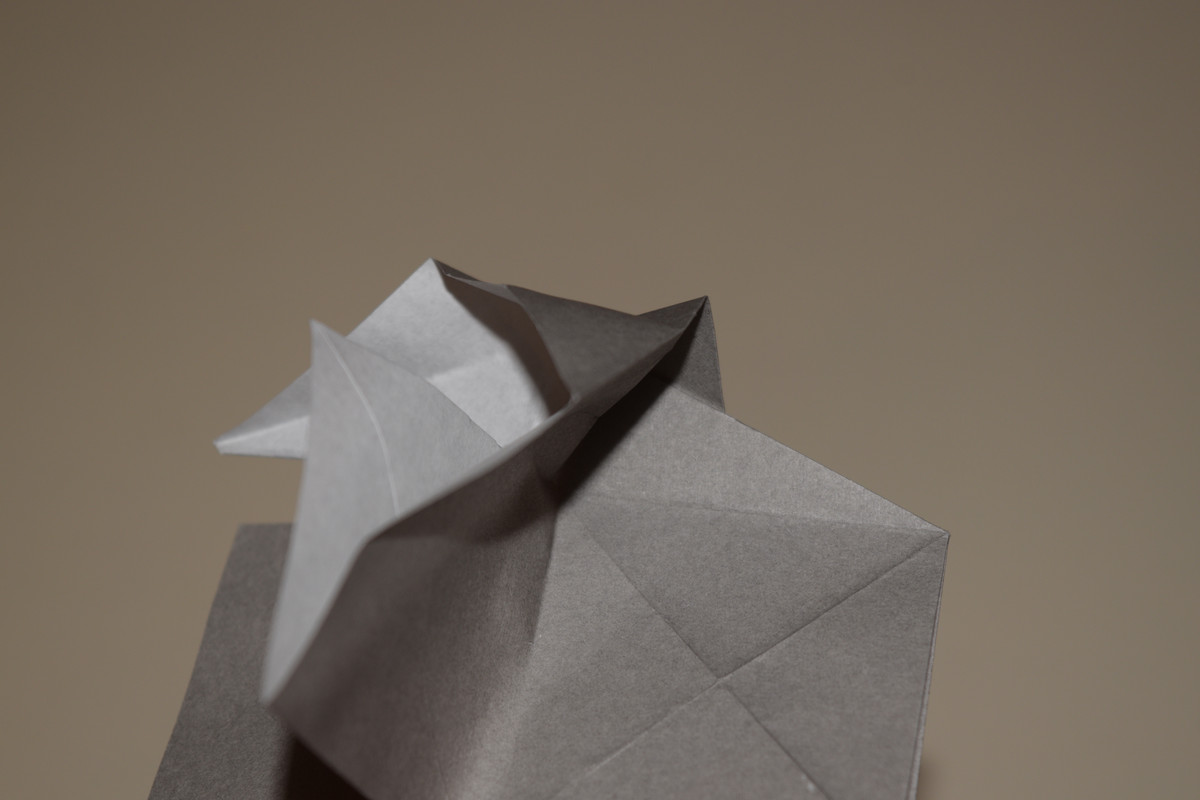
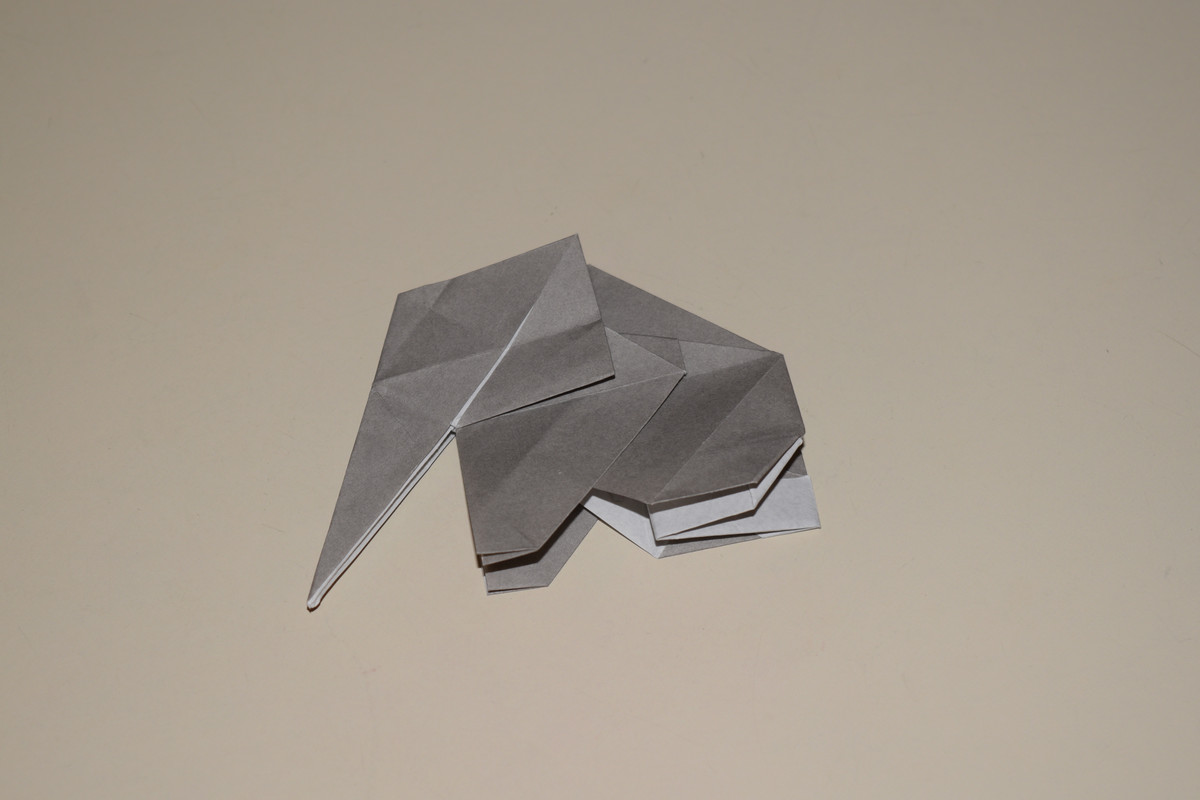
You have completed the Elephant.