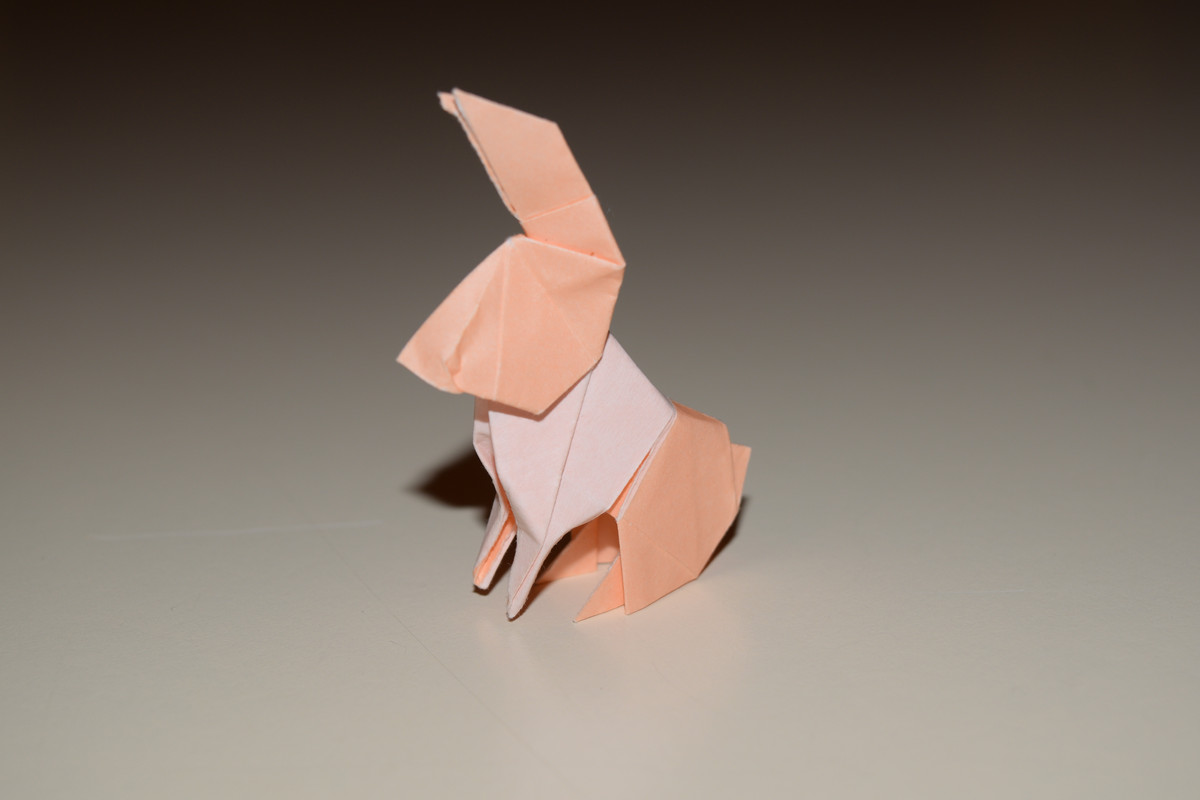
The Dollar Bill Hare, designed by Barth Dunkan, is true to its name in that it is meant to be folded from a dollar bill. Because of this, a regular square sheet of paper cannot be used unless it is cut into the ratio of a dollar bill. The first few steps of this tutorial teach how to cut a square sheet of paper into a piece with a dollar bill's ratio. If you are using a dollar, skip to
Step 11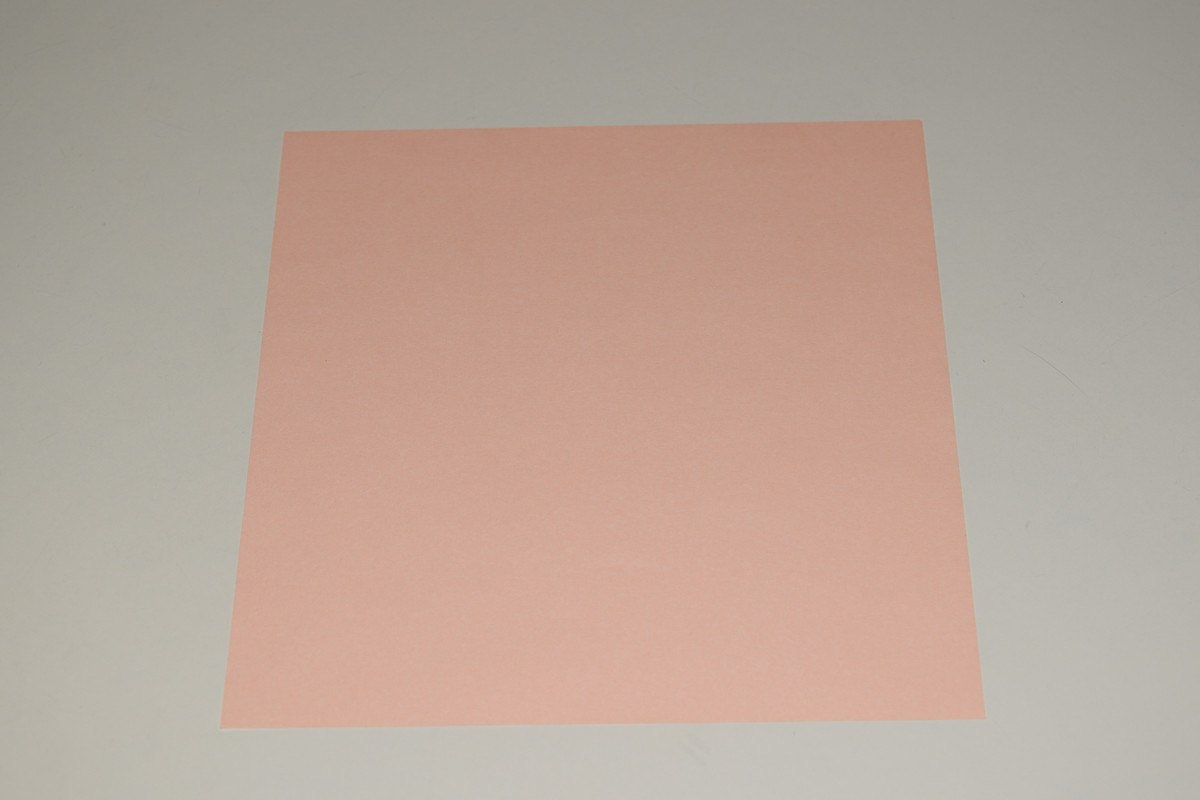
The paper here is 15cm x 15cm, single-sided origami paper. Any paper cut into the shape of a square should be usable.
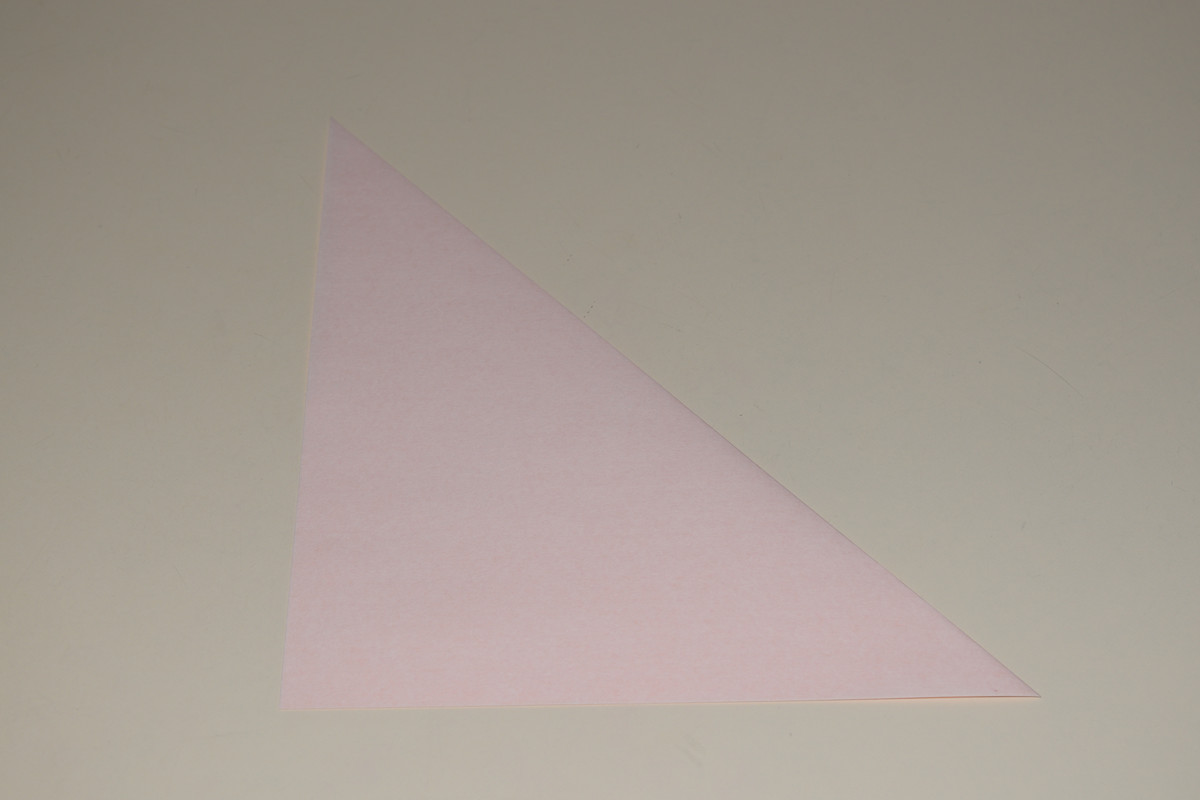
Fold the top right corner down to the bottom left corner and crease.
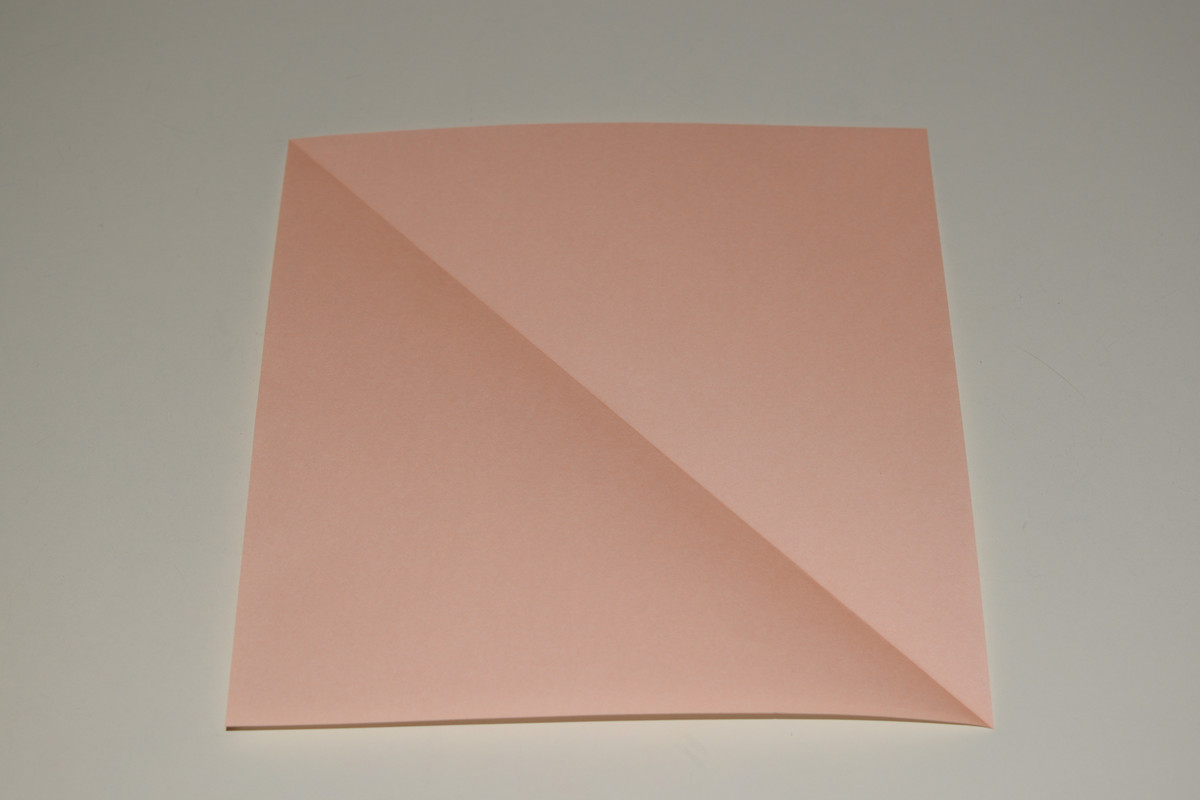
Unfold.
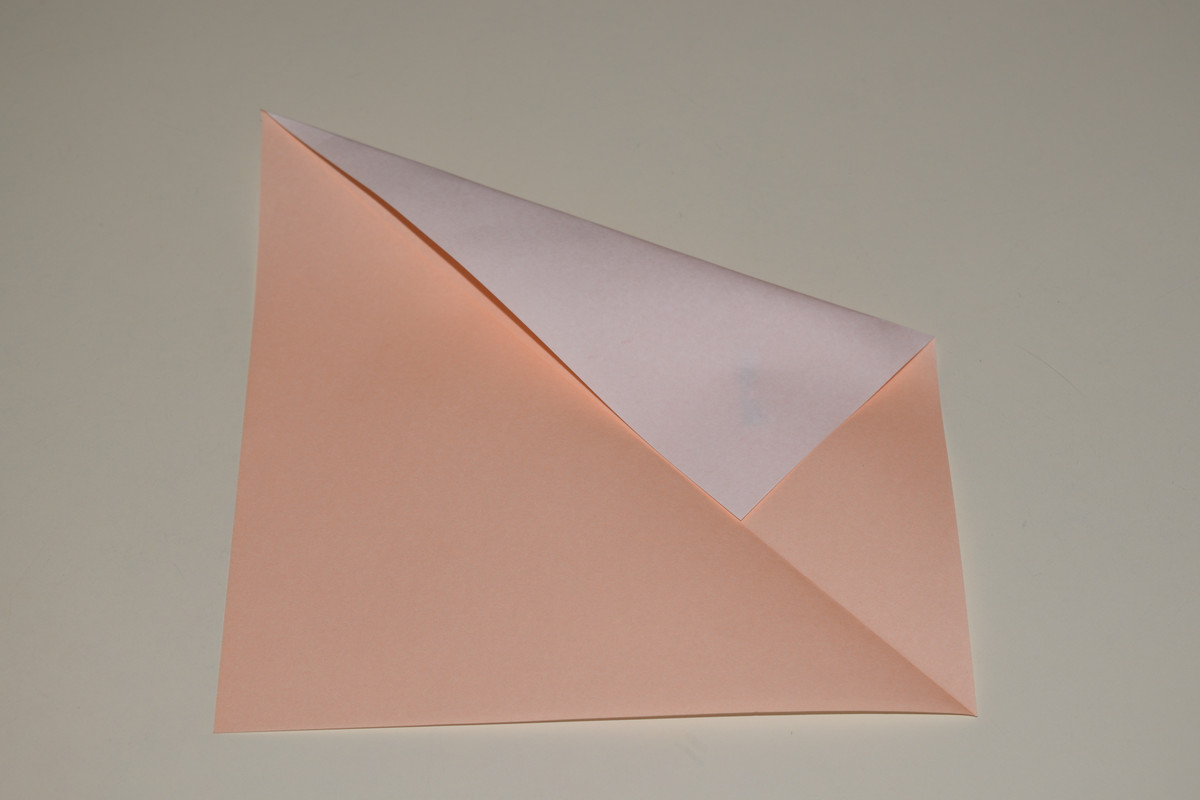
Bring the top edge to meet the diagonal line, but DO NOT crease all the way. Only pinch the right corner.
Unfold.
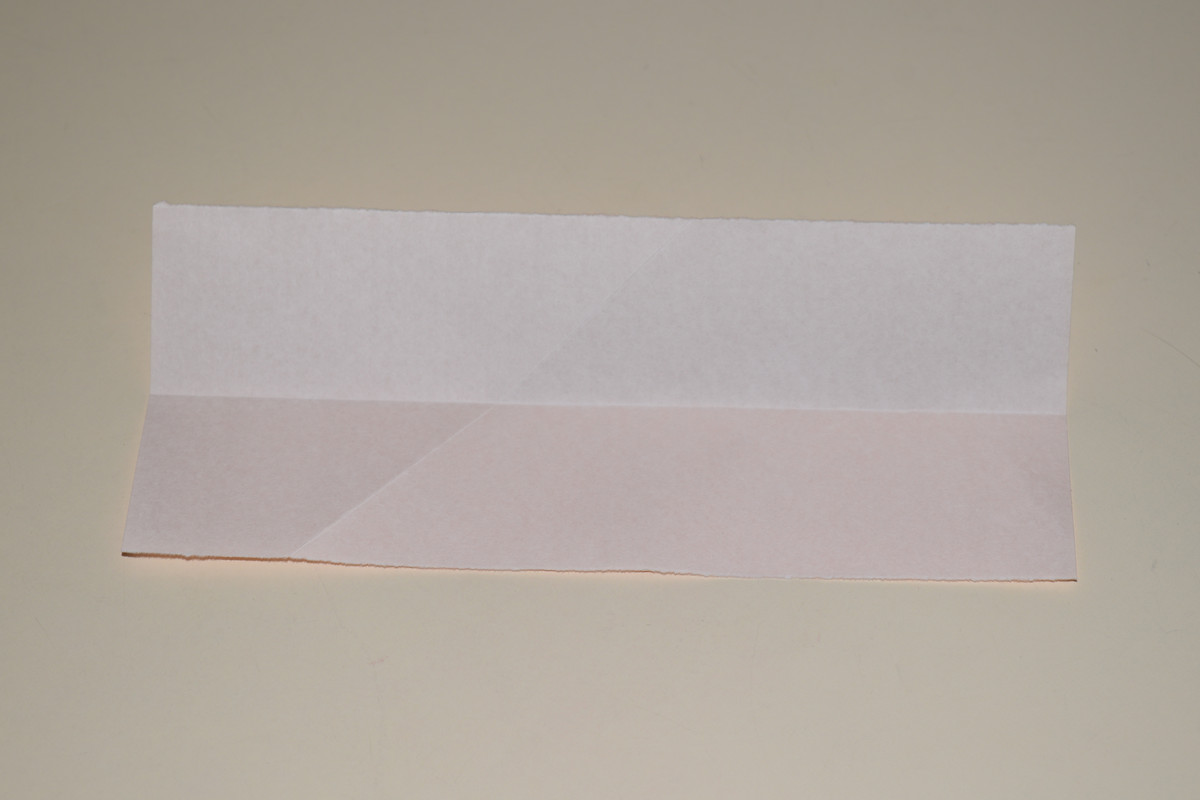
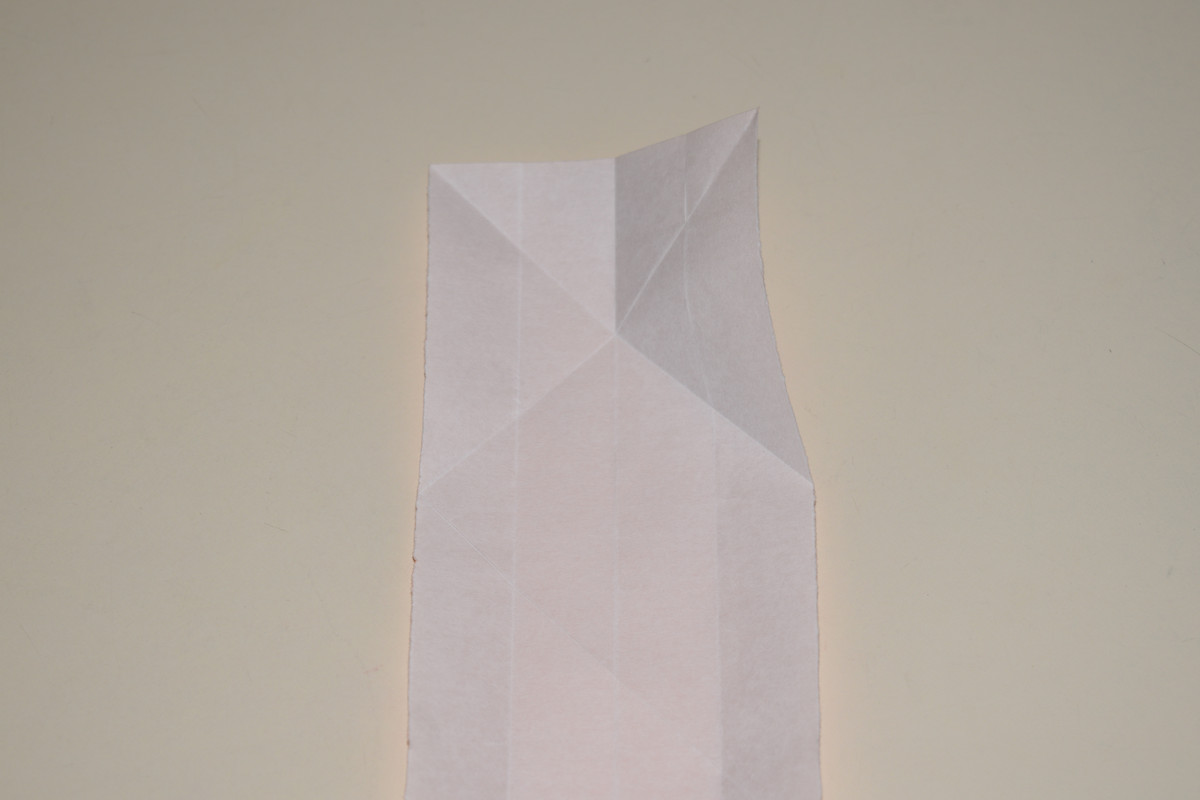
Using the pinch on the right side as an axis, fold the top down and crease.

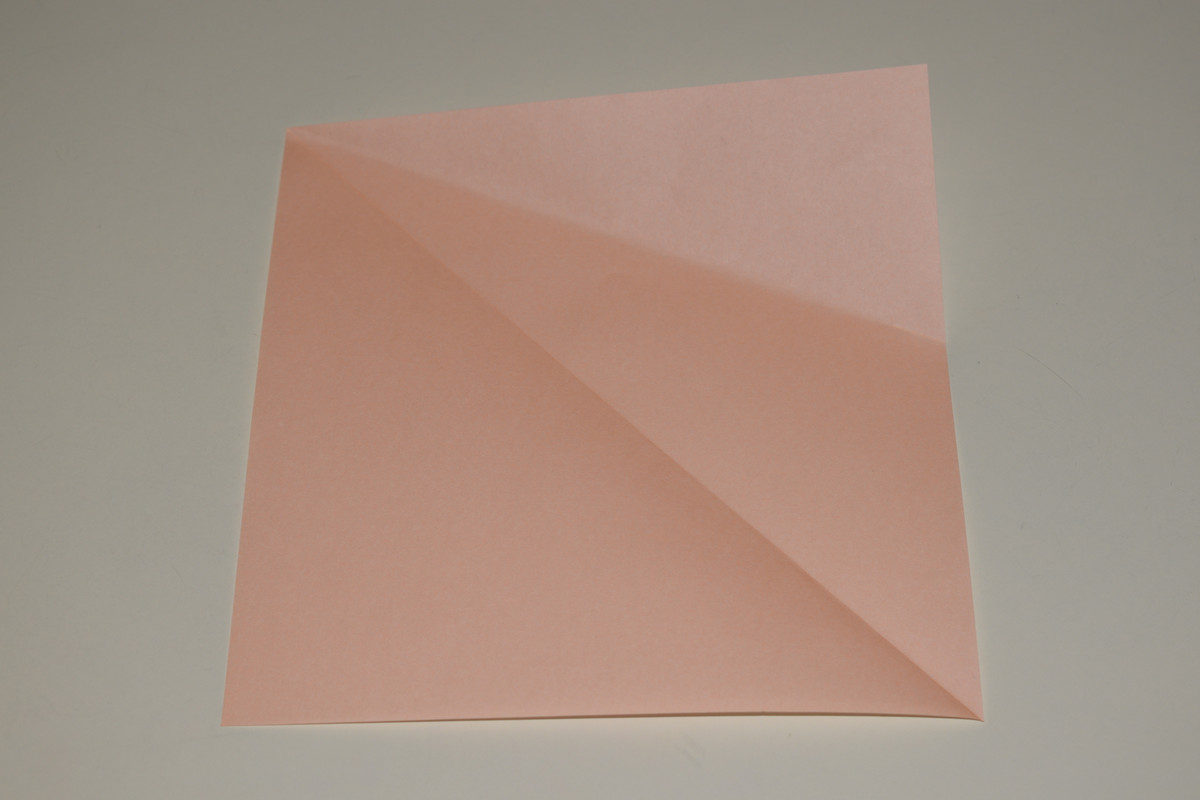
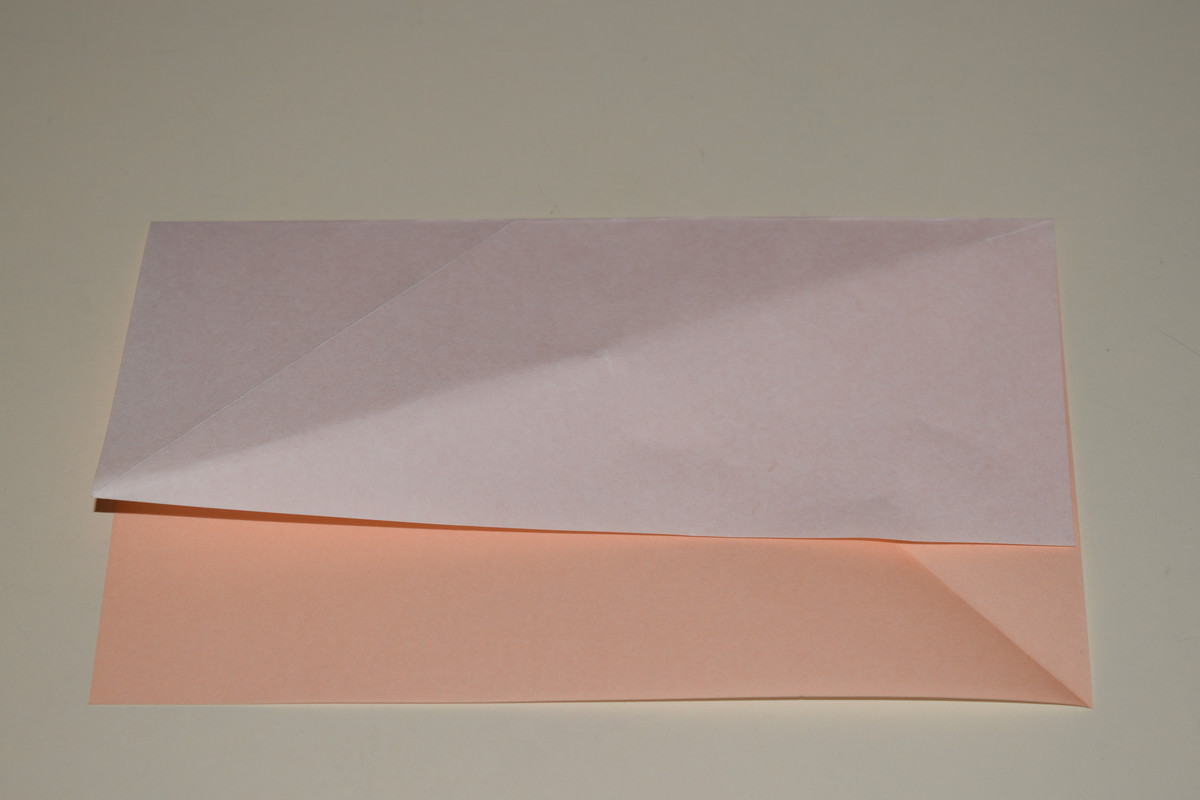
Turn the model over.

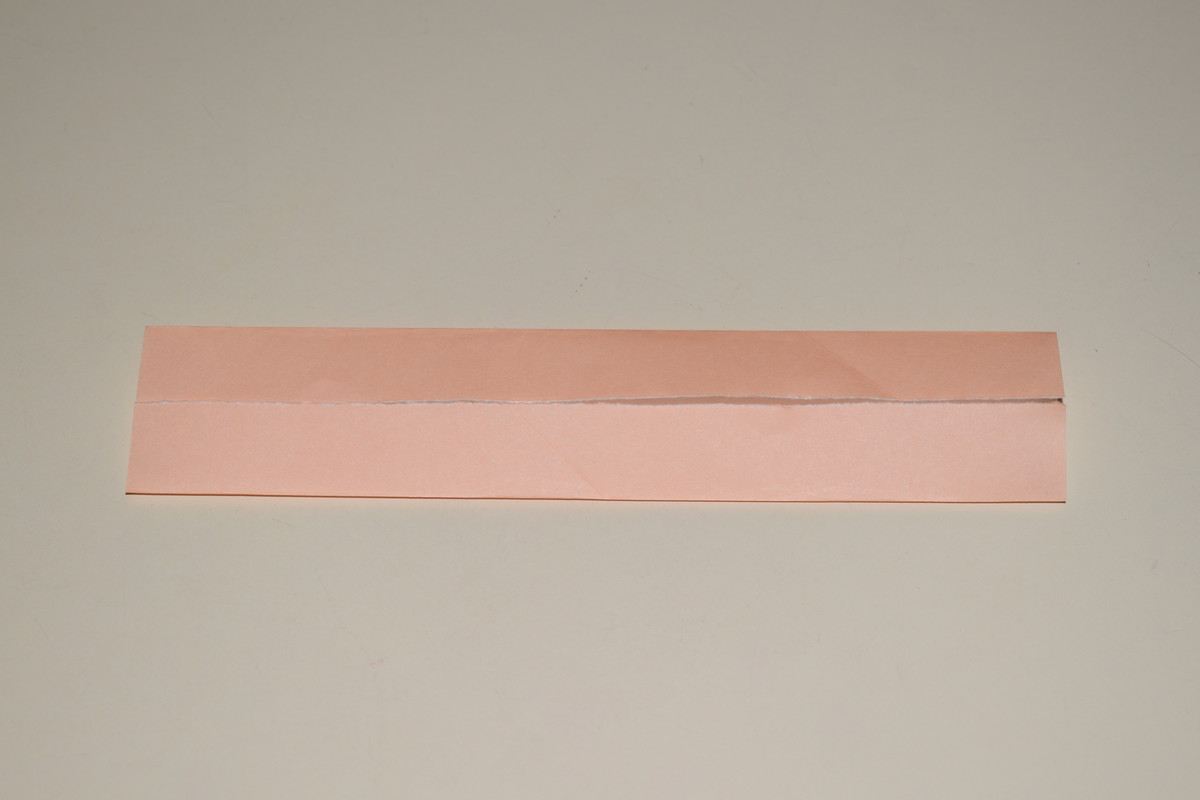
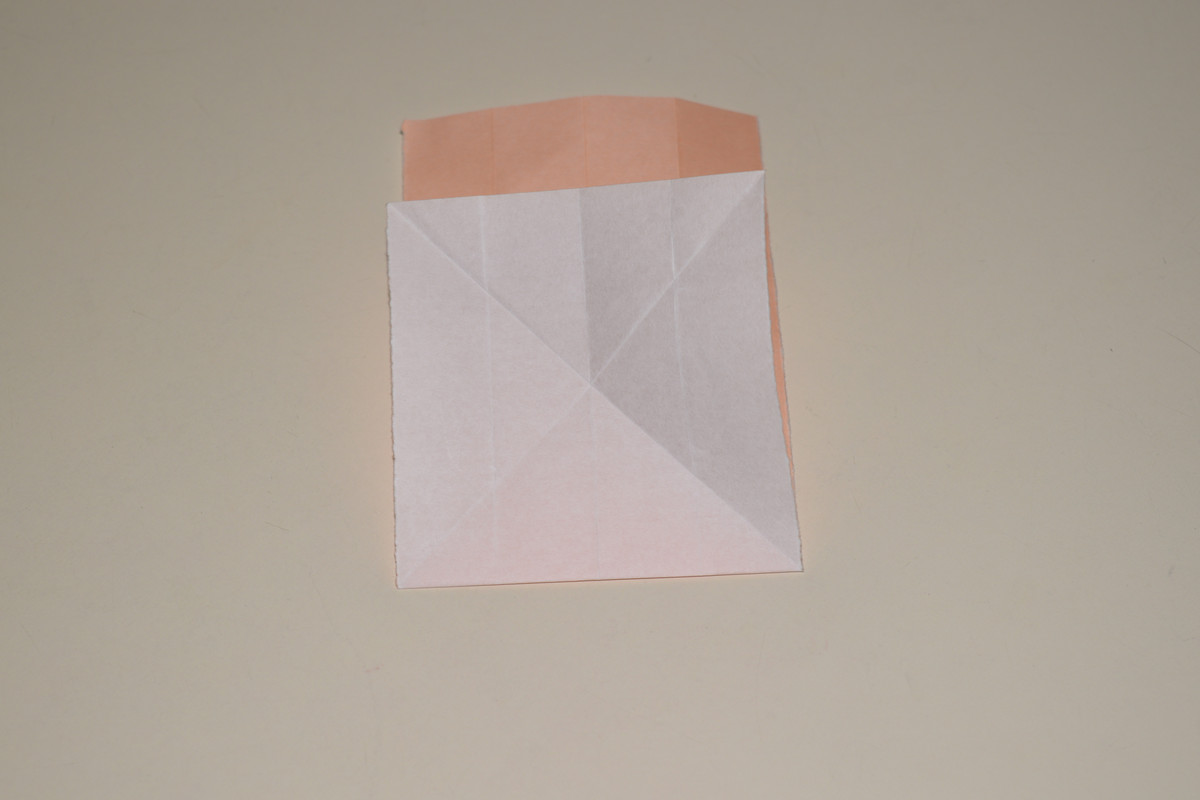
Fold the excess up and crease.
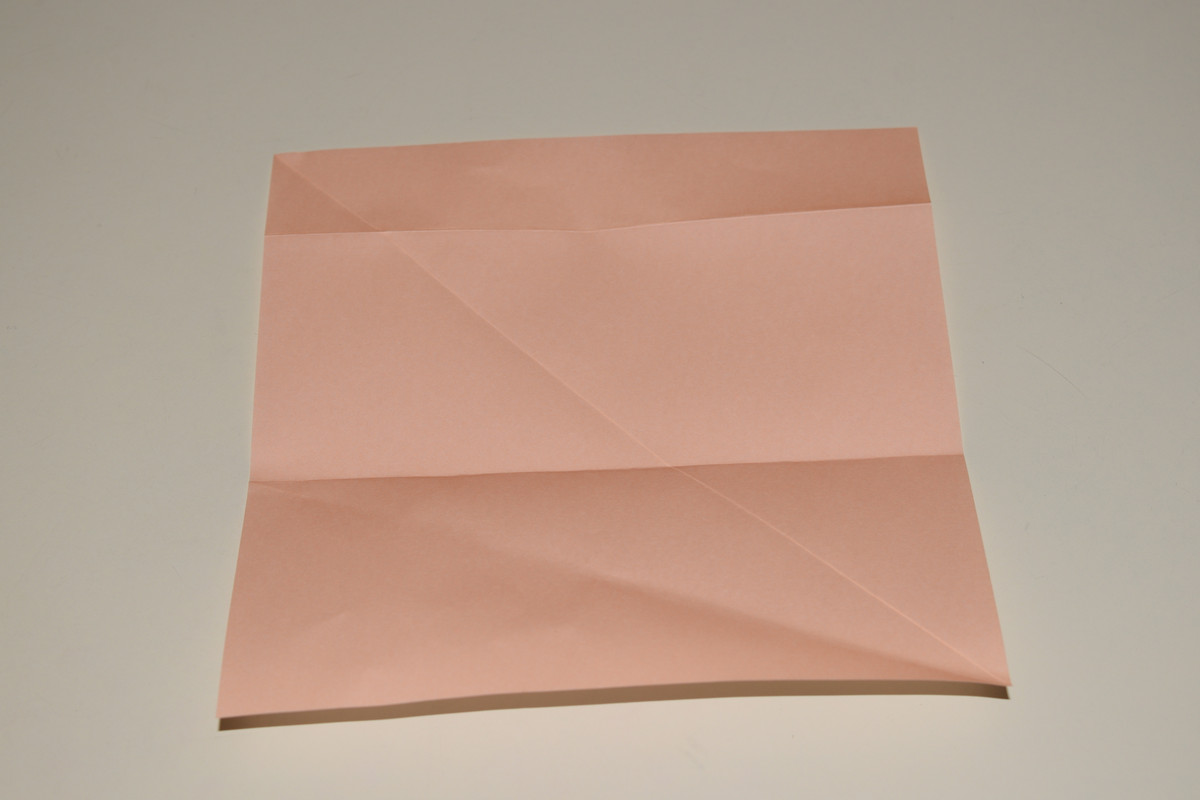
Unfold and turn the paper over.
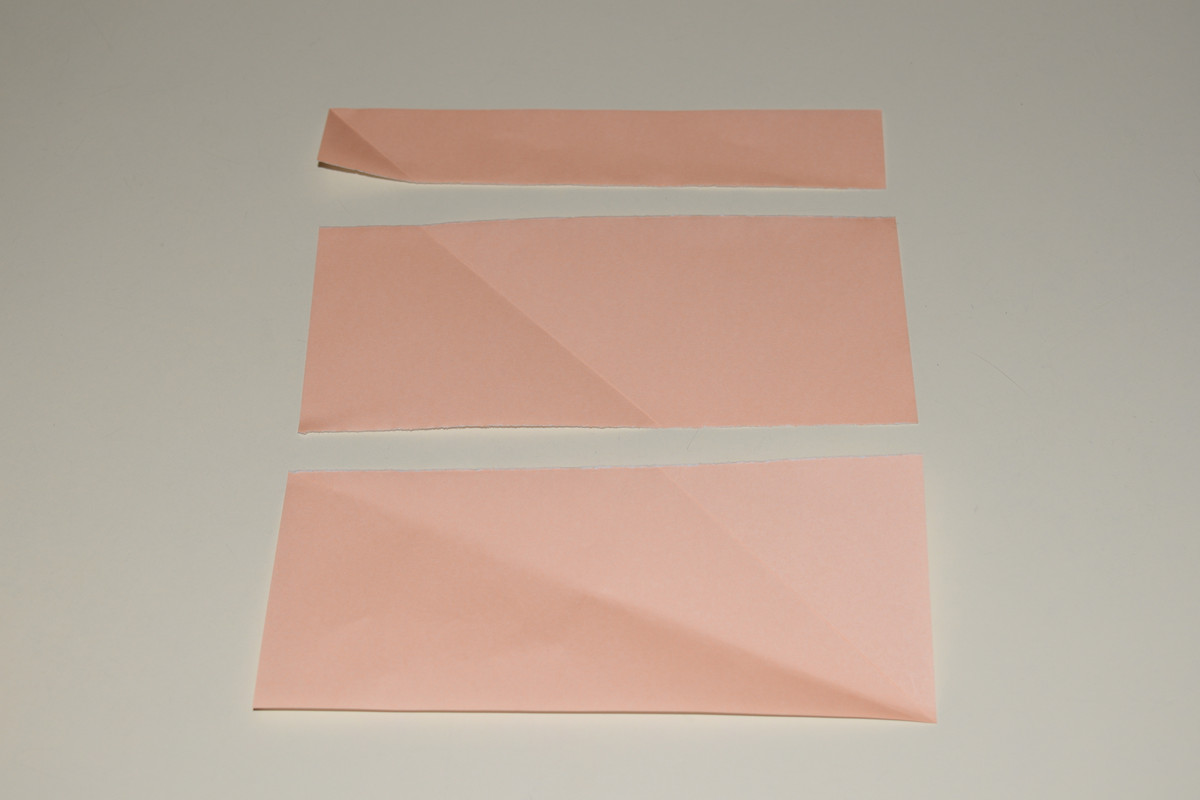
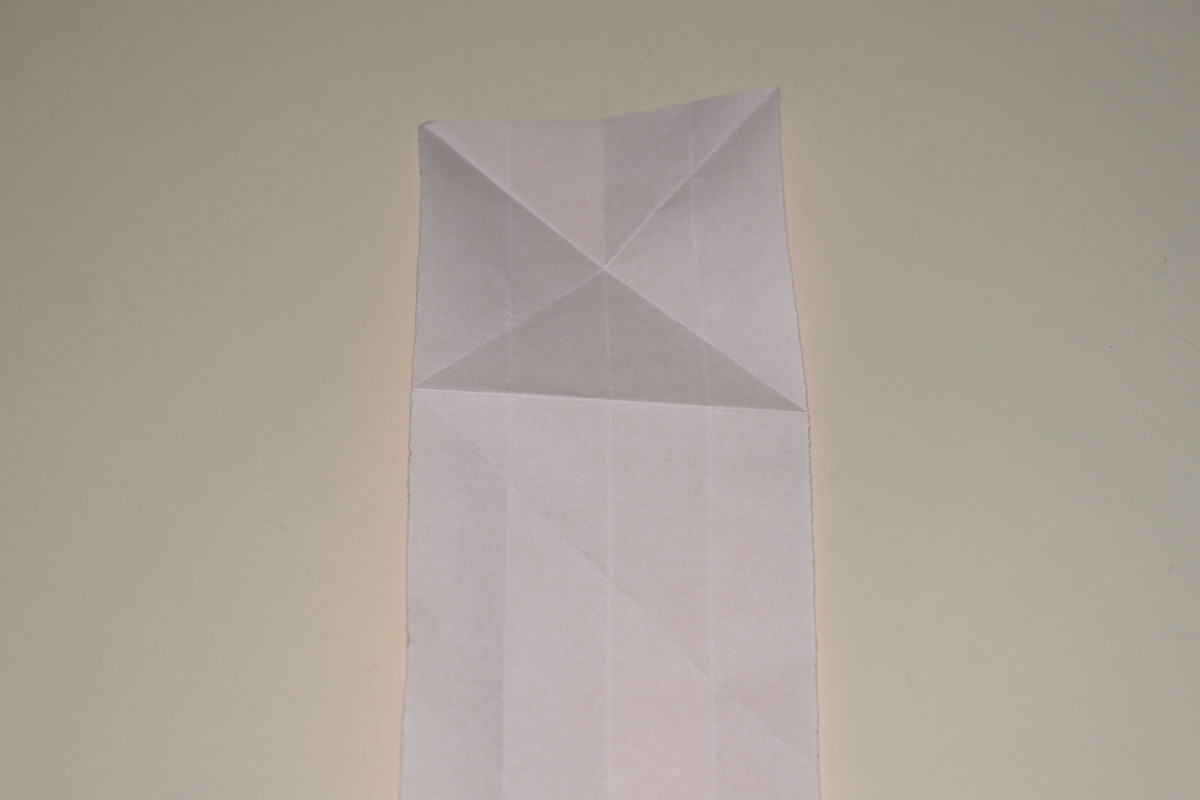
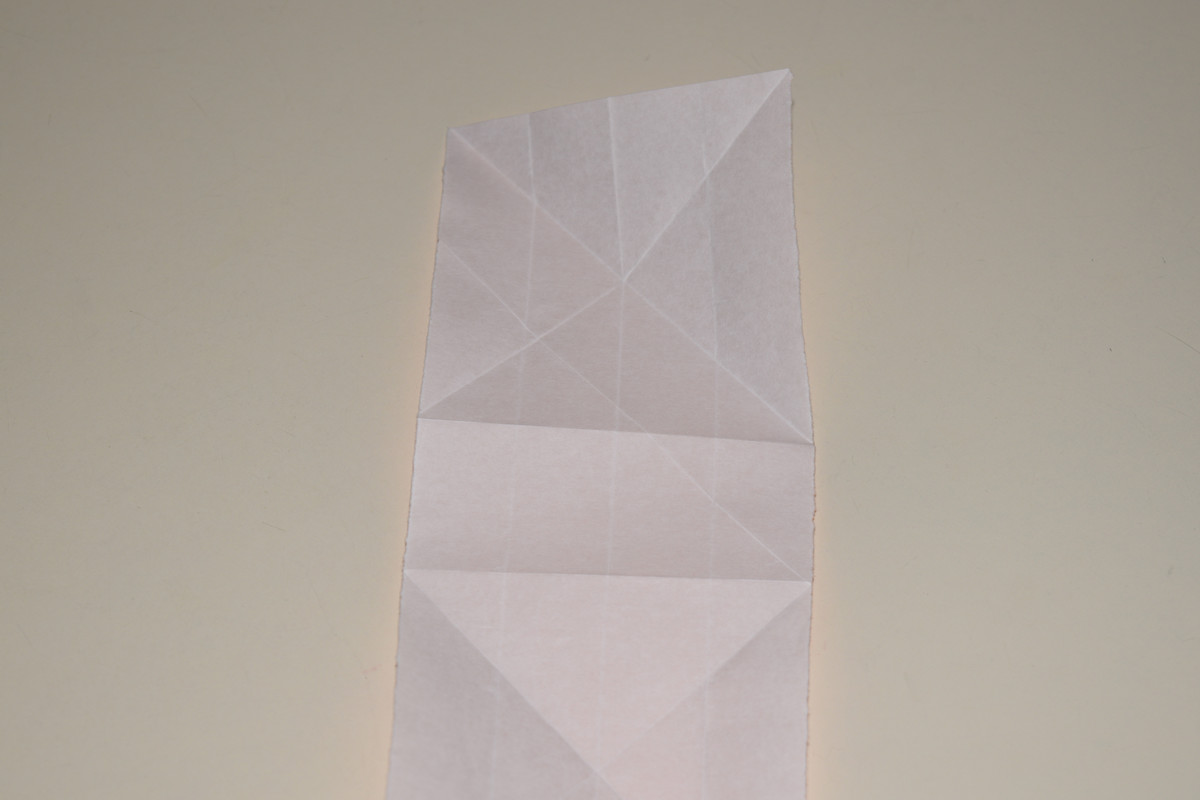
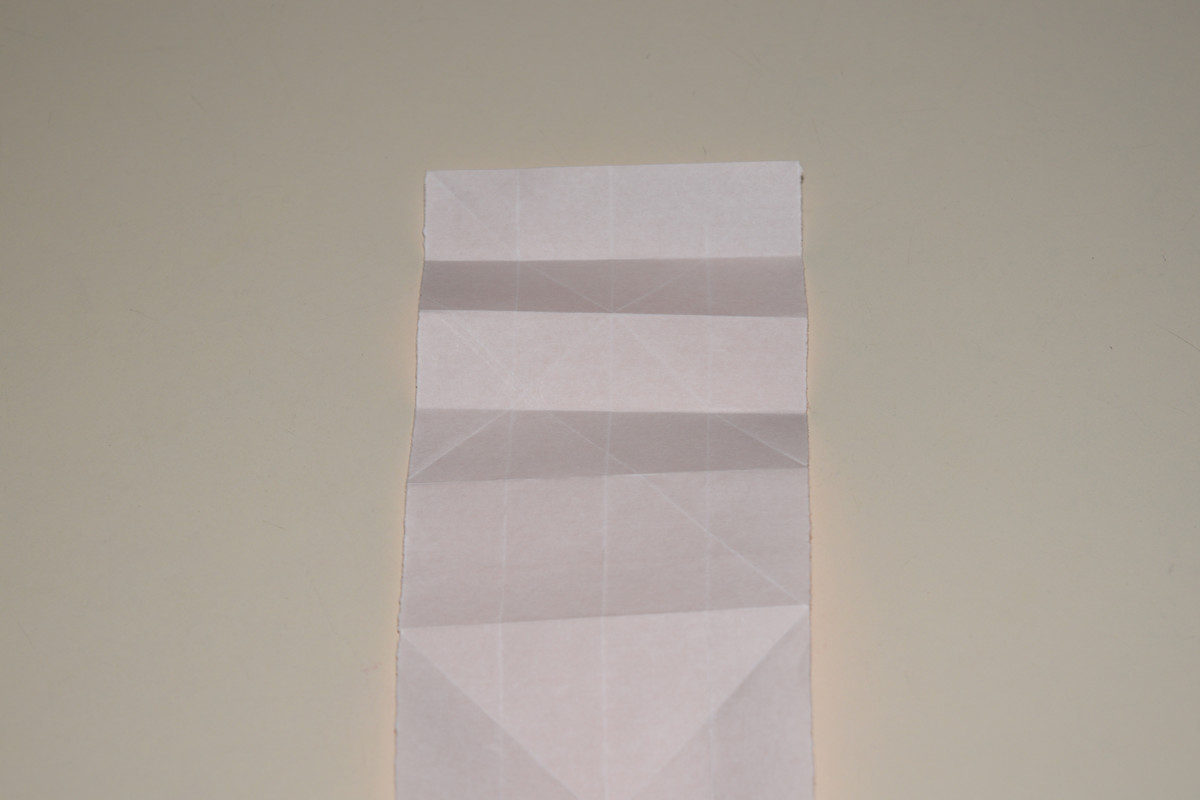
Cut the paper on the horizontal lines. Discard the top strip and you have two pieces of paper with the same ratio as a dollar bill.
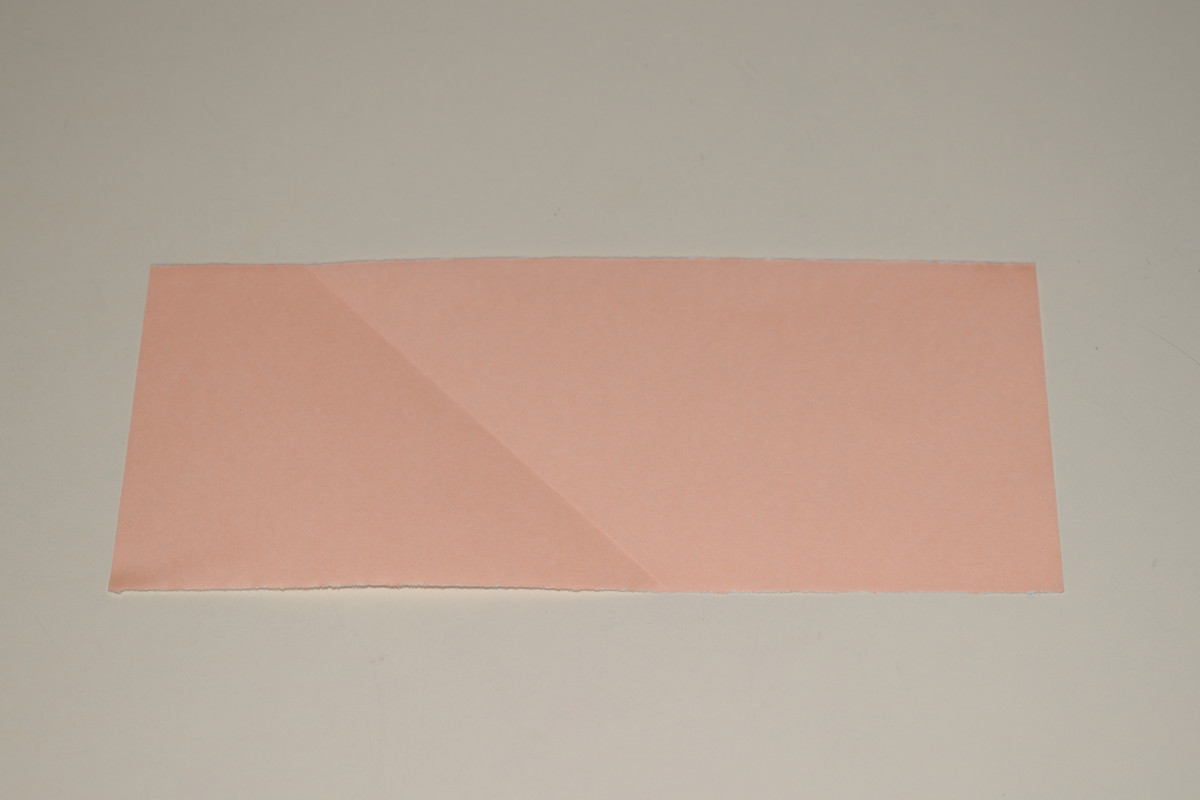
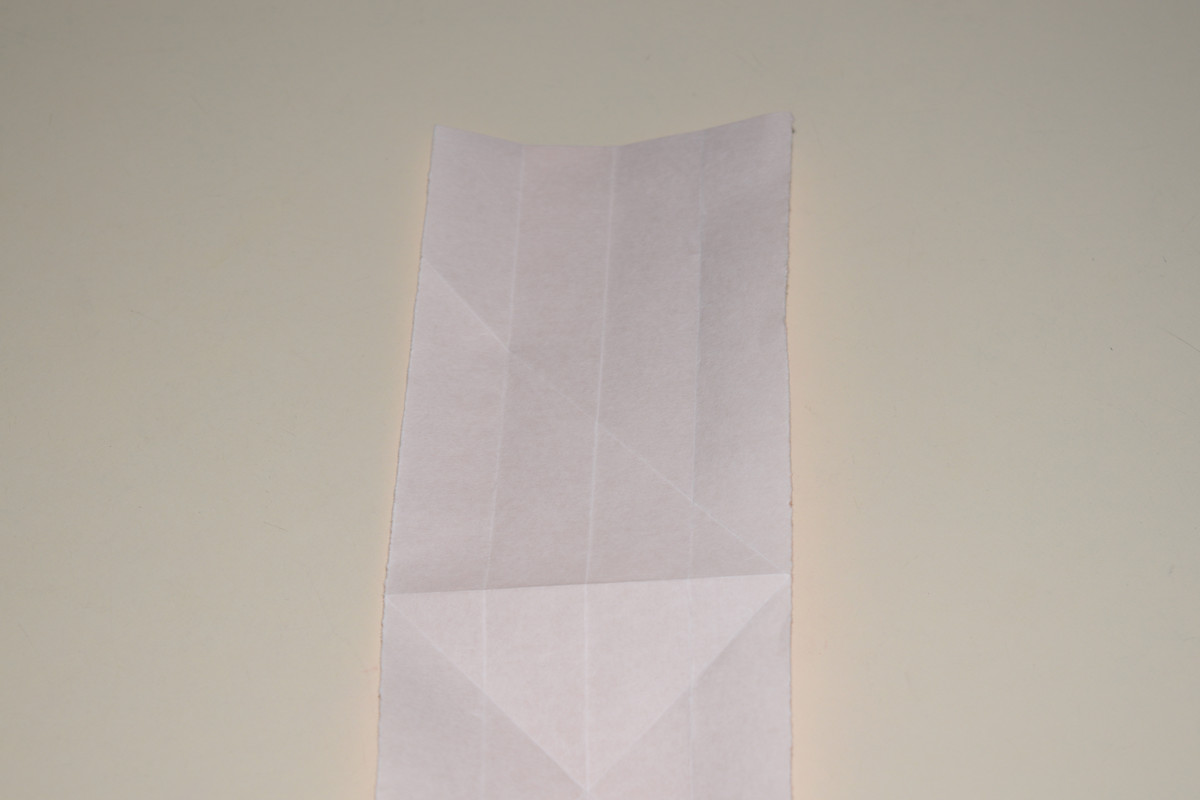
Start with one piece of paper with the ratio of a dollar bill.
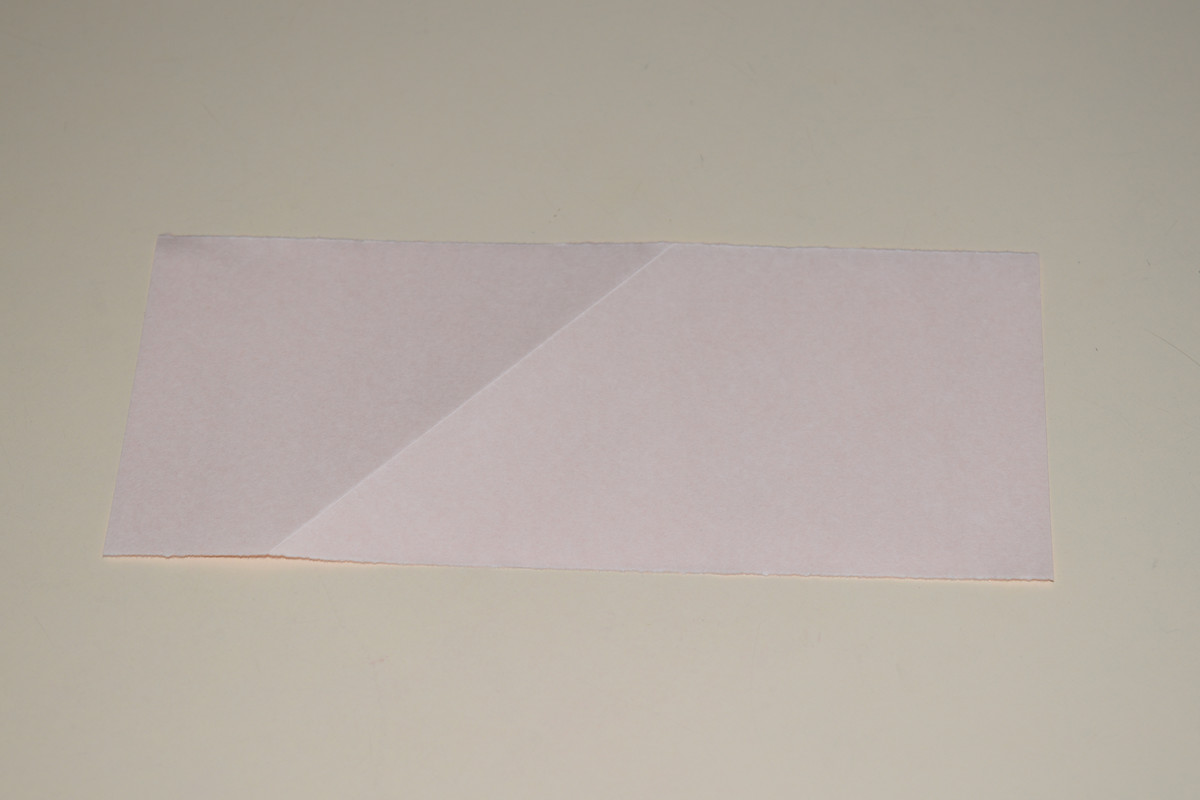
Turn the paper over.
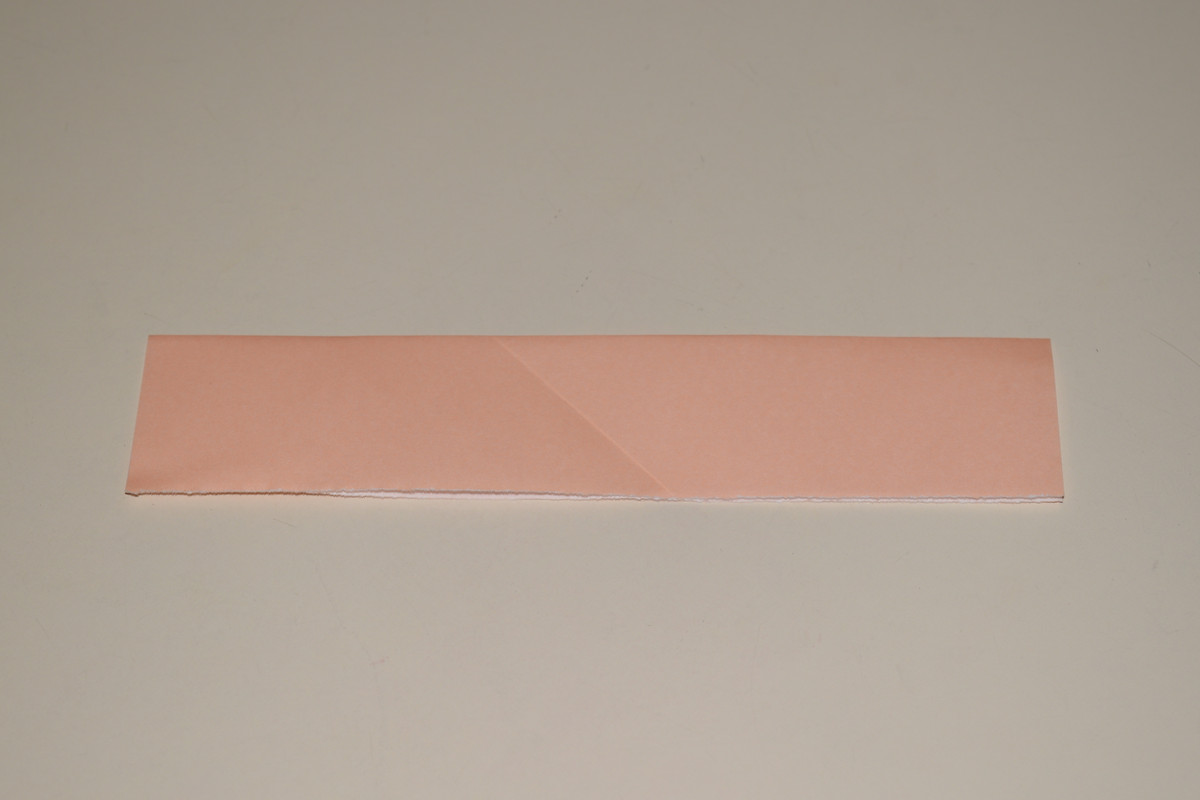
Fold the top edge down to meet the bottom and crease.
Unfold.
Fold the top and bottom edges in to meet the horizontal center line. Crease and unfold.

Rotate 90°.
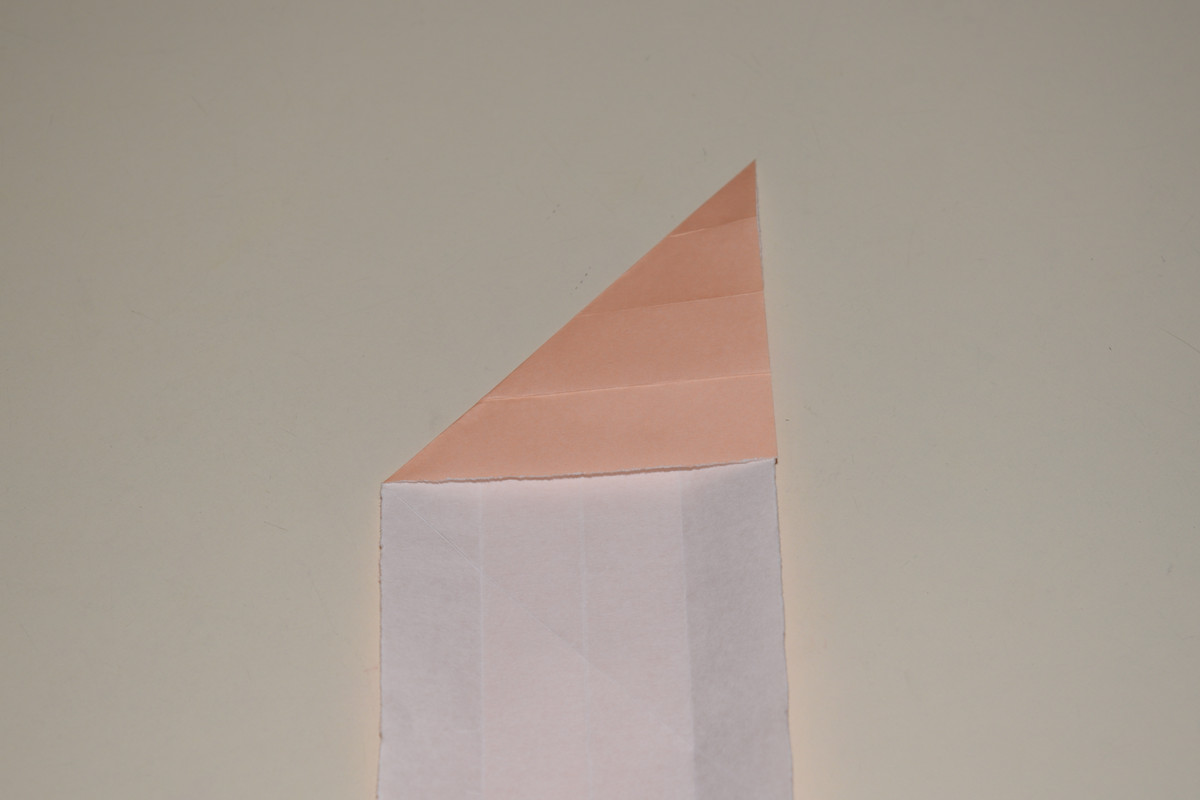
Fold the top edge over to meet the right edge. Crease and unfold.
Fold the top edge over to meet the left edge and crease.
Unfold.
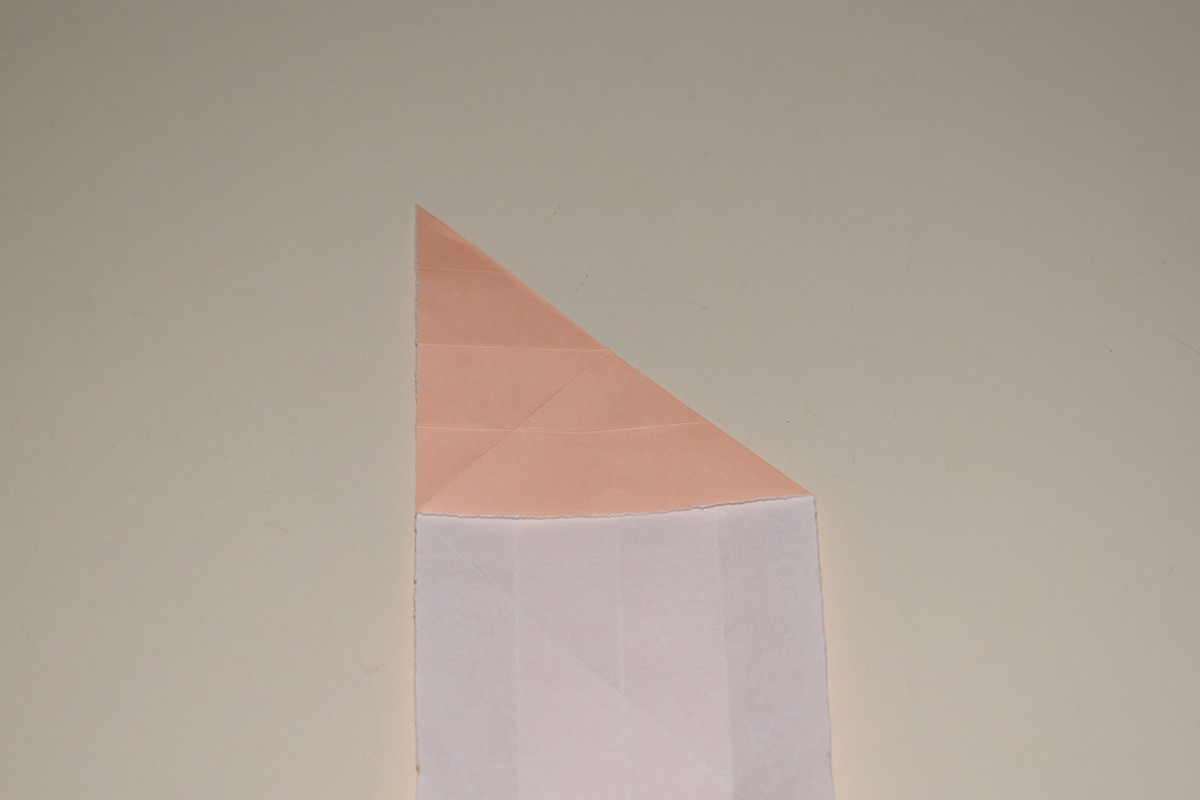
Imagine a line running between the bottom of the diagonal creases. Valley fold along that line and crease.
Unfold.
Rotate the paper 180°.
Repeat Steps 17 through 21.
Fold the top edge down to meet the square's bottom edge. Crease and unfold.
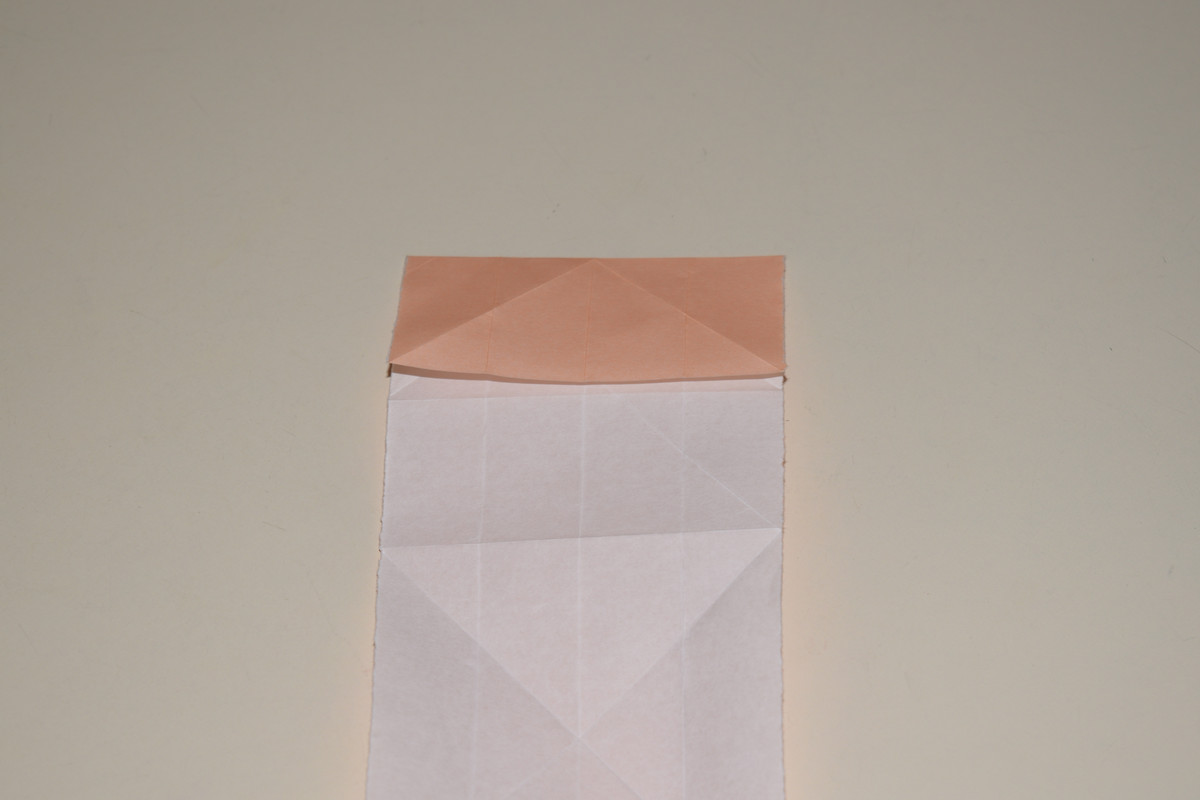
Fold the top edge down to meet the square's horizontal center line and crease.
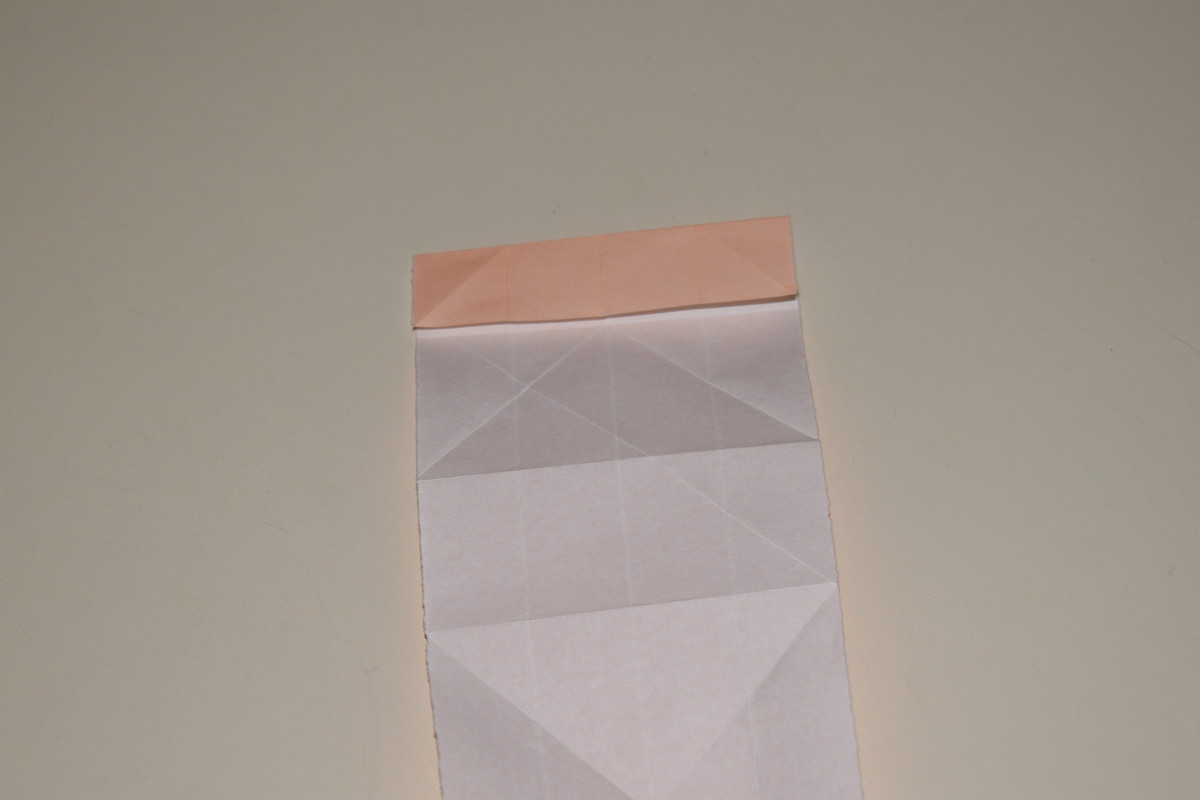
Use the previous fold to half the second half of the square and crease.
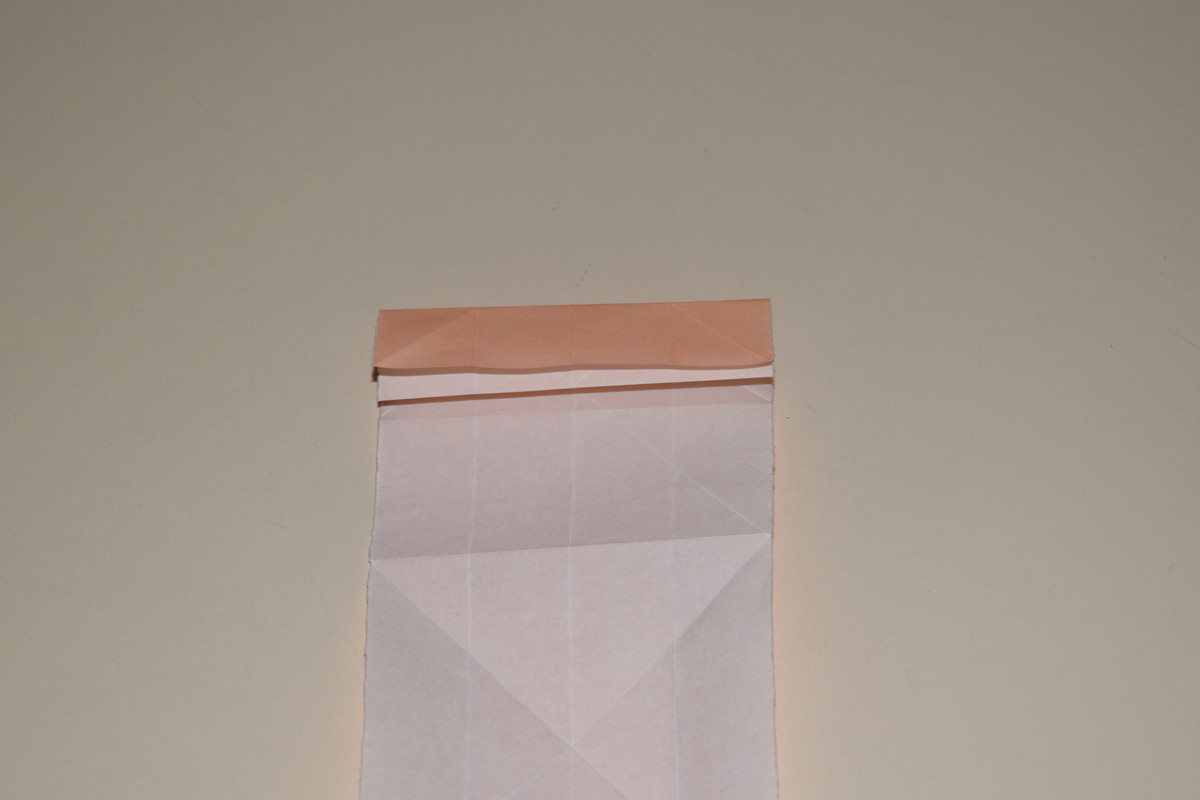
Unfold. The square should have four quarters running horizontally.

Rotate the paper 180° and repeat Steps 24 through 27.
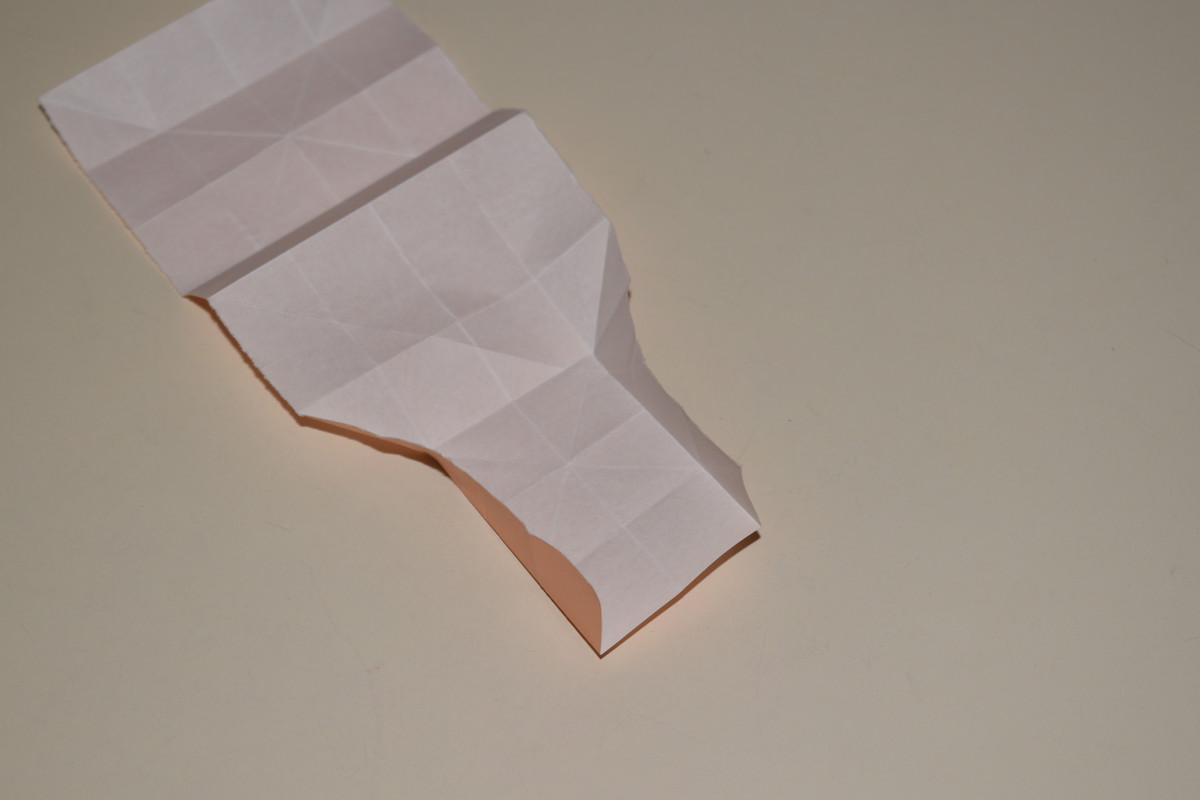
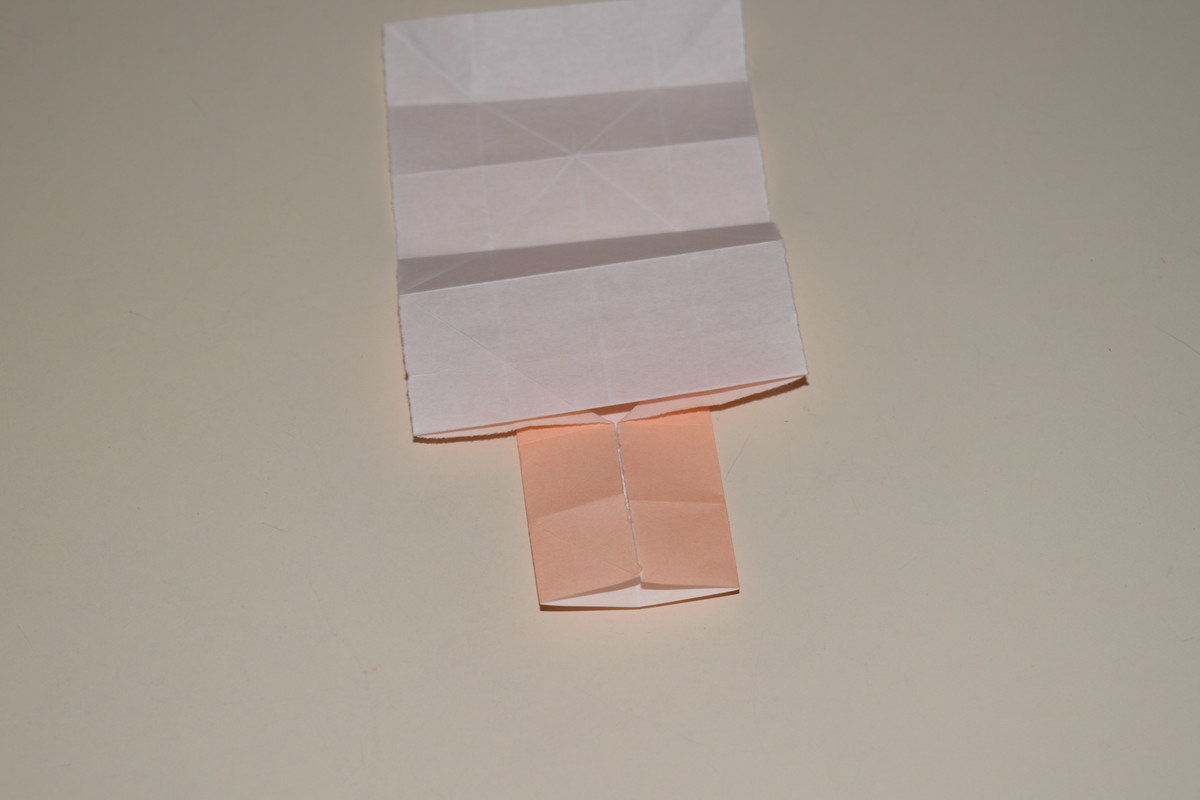
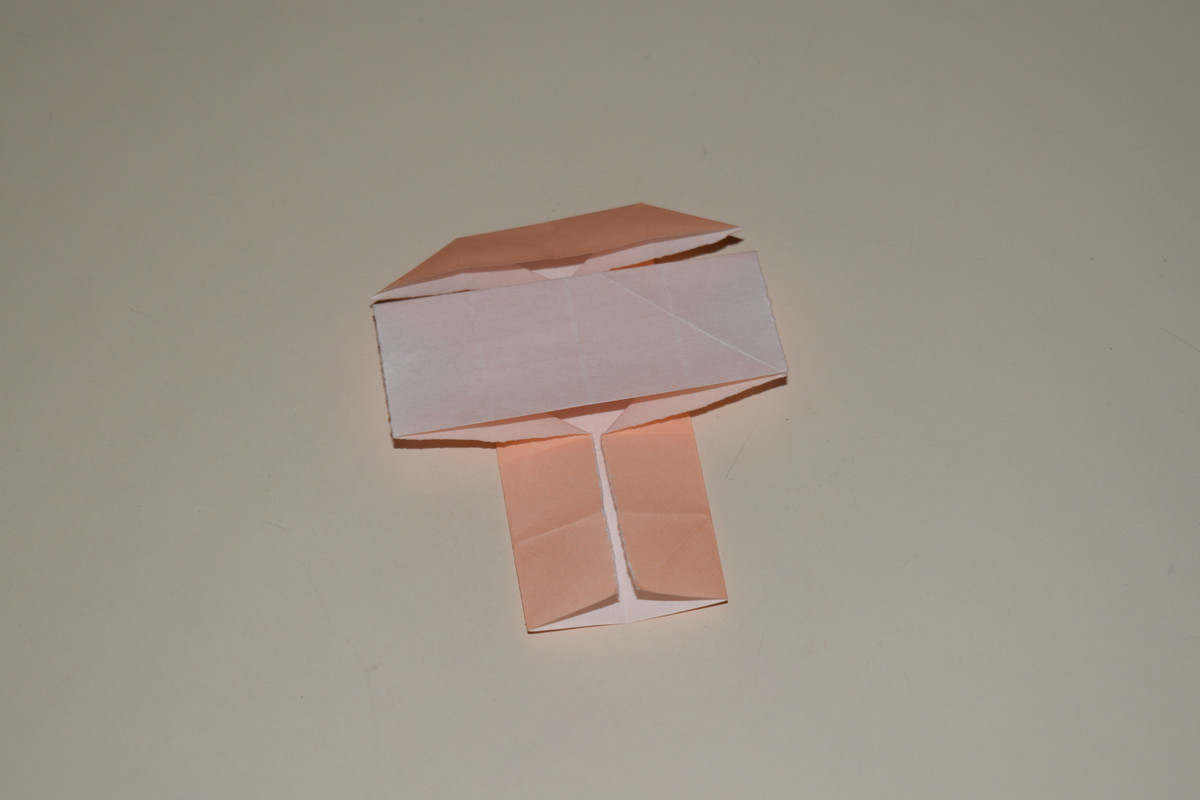
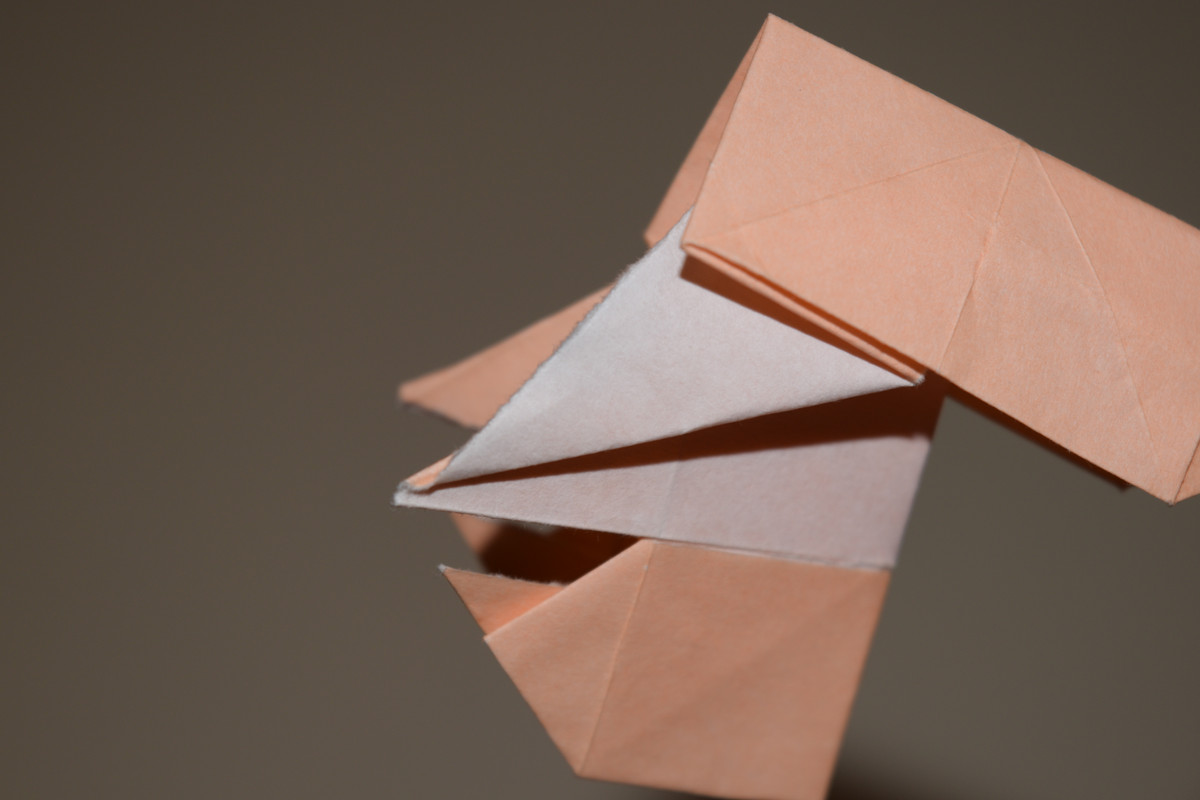
Fold the left and right sides of the bottom three segments up at 90° angles. Valley fold along the diagonals right above as well.
Fold the left and right sides of the bottom three segments to meet the vertical center line.
Flatten the model.
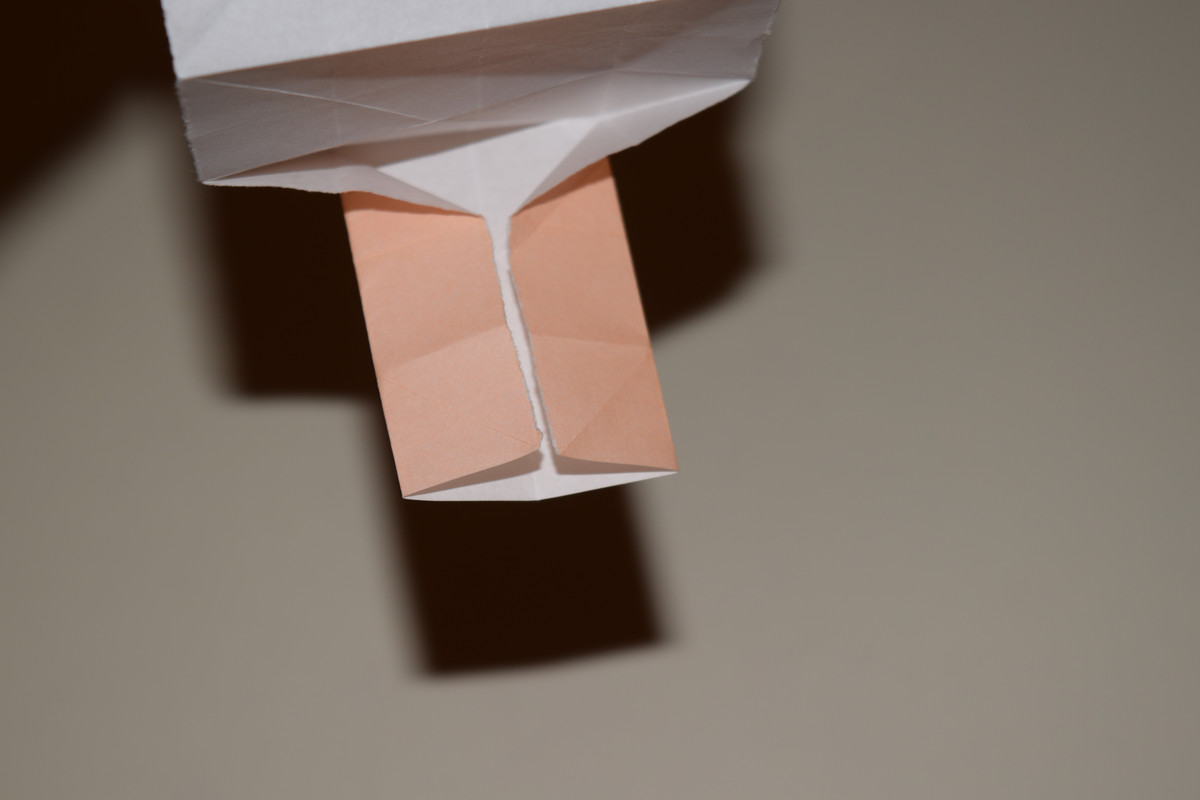
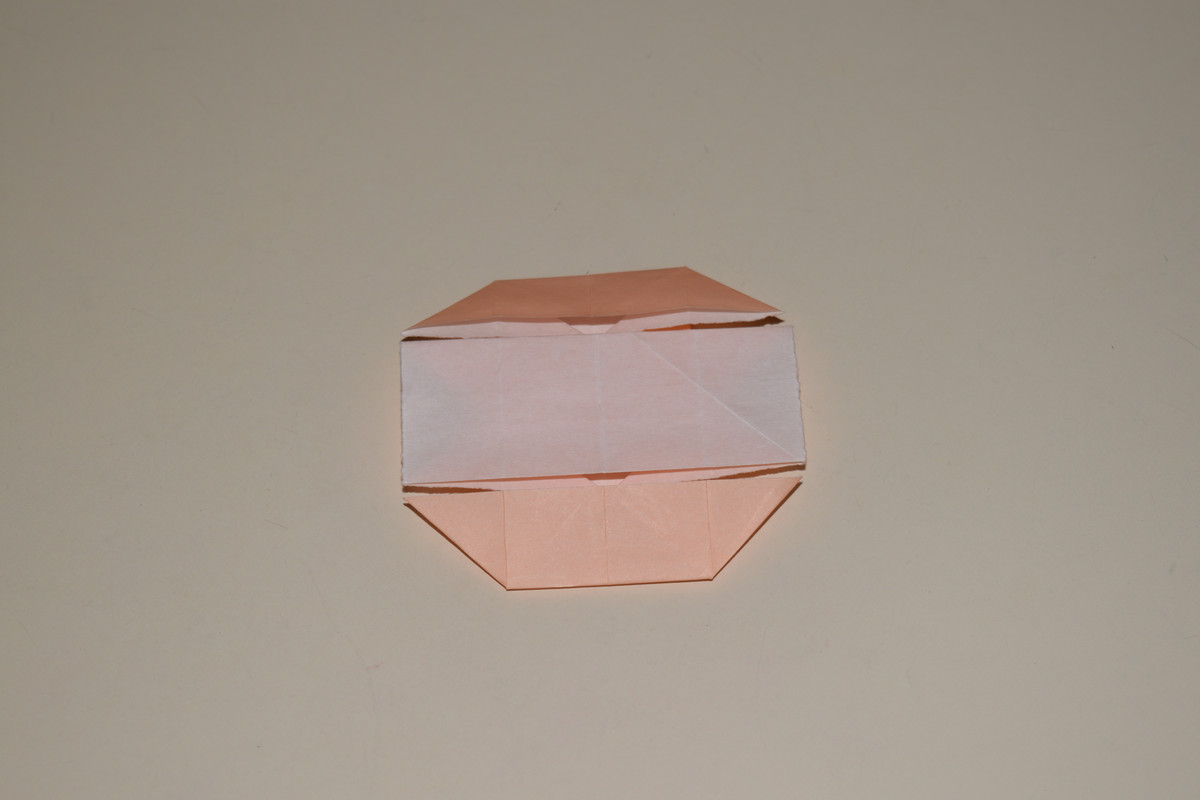
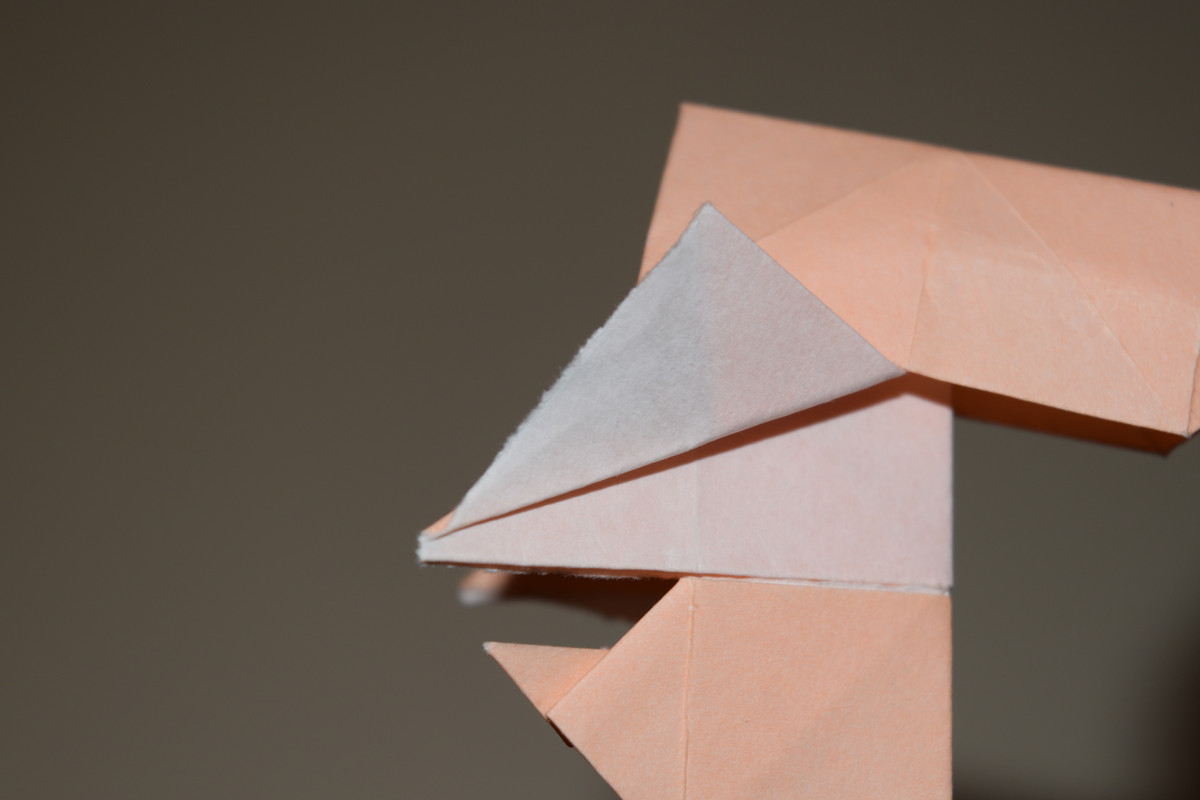
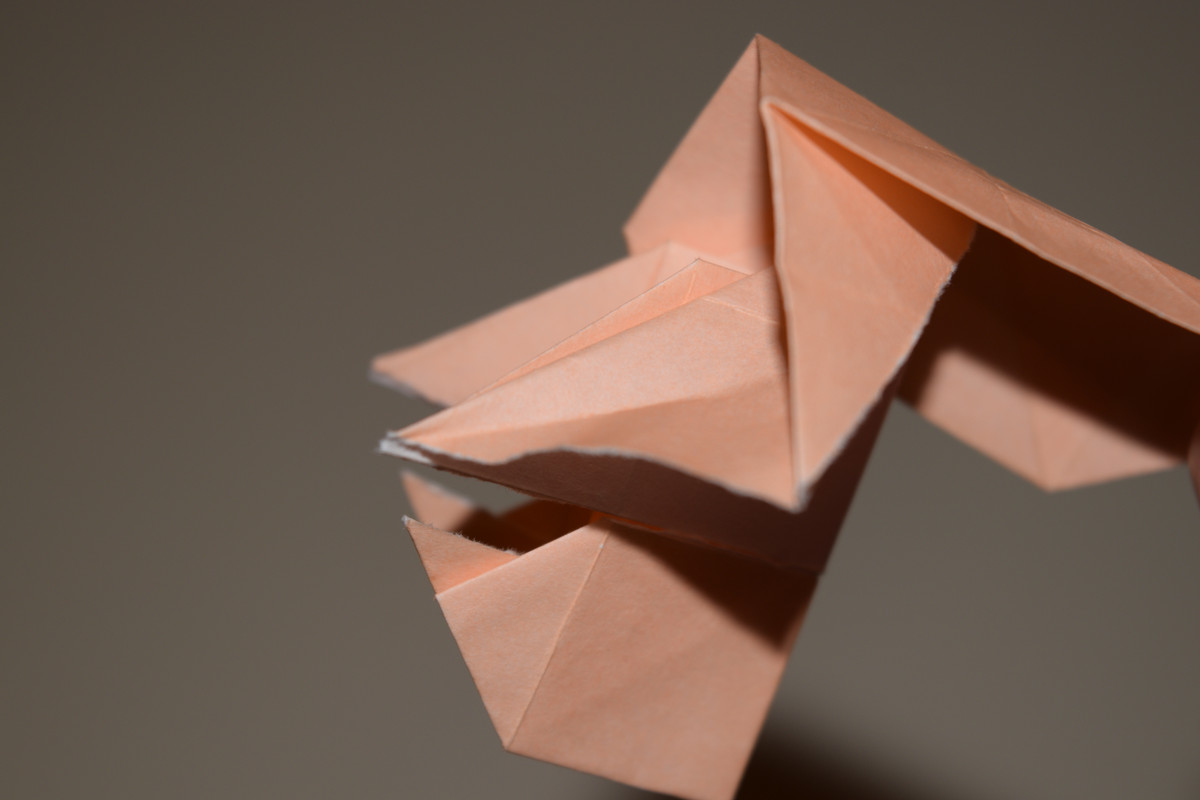
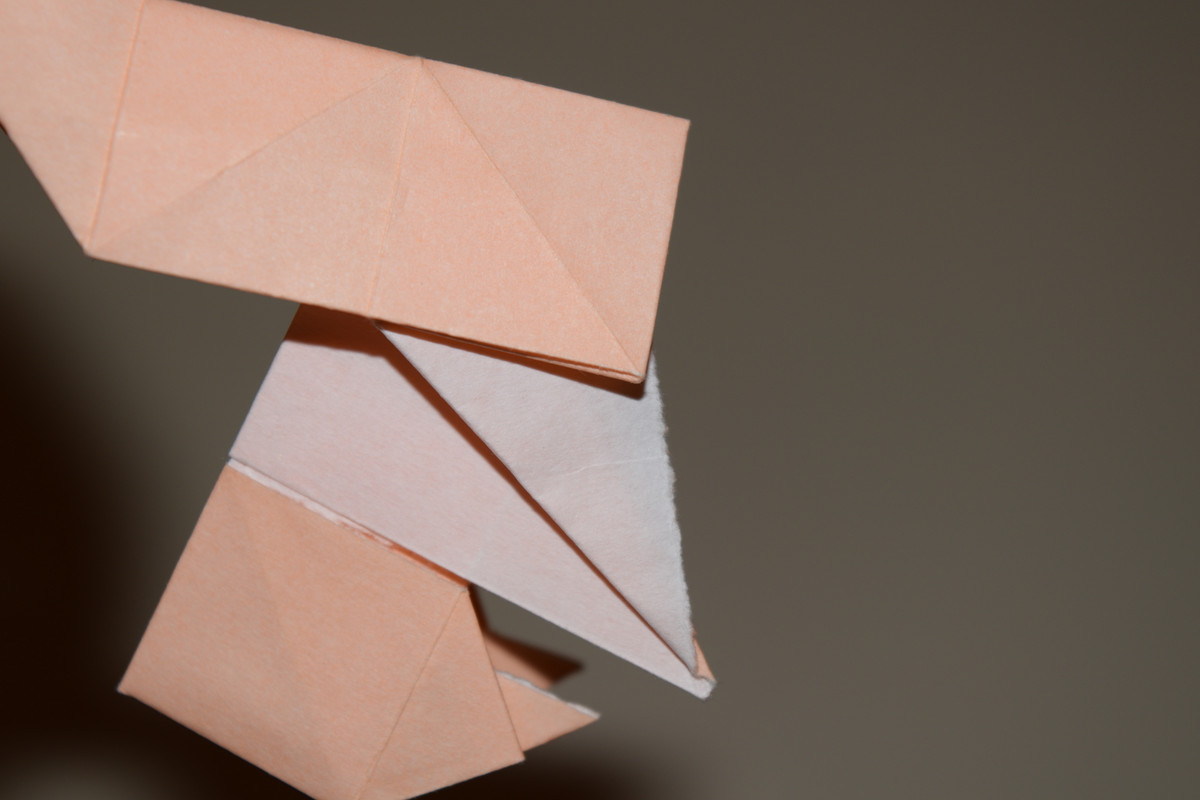
Mountain fold along the start of the new section and crease.

Fold the bottom edge up to the bottom edge of the main body and crease.
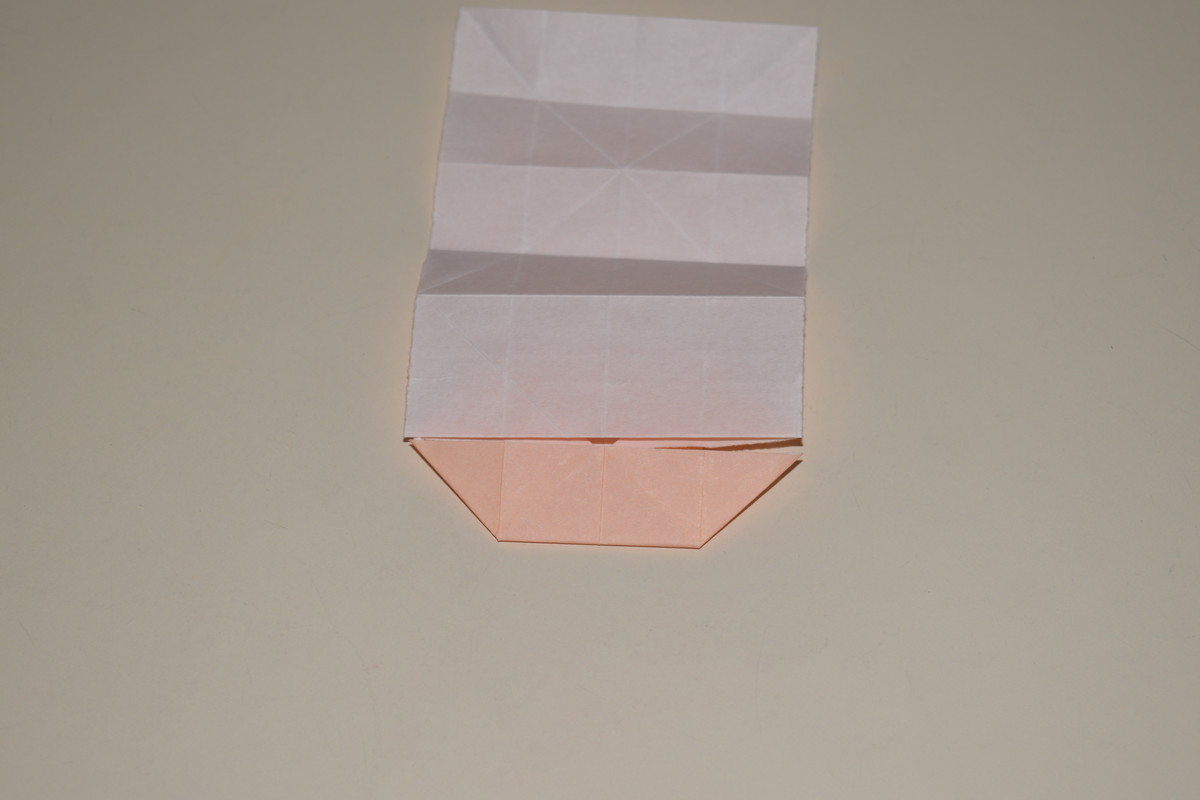
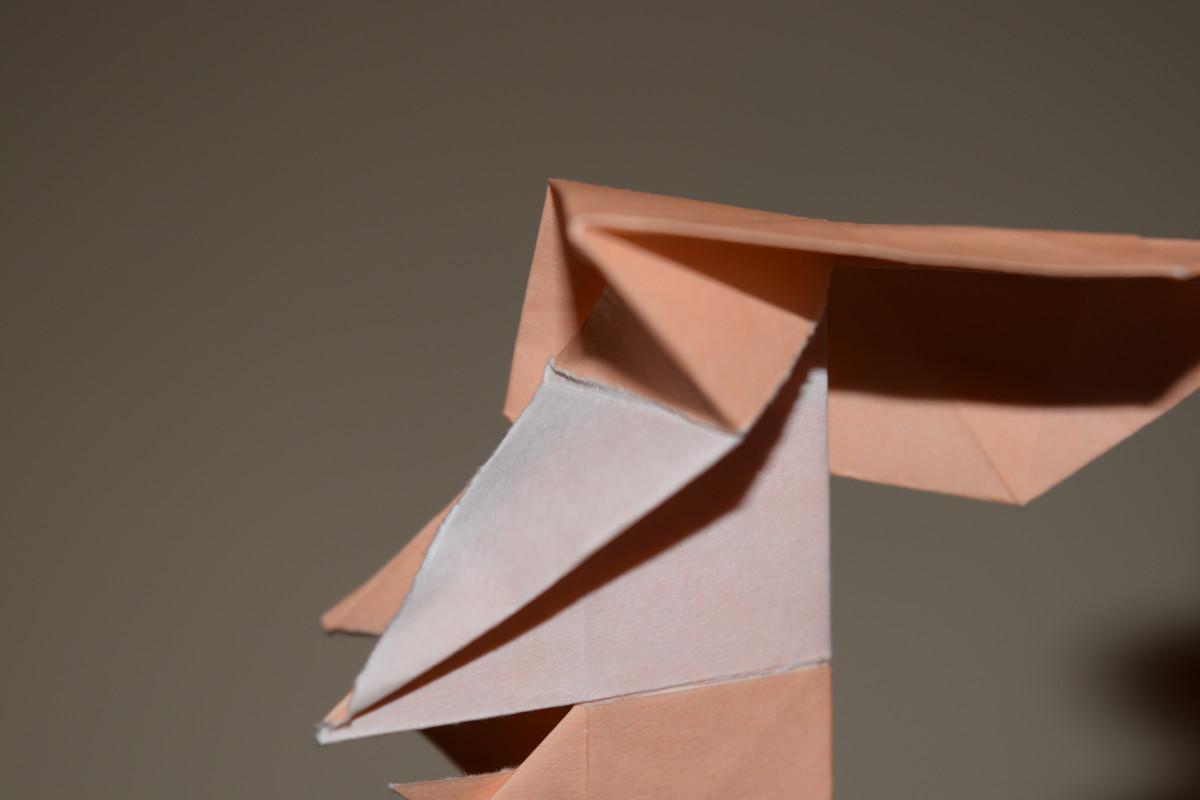
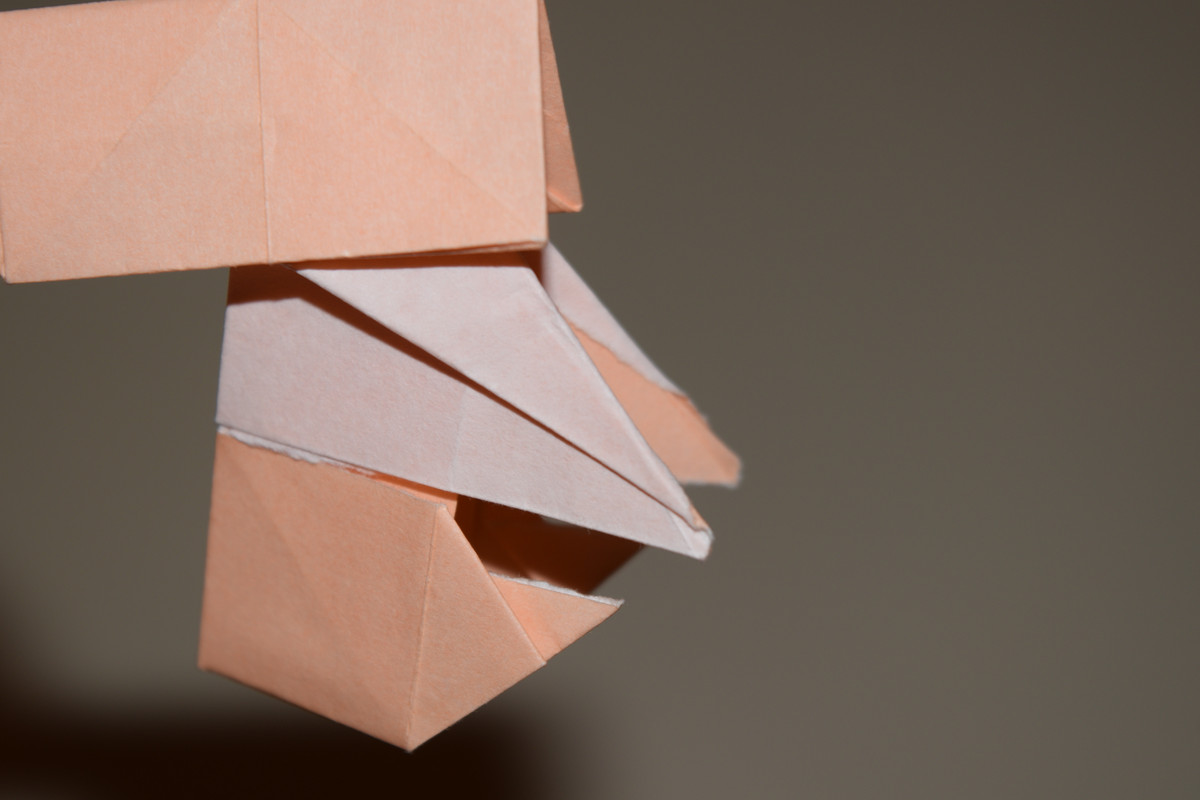
Slightly unfold Step 33 and valley fold along the diagonals of the small square while keeping the top edge in contact with the bottom of the main body. This step is similar to one in the Traditional Butterfly model.
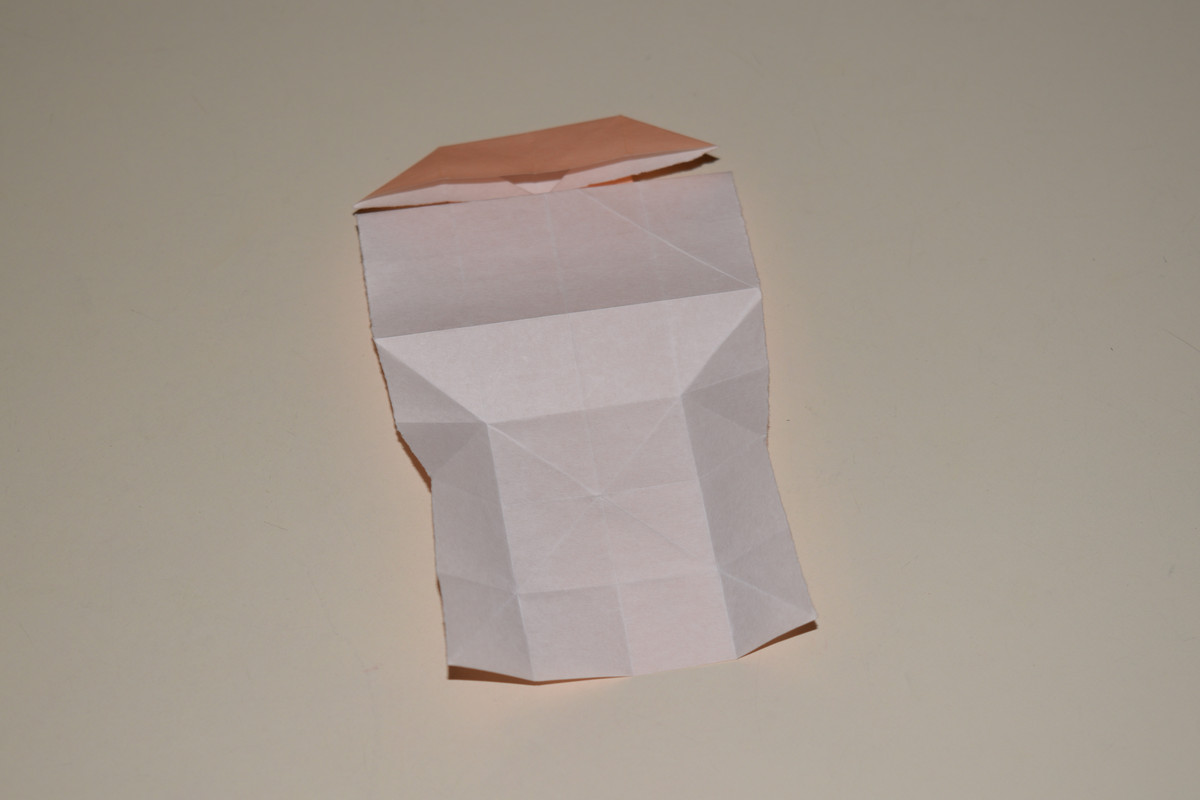
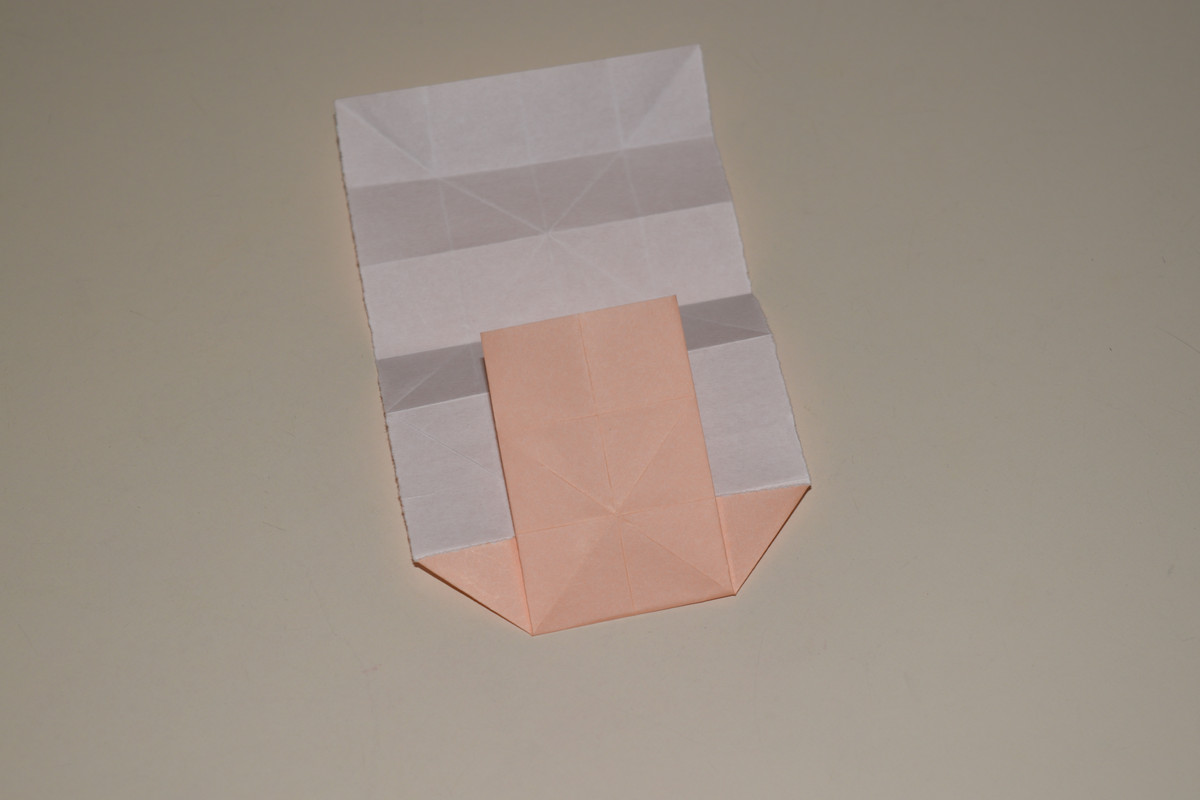
Rotate the model 180°.
Repeat Steps 29 through 31.
Repeat Step 32.
Repeat Steps 33 and 34.
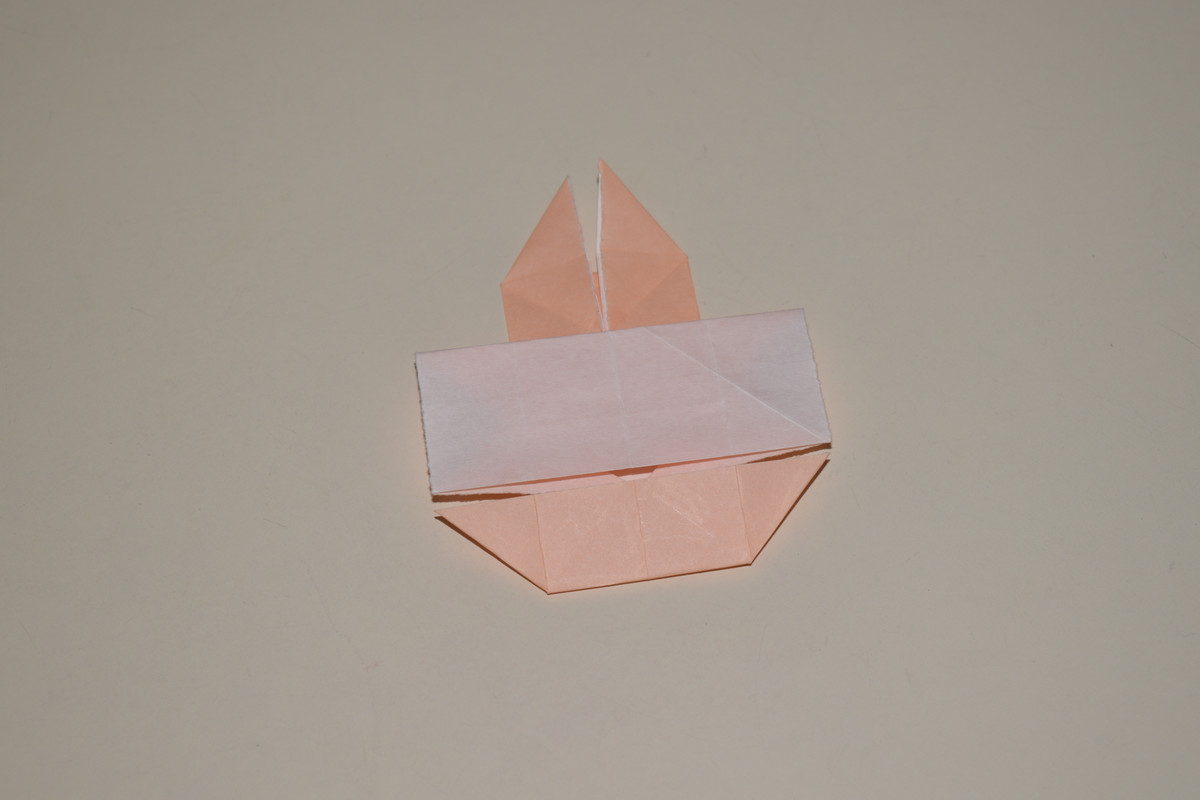
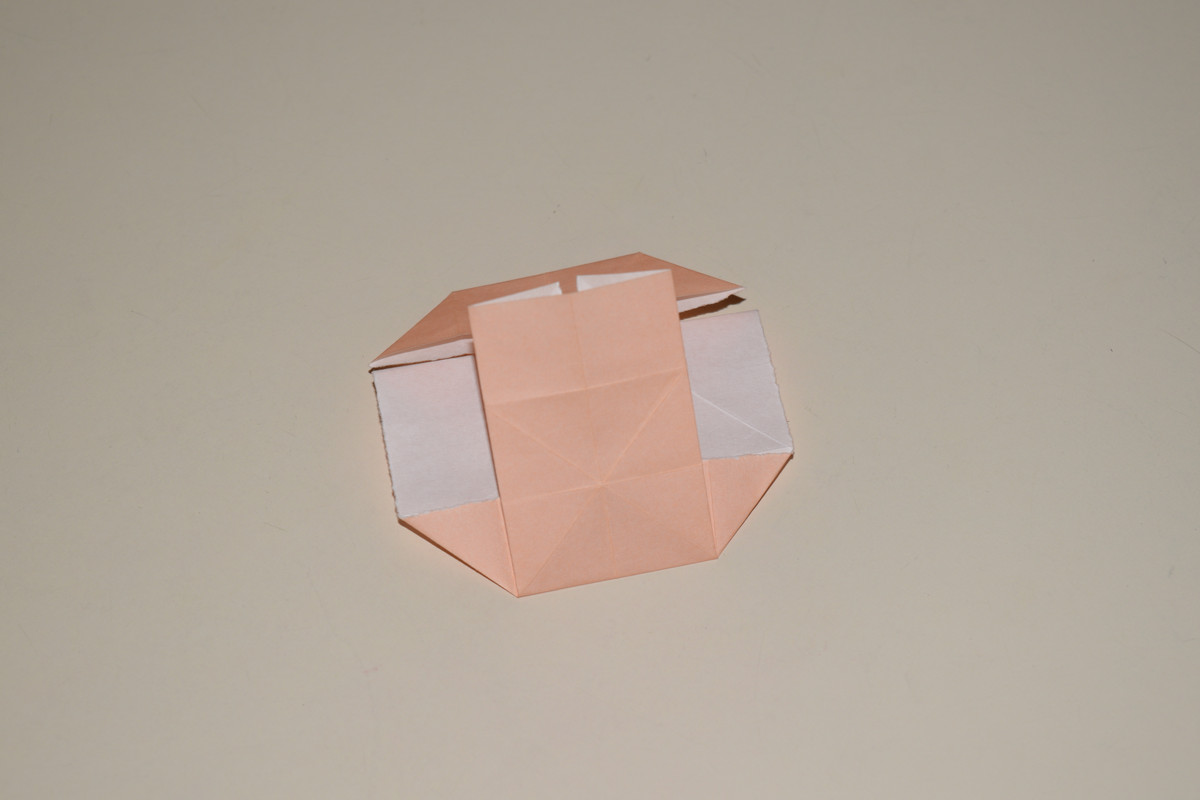
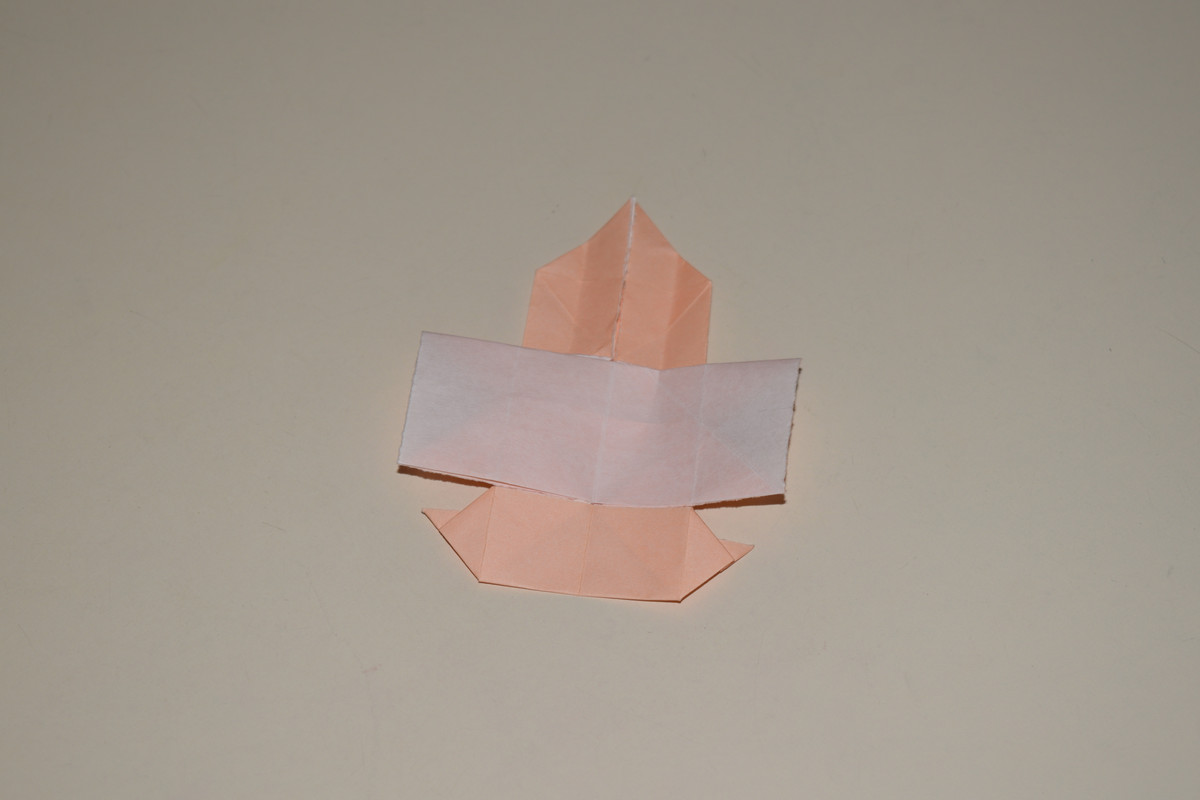
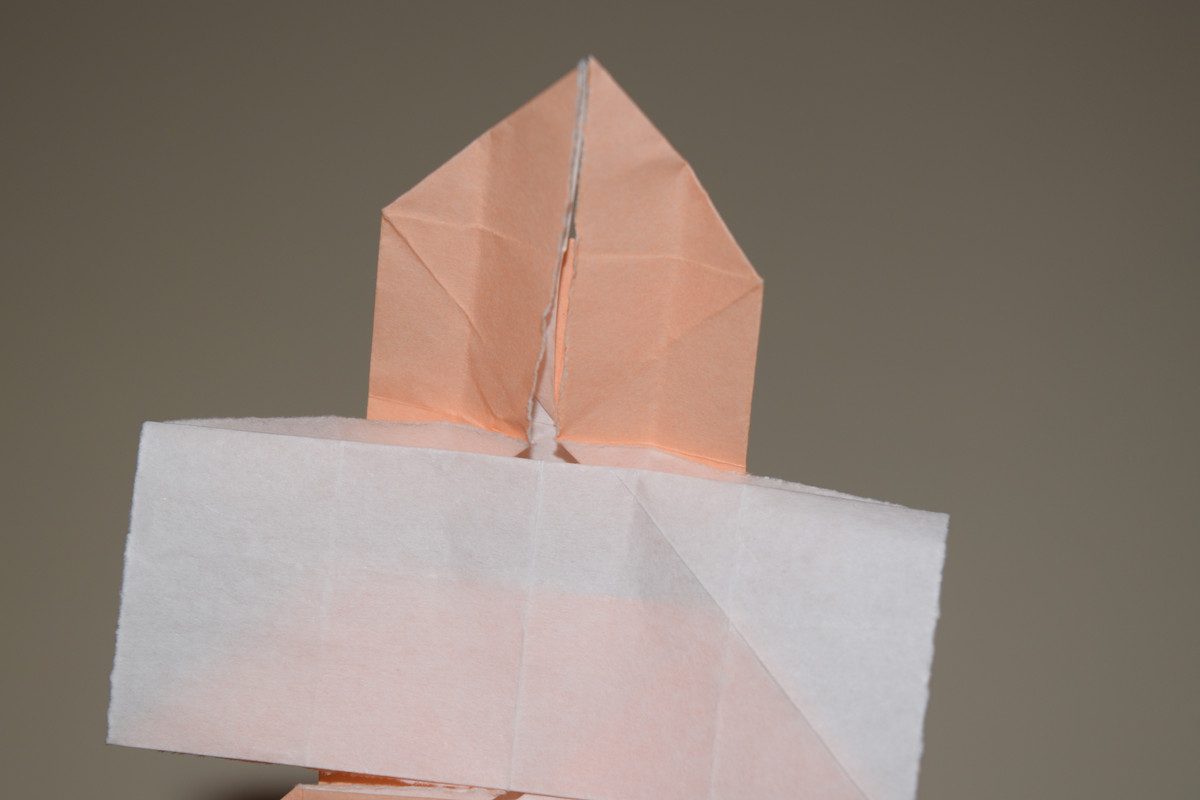
Fold the top two flaps upwards and crease.
Turn the model over.
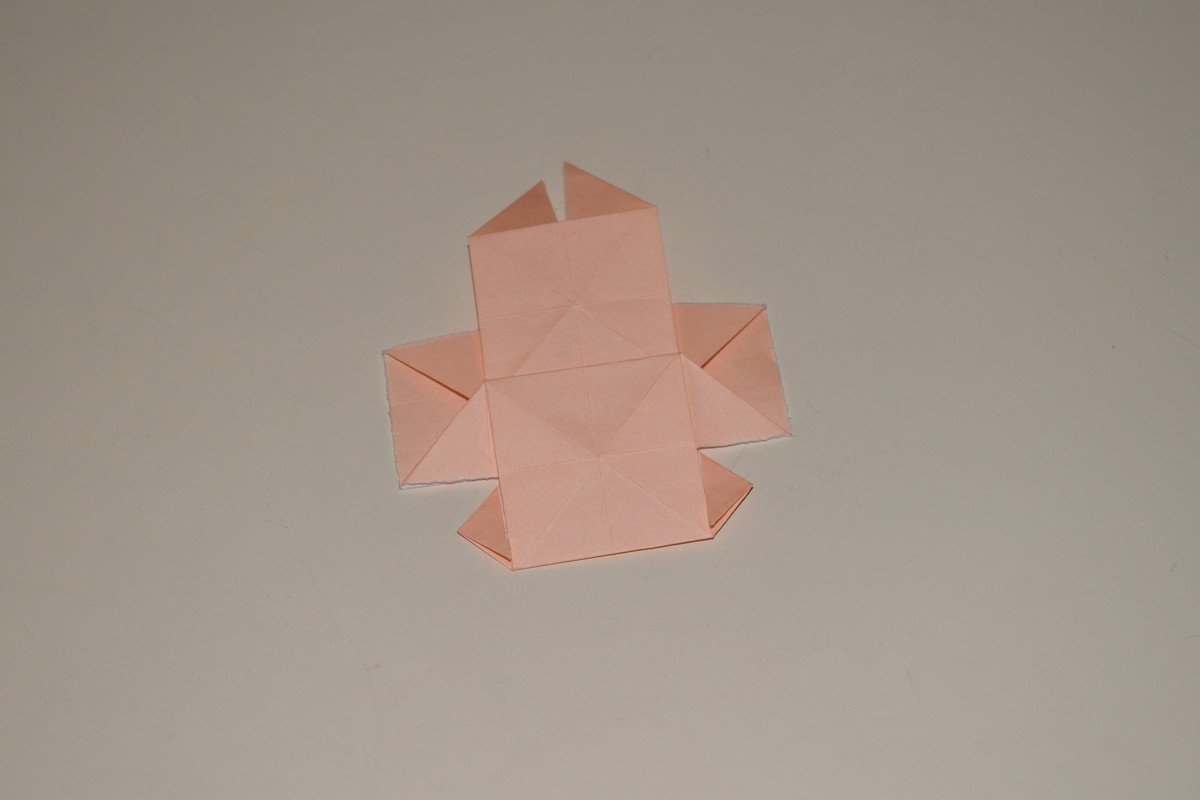
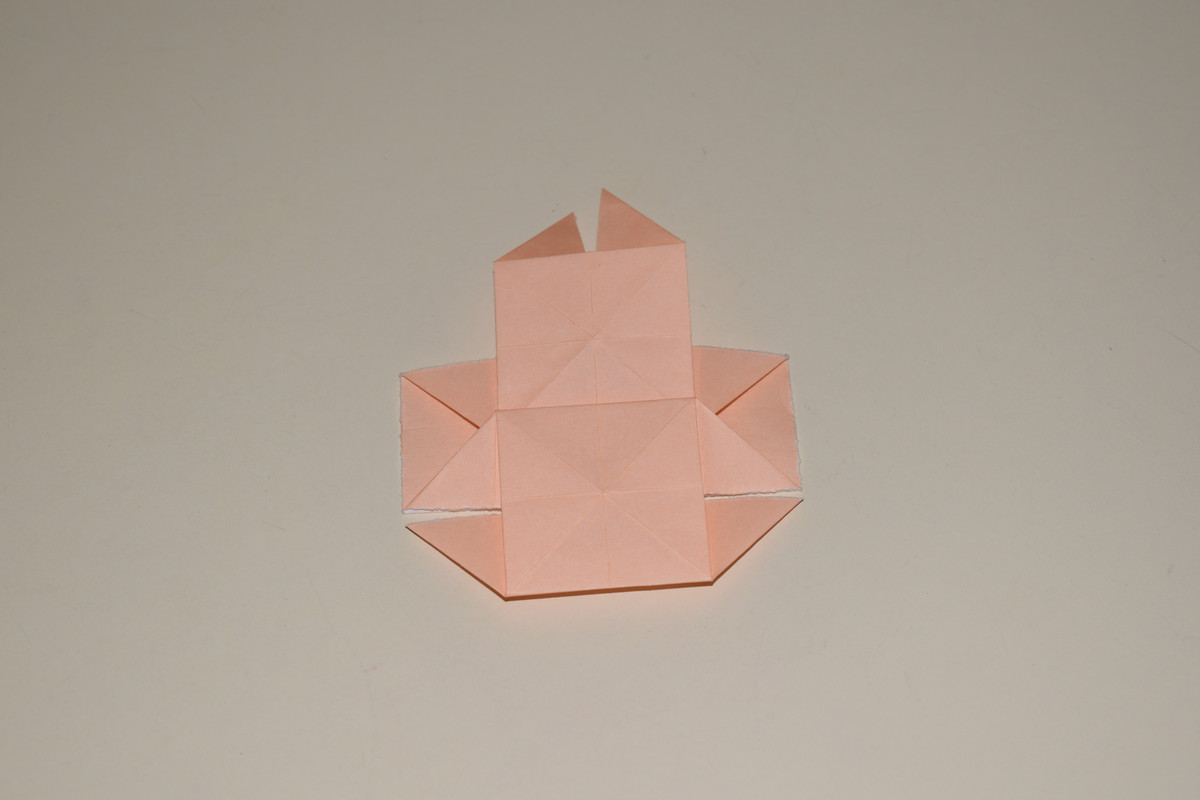
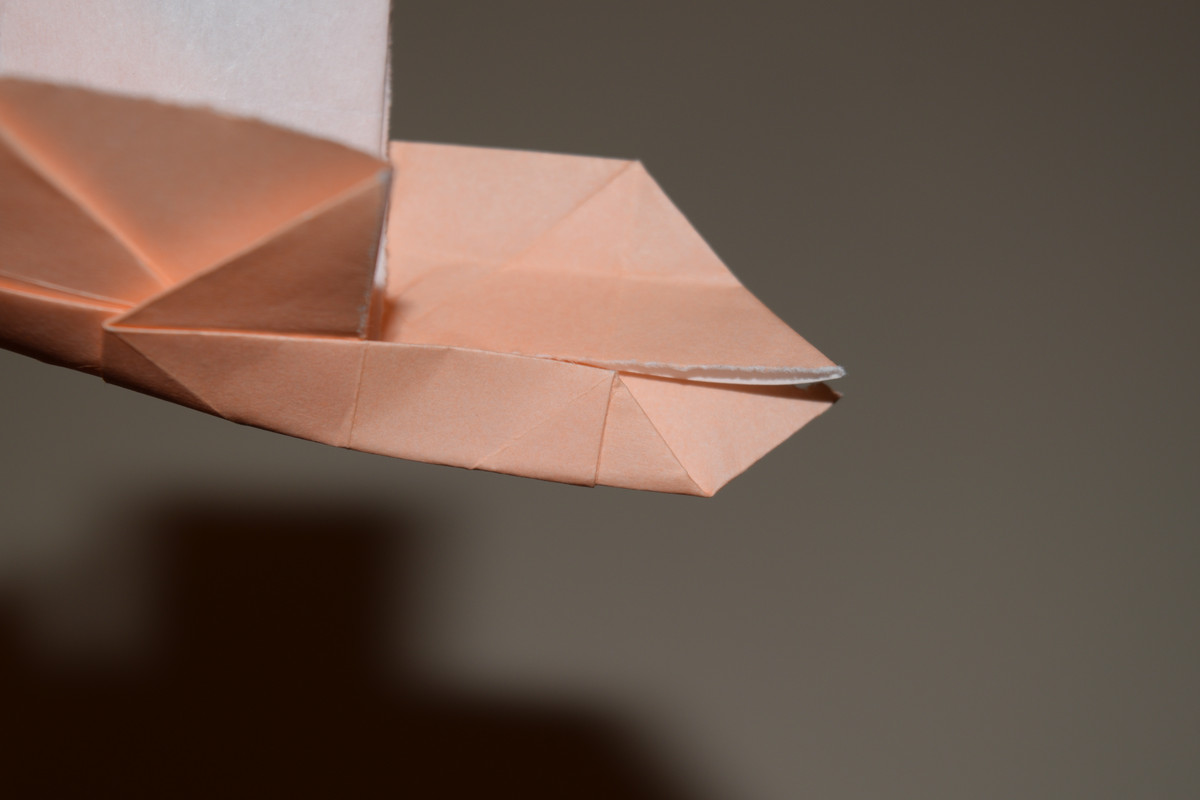
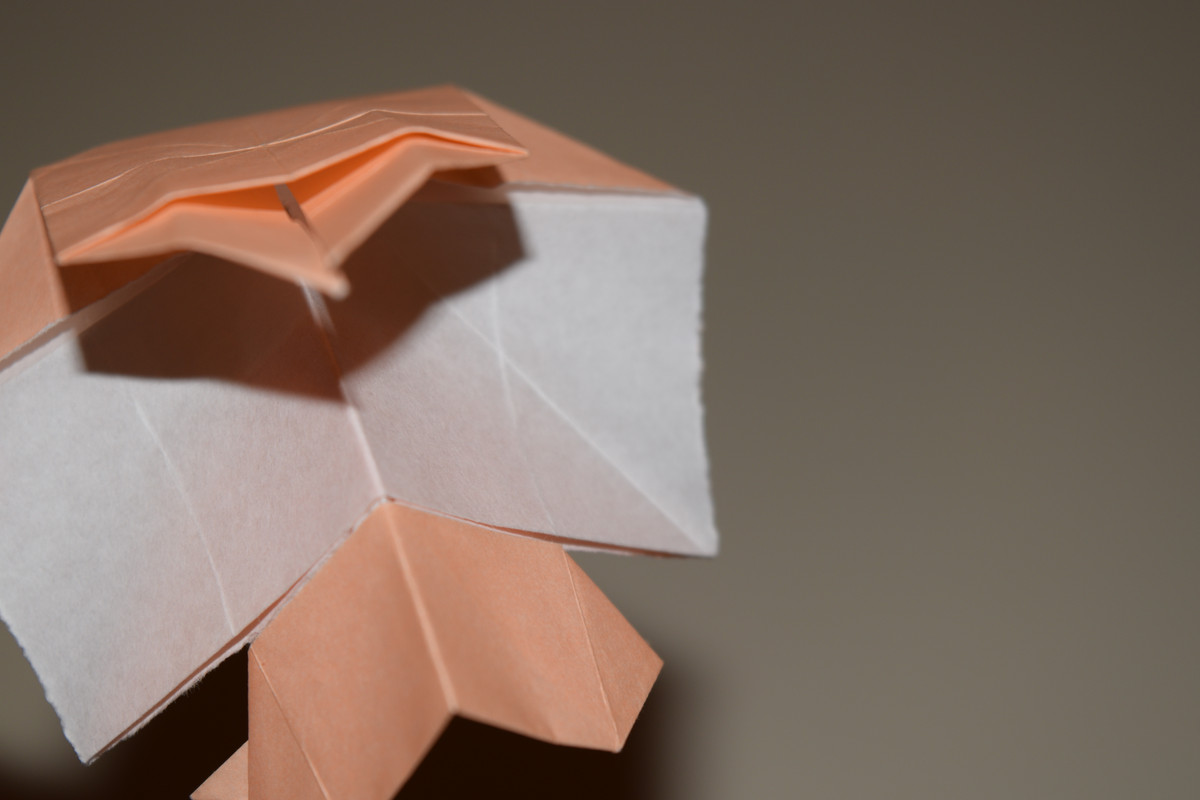
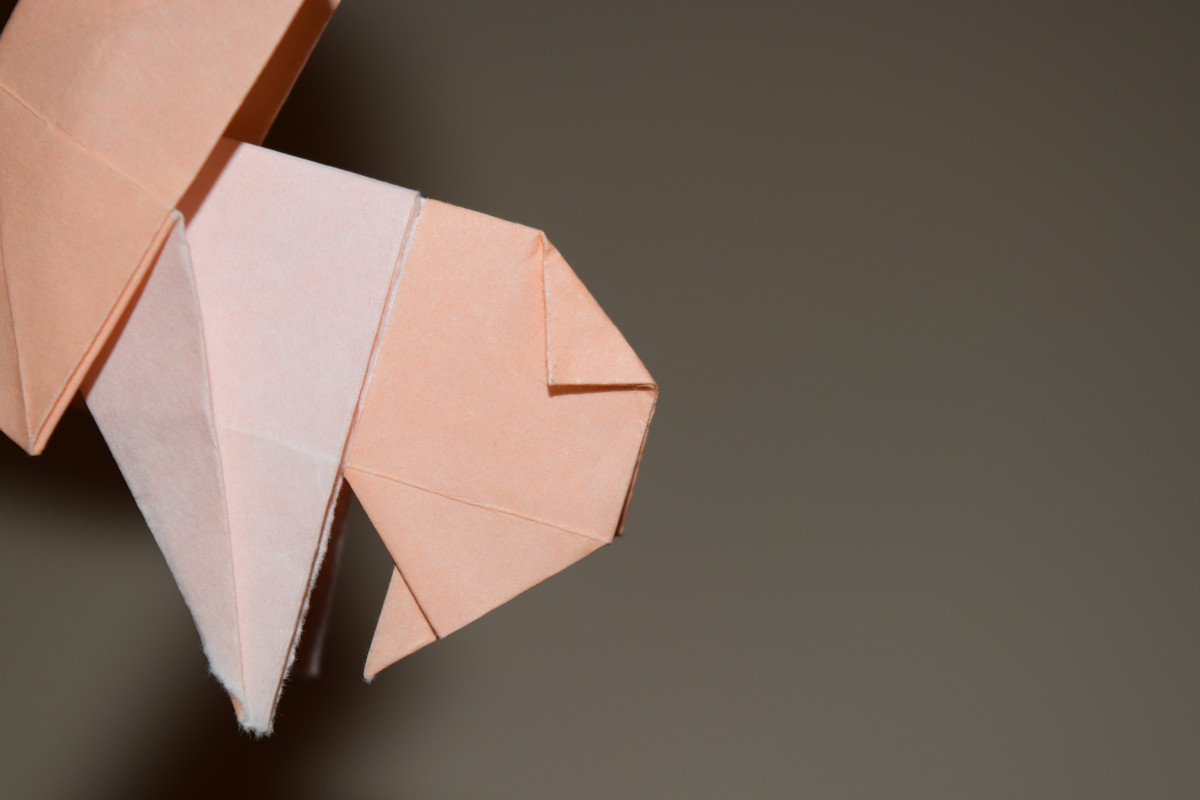
Take the small triangles at the bottom of the model. Fold the outer corner in to the inner corner as pictured and crease.

Fold the tip of the small triangle out towards the side as pictured.
Turn the model over.
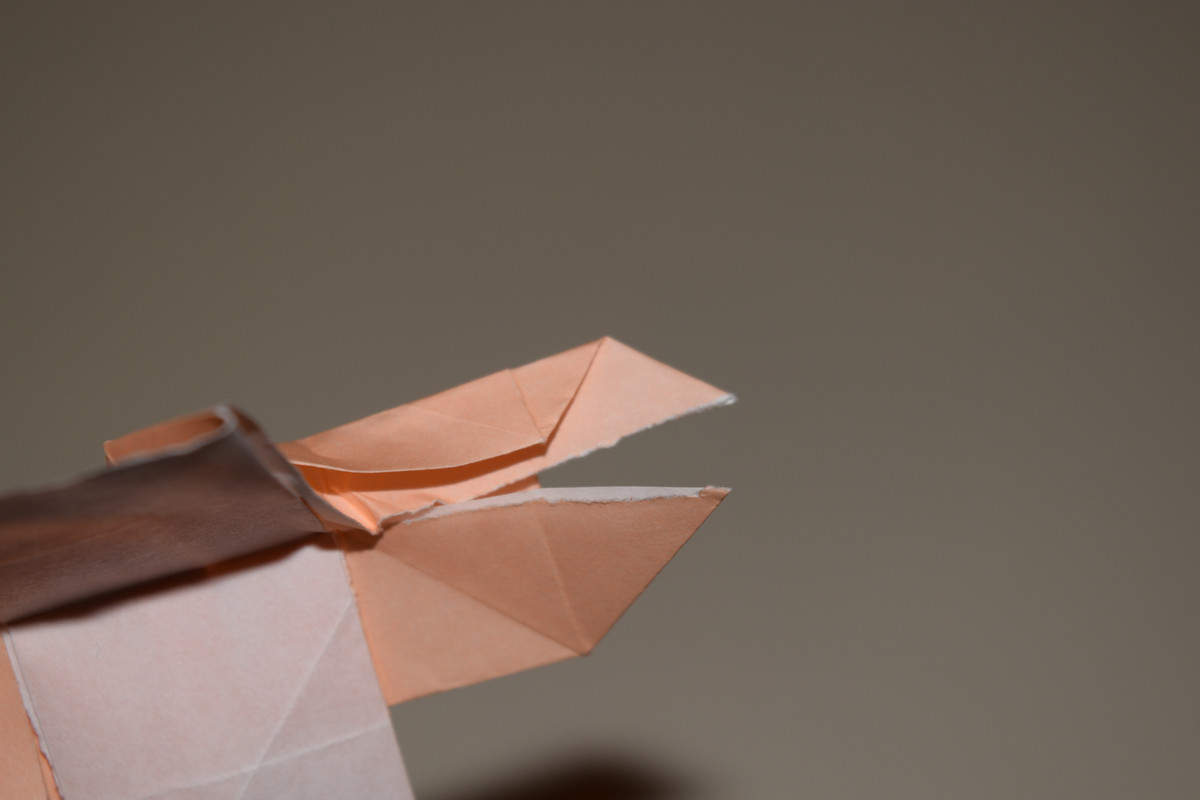
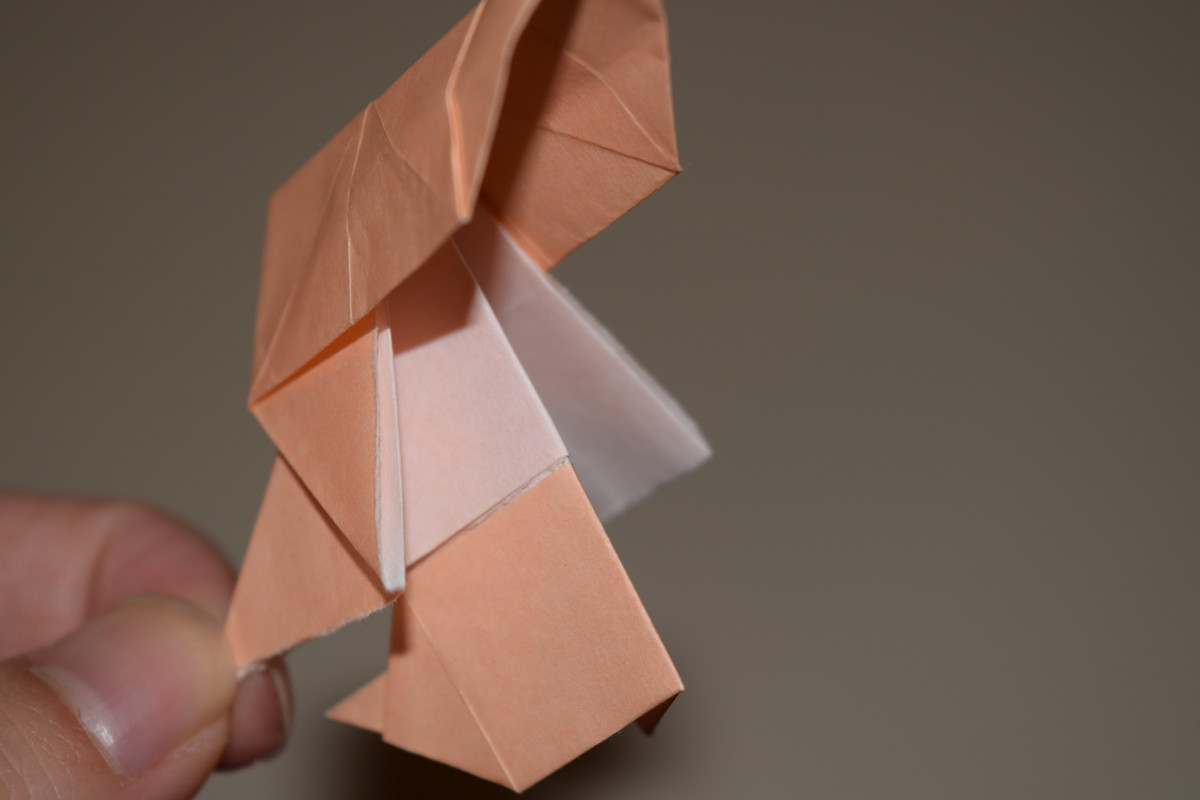
Fold the left edge of the left ear to meet the right edge. Crease then unfold.
Fold the right edge of the right ear to meet the left edge. Crease then unfold.
The model should look at pictured.
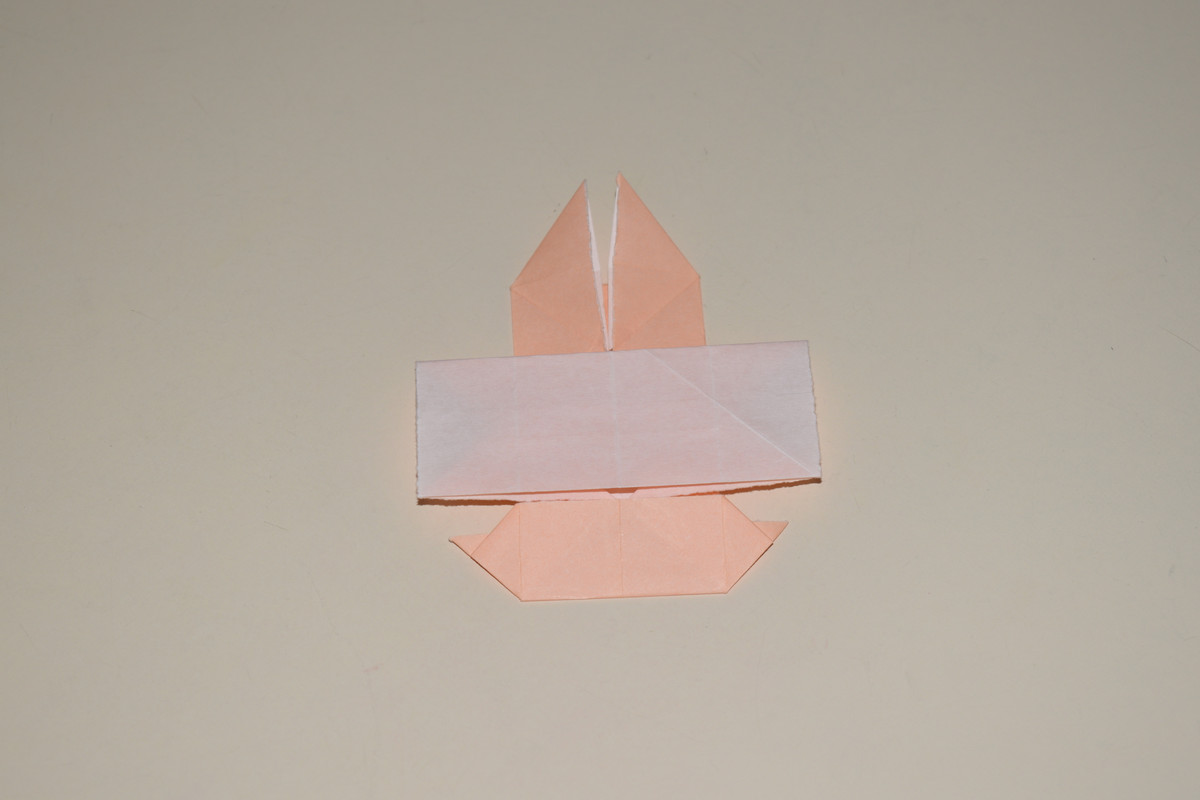
Mountain fold along the line from the top of the white rectangle to the start of the top region.
At the same time, mountain fold the vertical center line.
Collapse the sides over with a valley fold running from the top inner corner to the bottom outer corner.
Flatten and crease all edges.
On the front left leg, fold the flap forwards while using the bottom corner and the intersection with the head as reference points. Crease then unfold.
Open the flaps on the head and the leg.
Tuck the part from Step 51 under the head.
Flatten the model and crease all new edges.
Turn over and repeat Steps 51 through 54.
Mountain fold the excess inwards on both sides.
Turn the model over. Fold the corner to the left and crease.
Open the back and start to inside reverse fold the corner.
Pull a smaller corner out to form the tail. Crimp fold and crease.

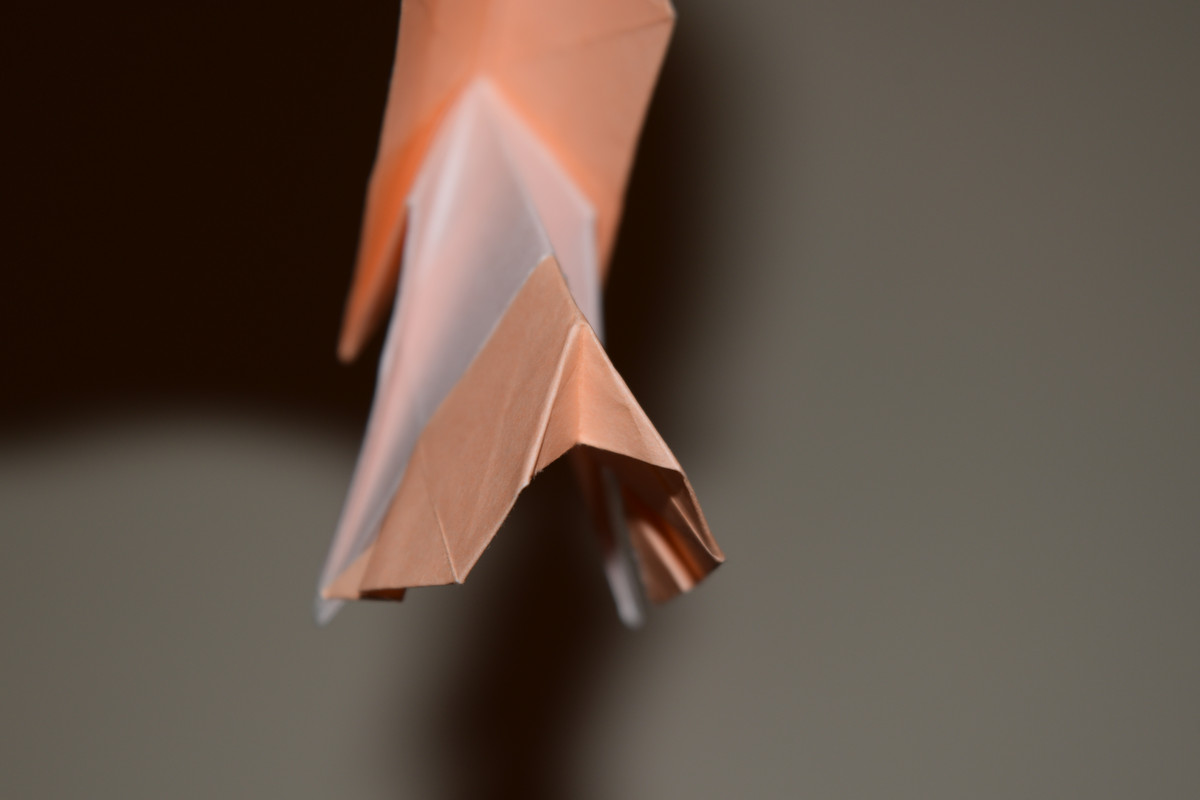
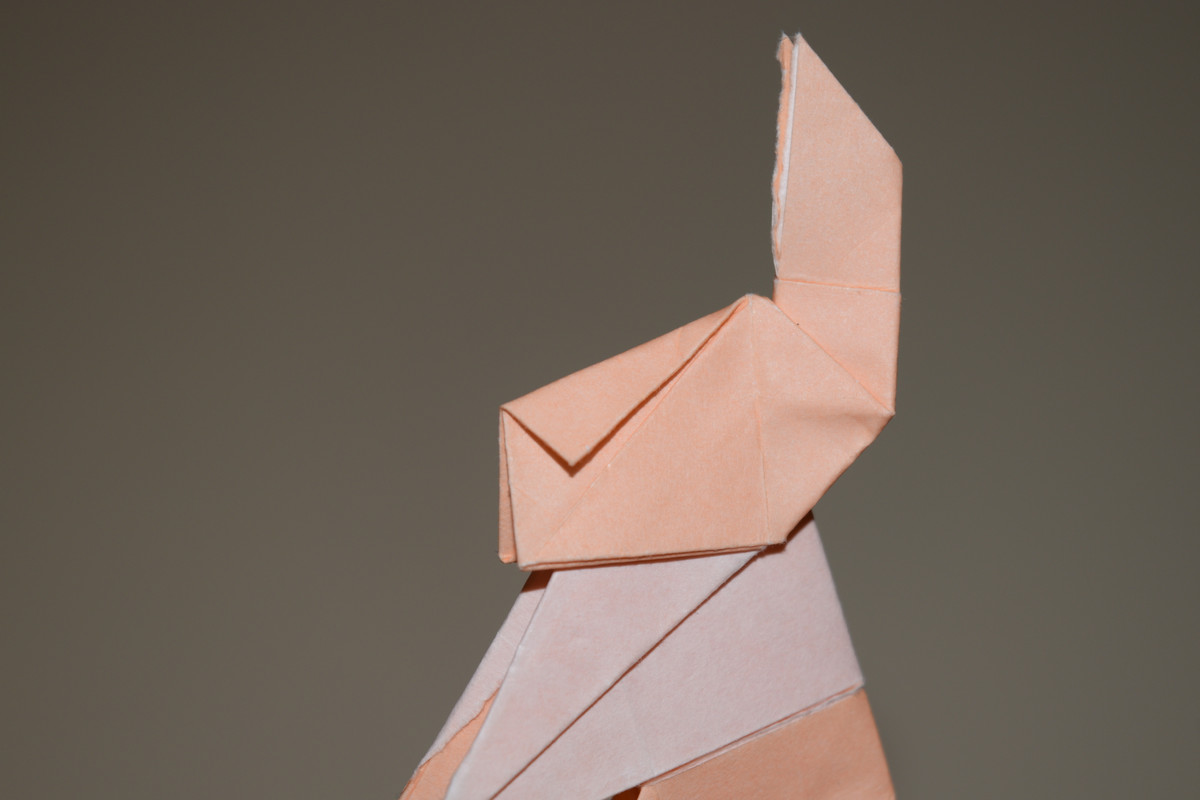
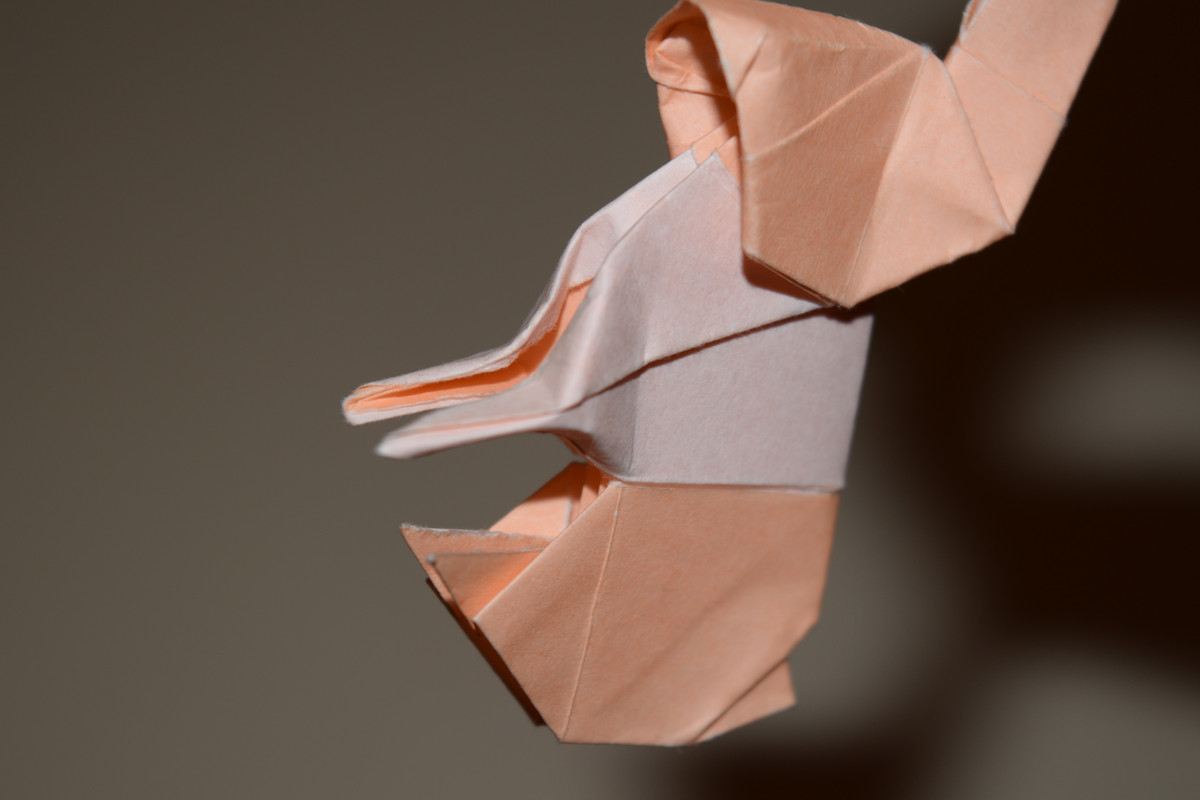
Mountain fold the sides of the ears and press down towards the head to form that triangle.
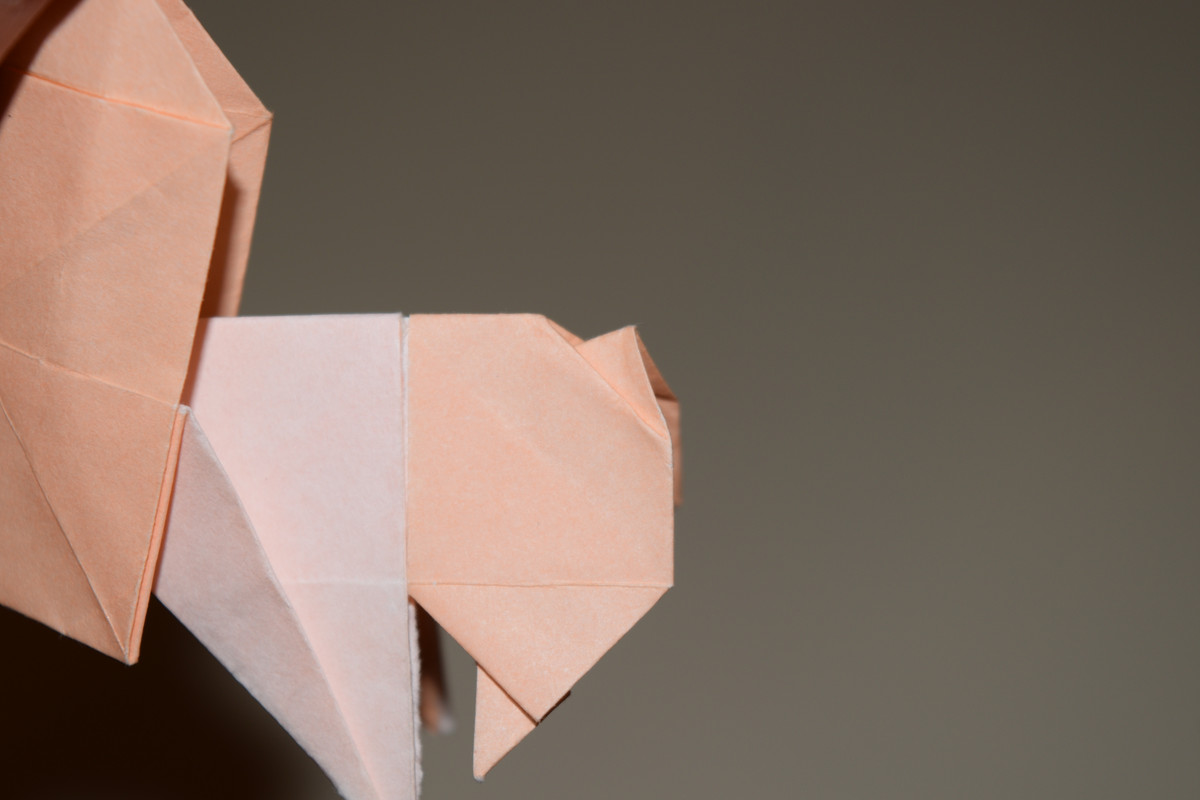
Double rabbit ear fold and crease.
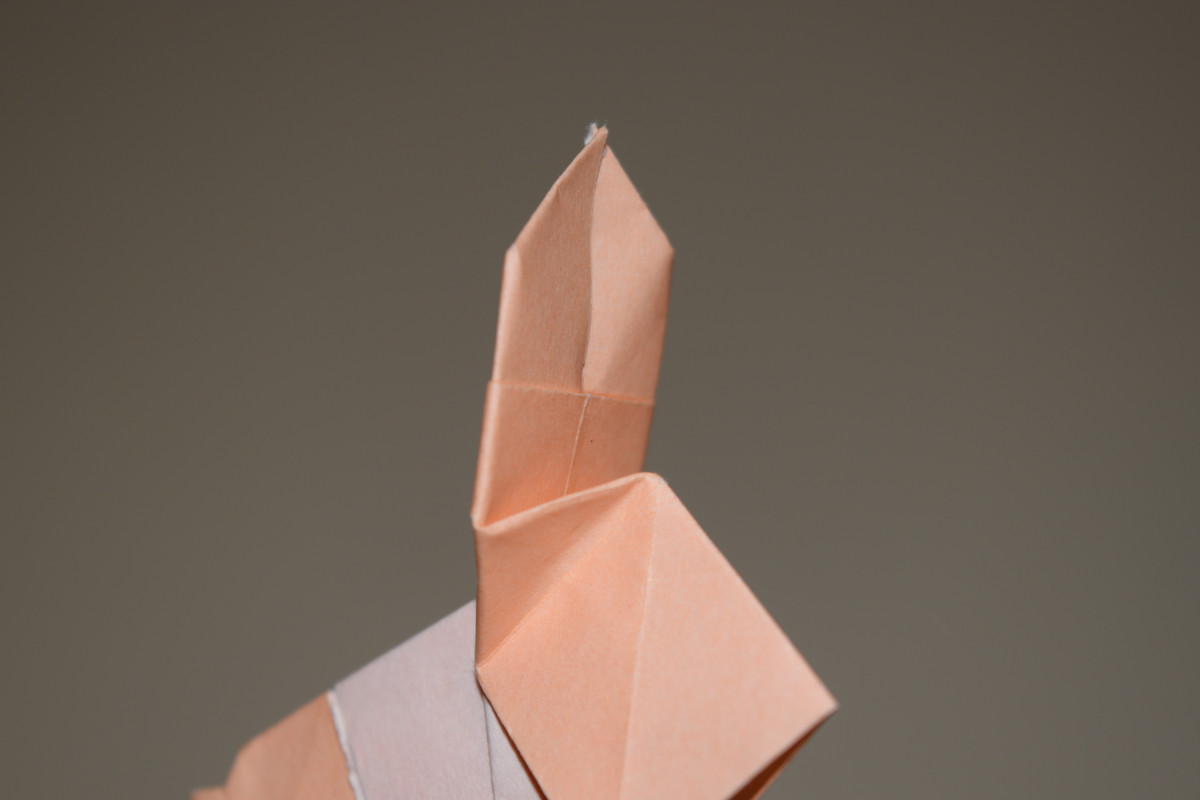
Valley fold along the vertical center line to make the ears point forward.
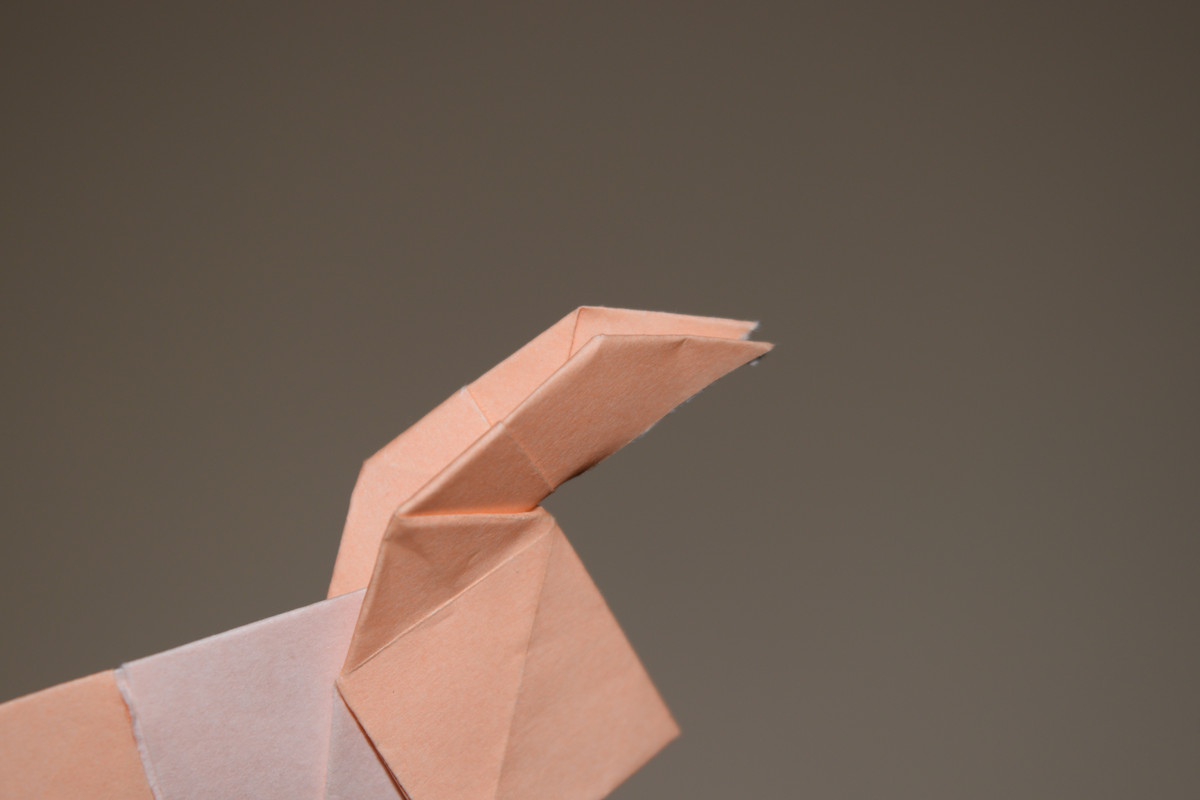
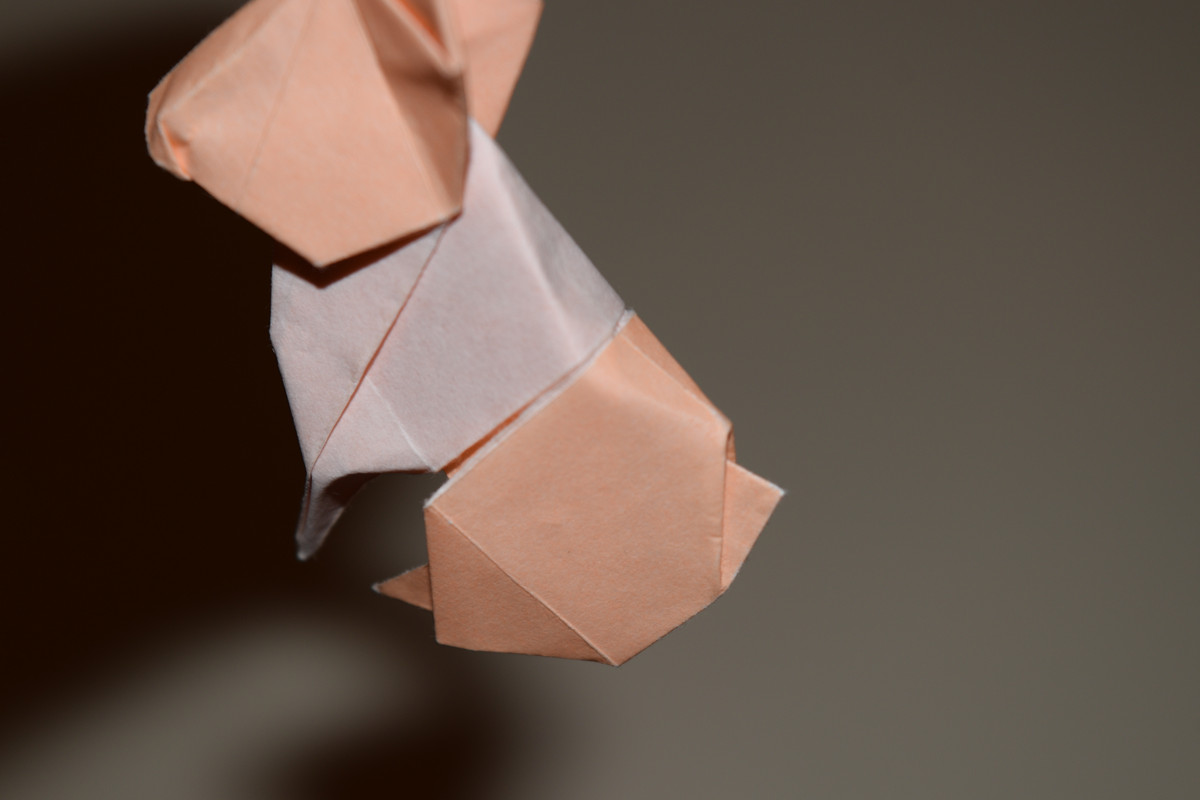
Fold over a corner on the top of the head. Crease and unfold.
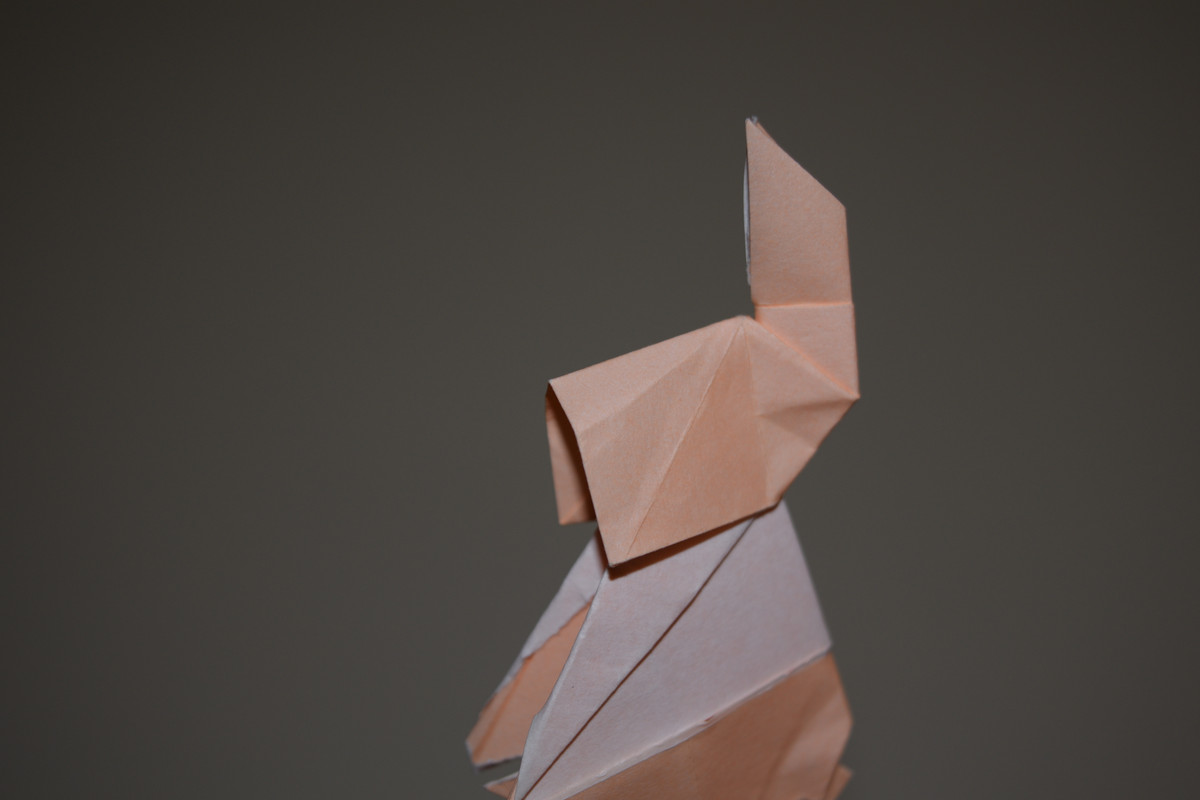
Round off the previously folded corner.
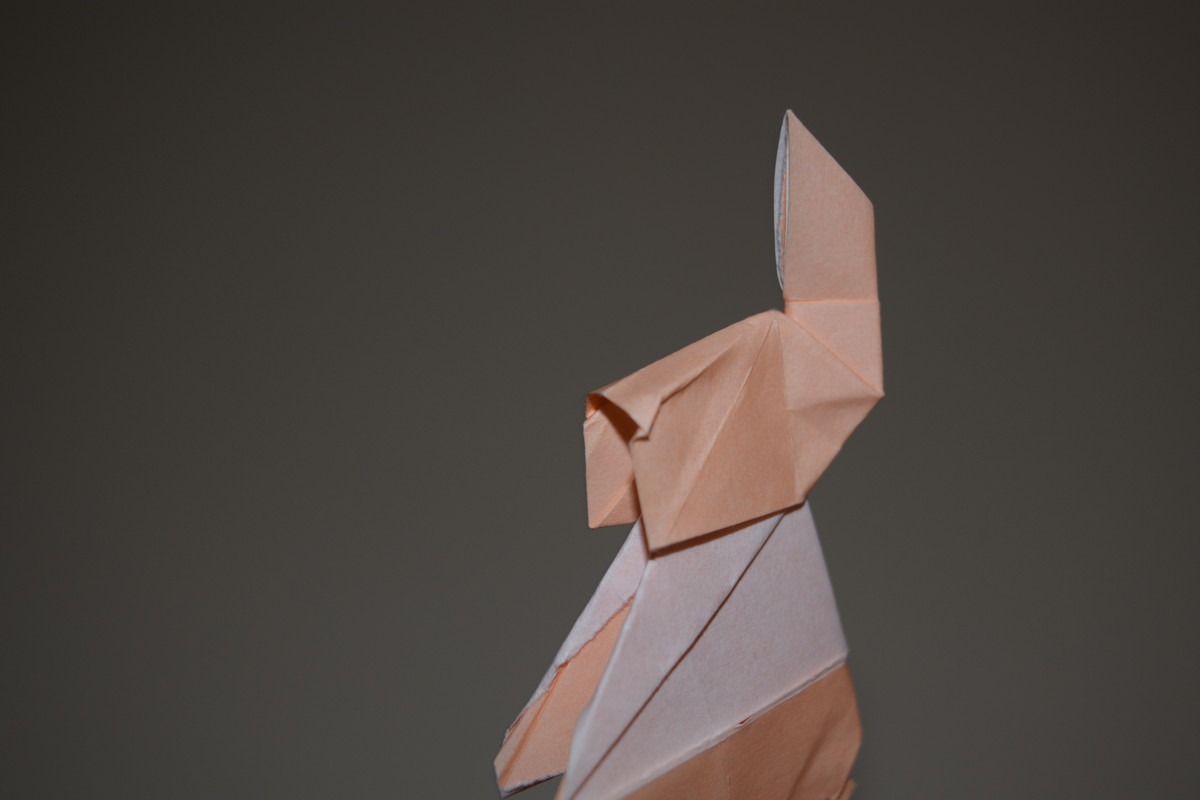
Make small mountain folds at the corners of the nose to keep it in place. The model will no longer lie flat.
Fold under the excess.
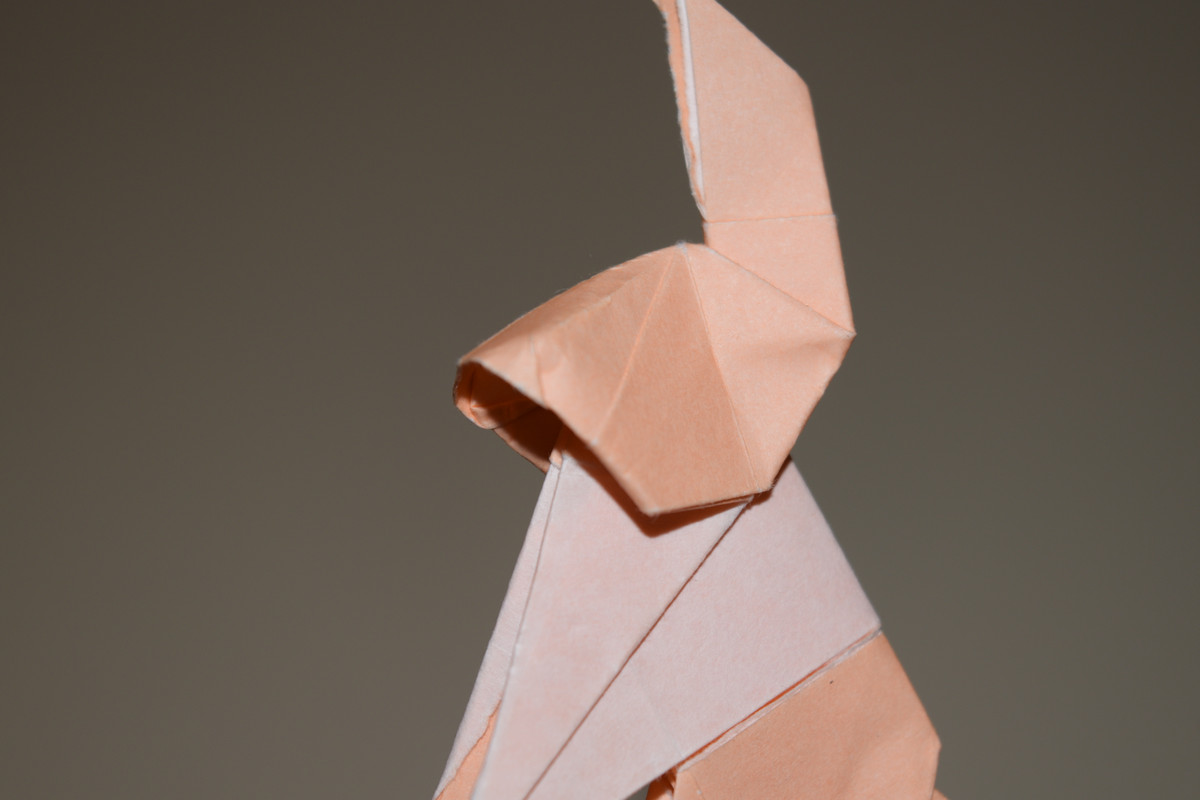
Shape the legs.
Shape the body.
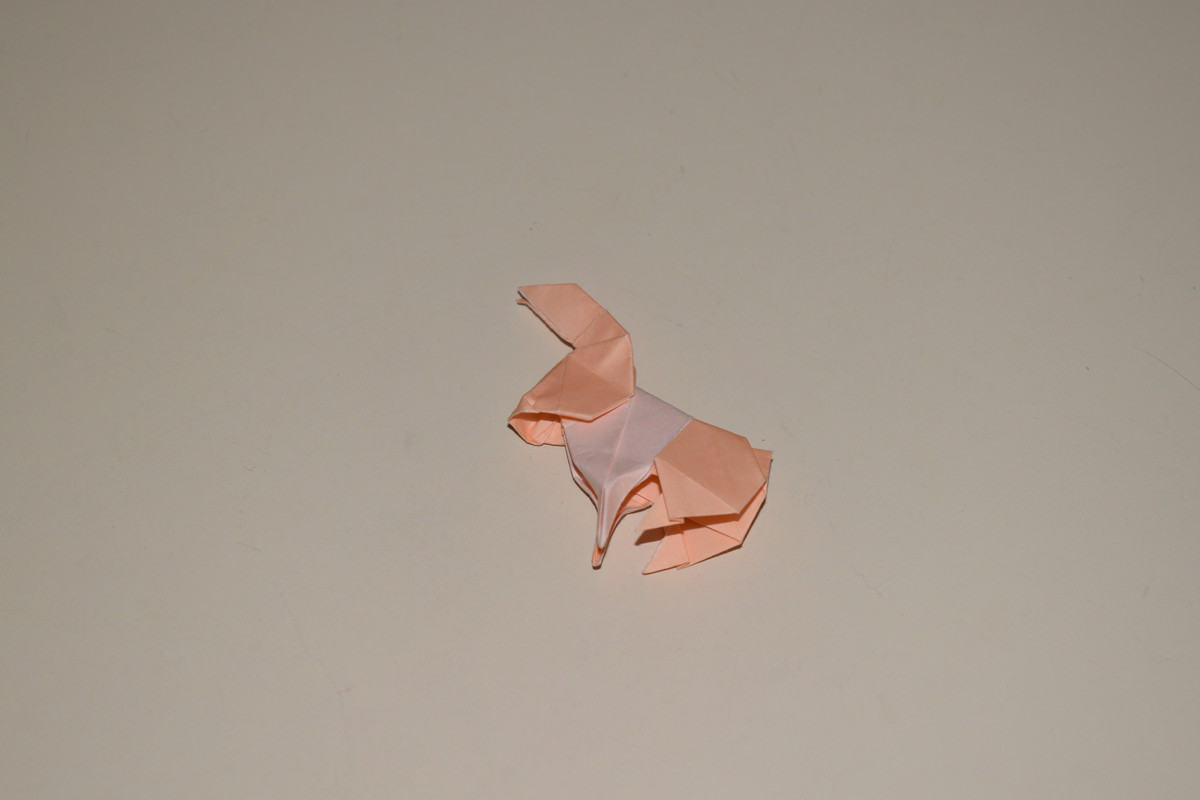
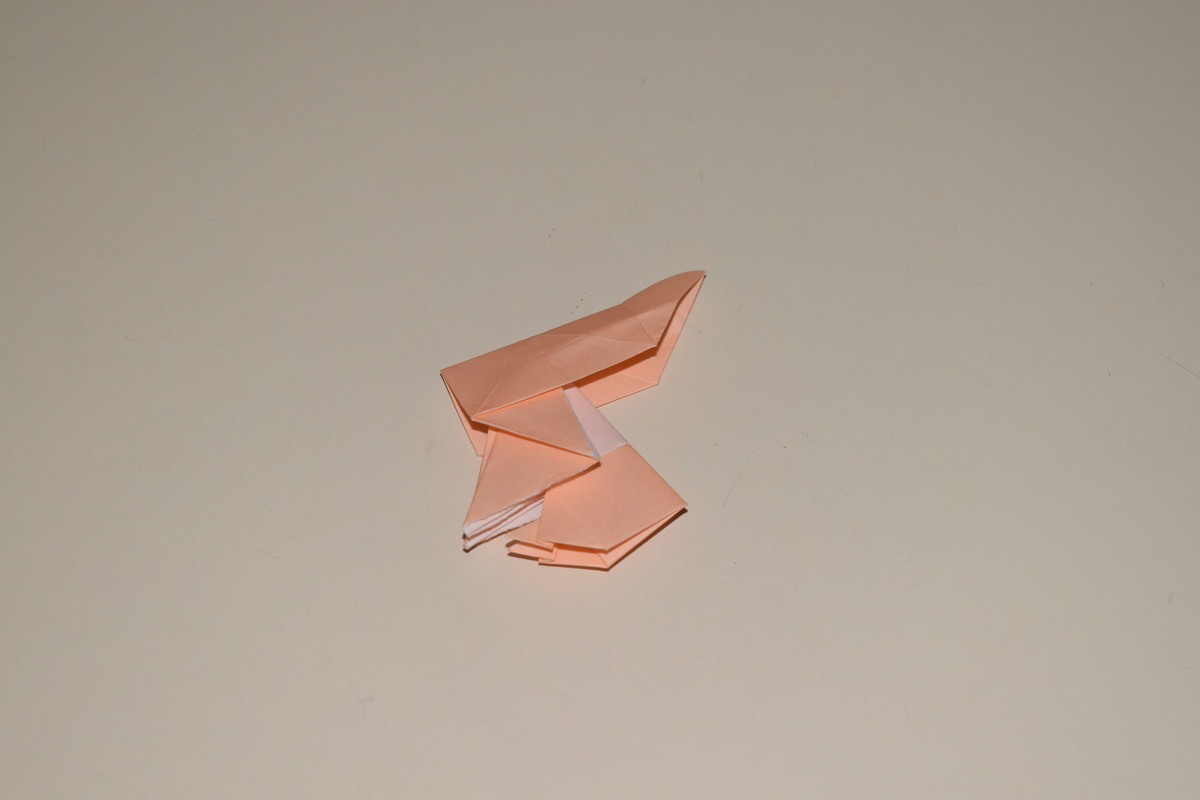
You have completed the Dollar Bill Hare.