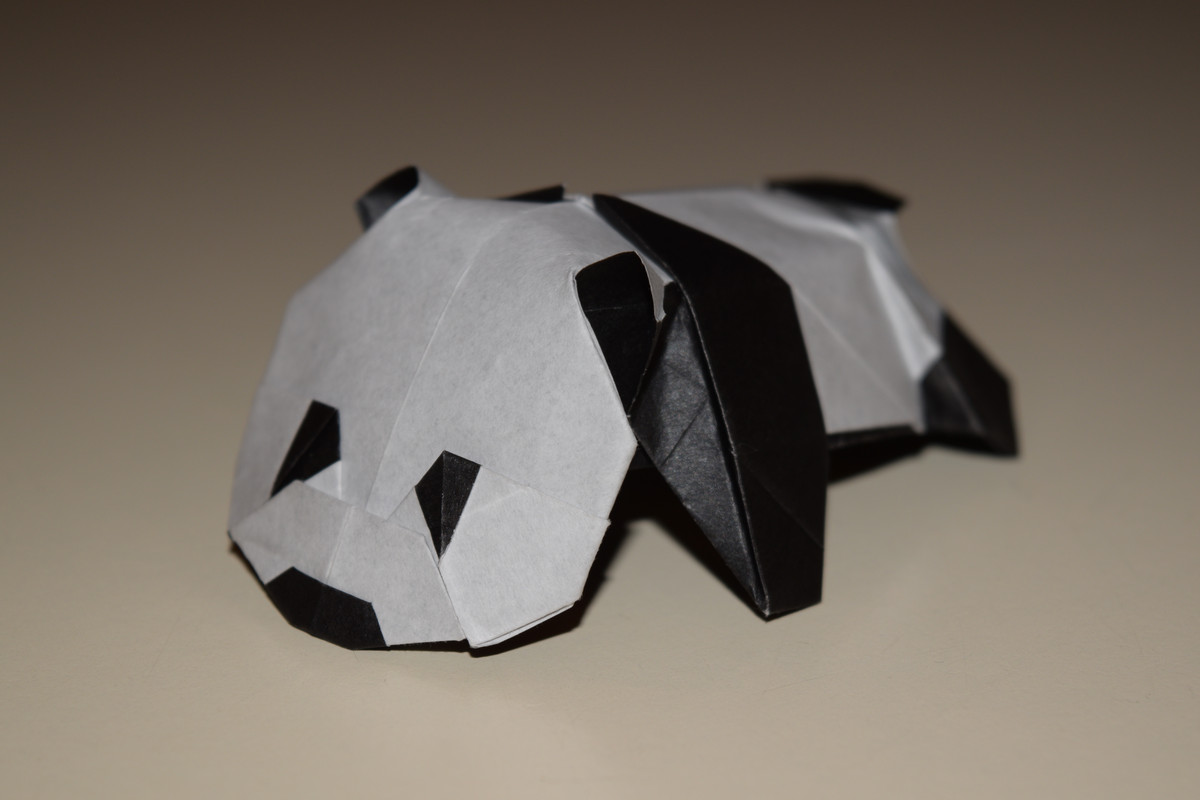
Designed by Jacky Chan (not martial artist Jackie Chan), the Panda is a more advanced model with many small folds and the occasional fold without a reference point. It is not recommended for beginners. Click on a picture to enlarge it if necessary.
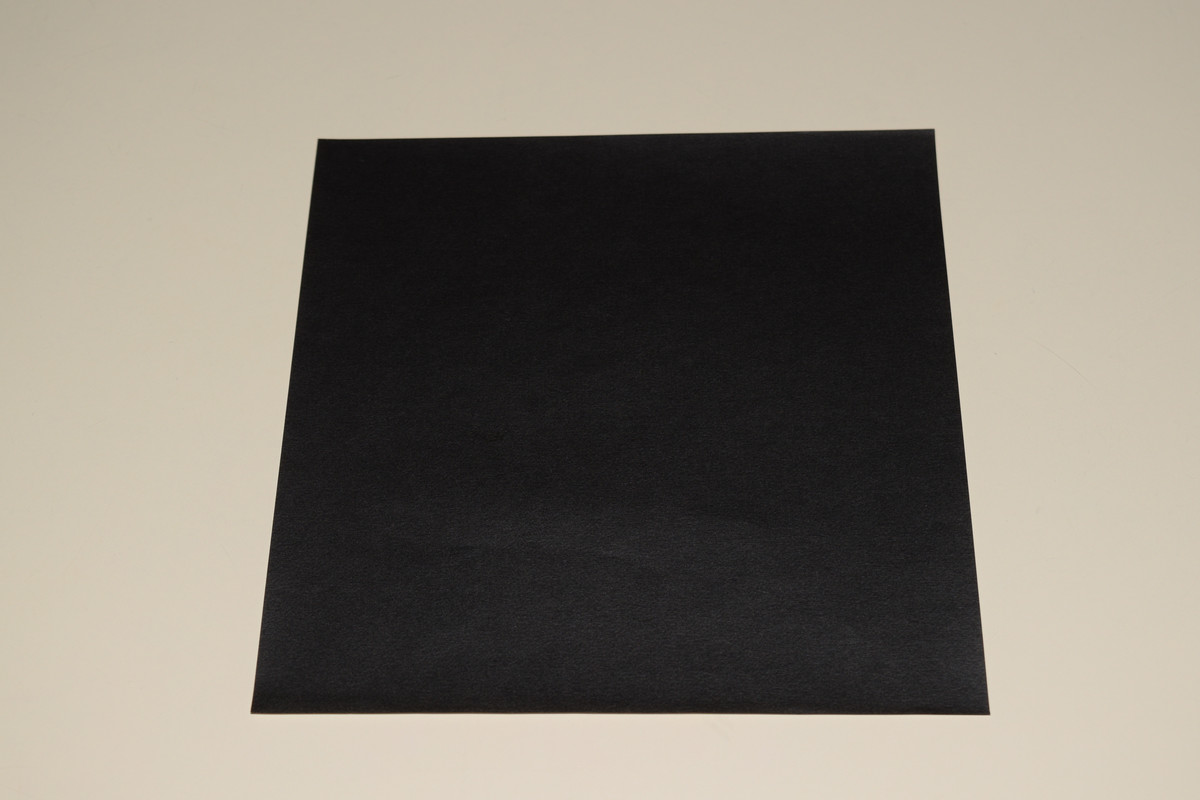
The paper here is 15cm x 15cm, single-sided origami paper. Any paper cut into the shape of a square should be usable.
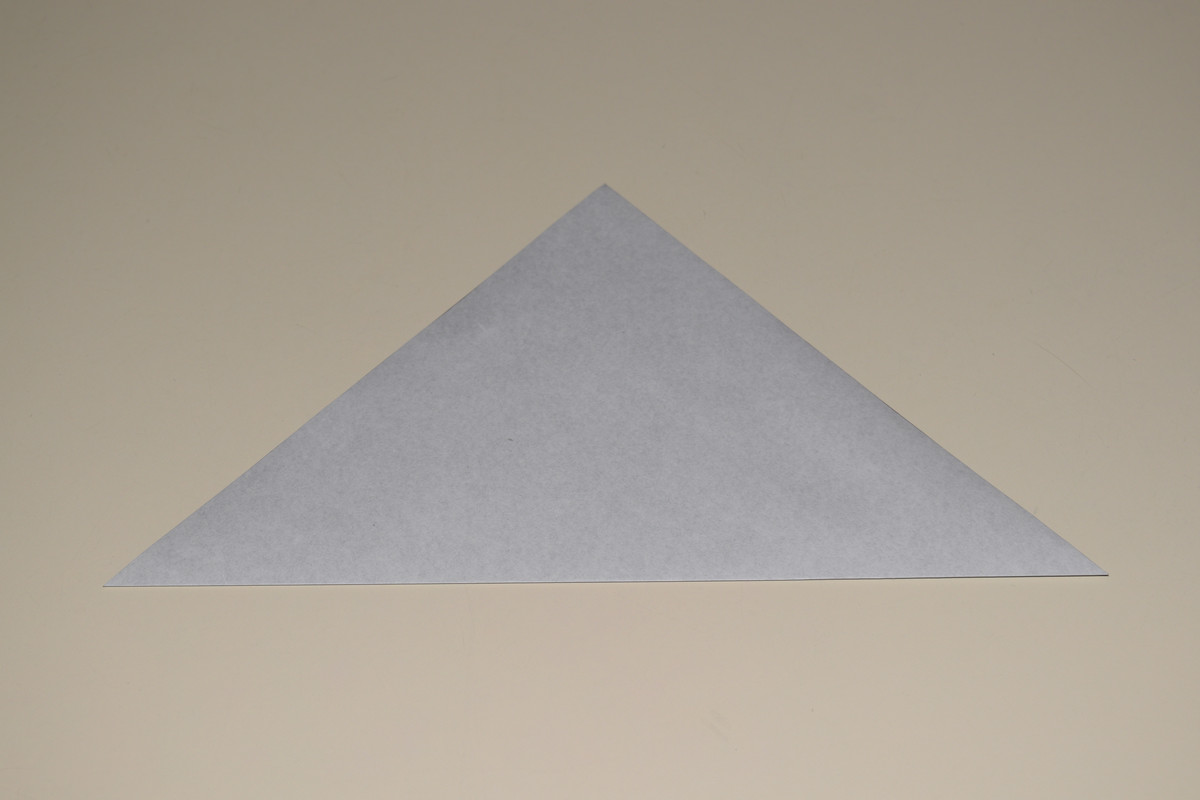
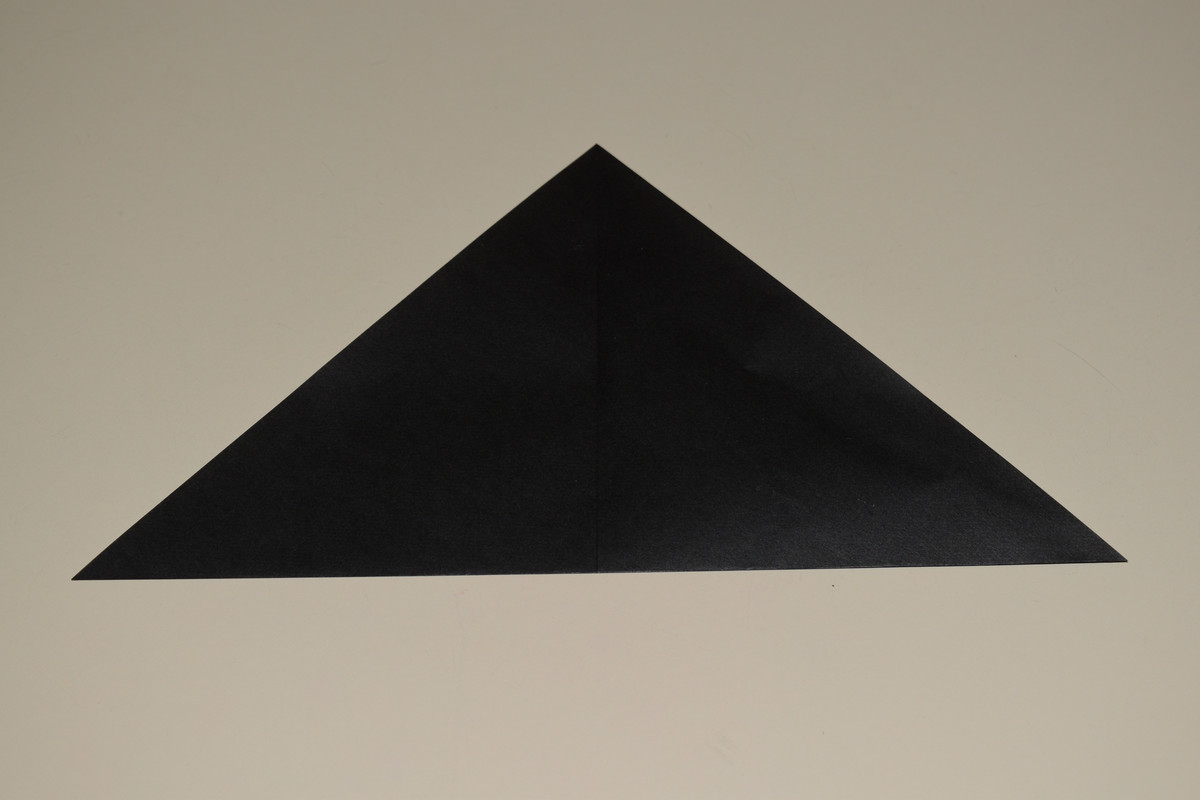
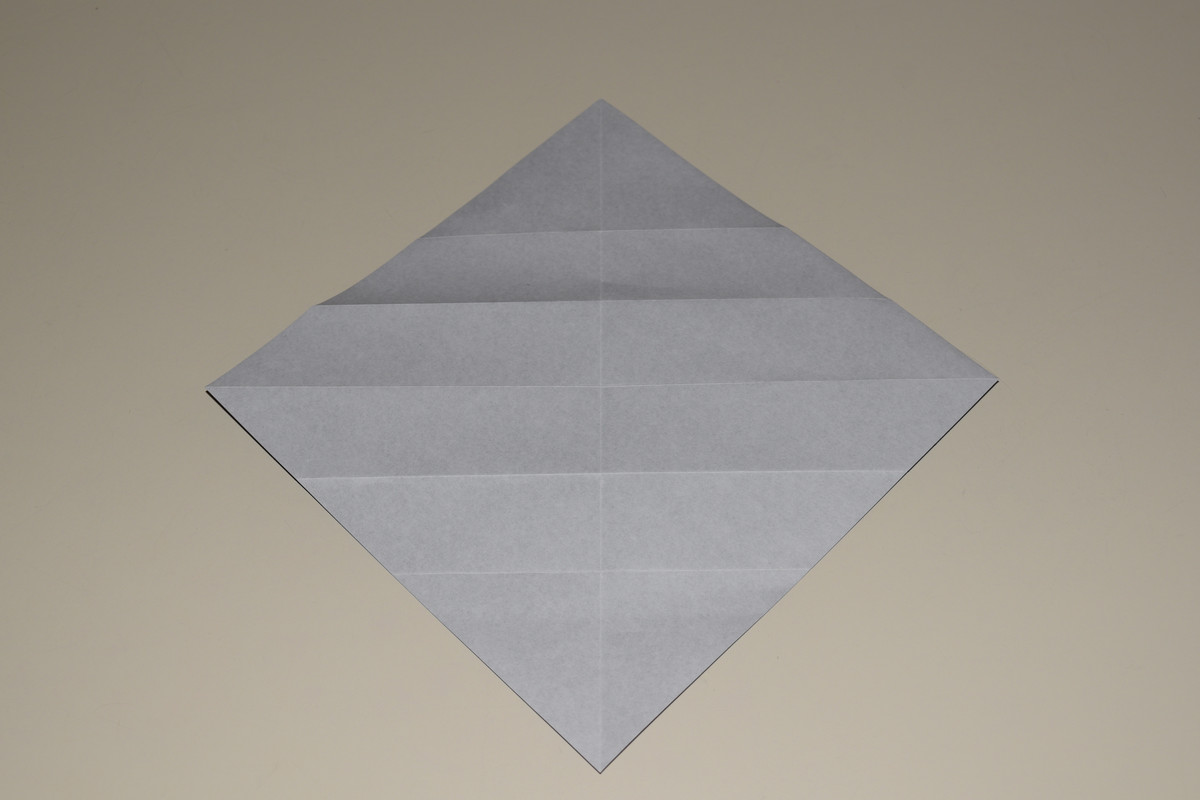
With the paper at a diagonal, fold the bottom corner up to the top corner. Crease then unfold.
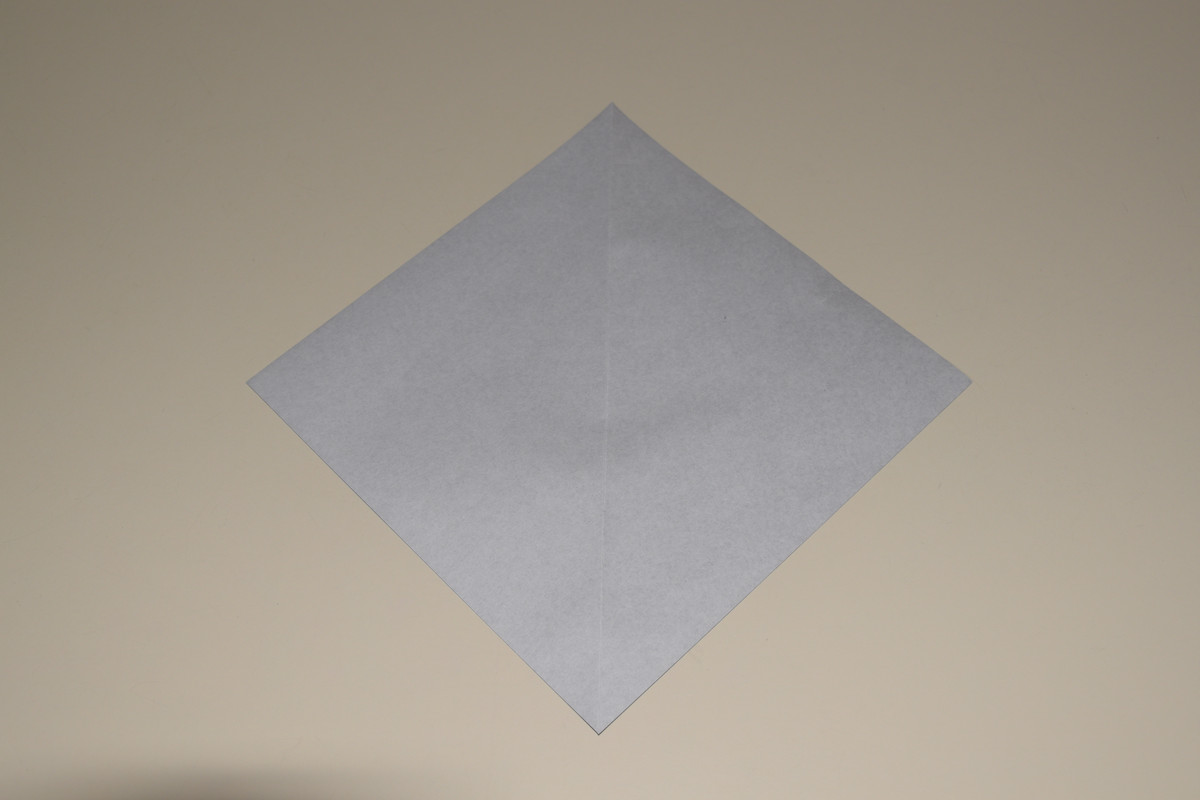
Turn the paper over then orient it so that the previously folded crease is vertical.
Fold the bottom corner up to the top corner. Crease then unfold.
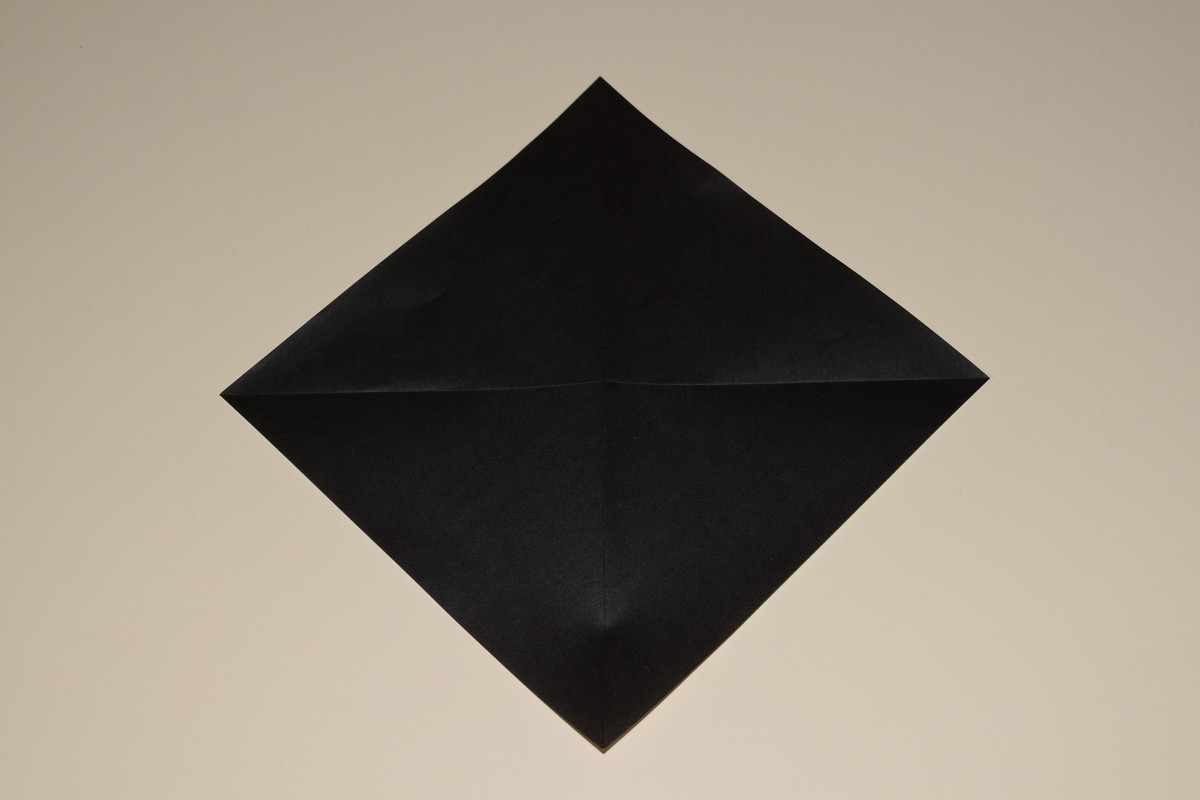
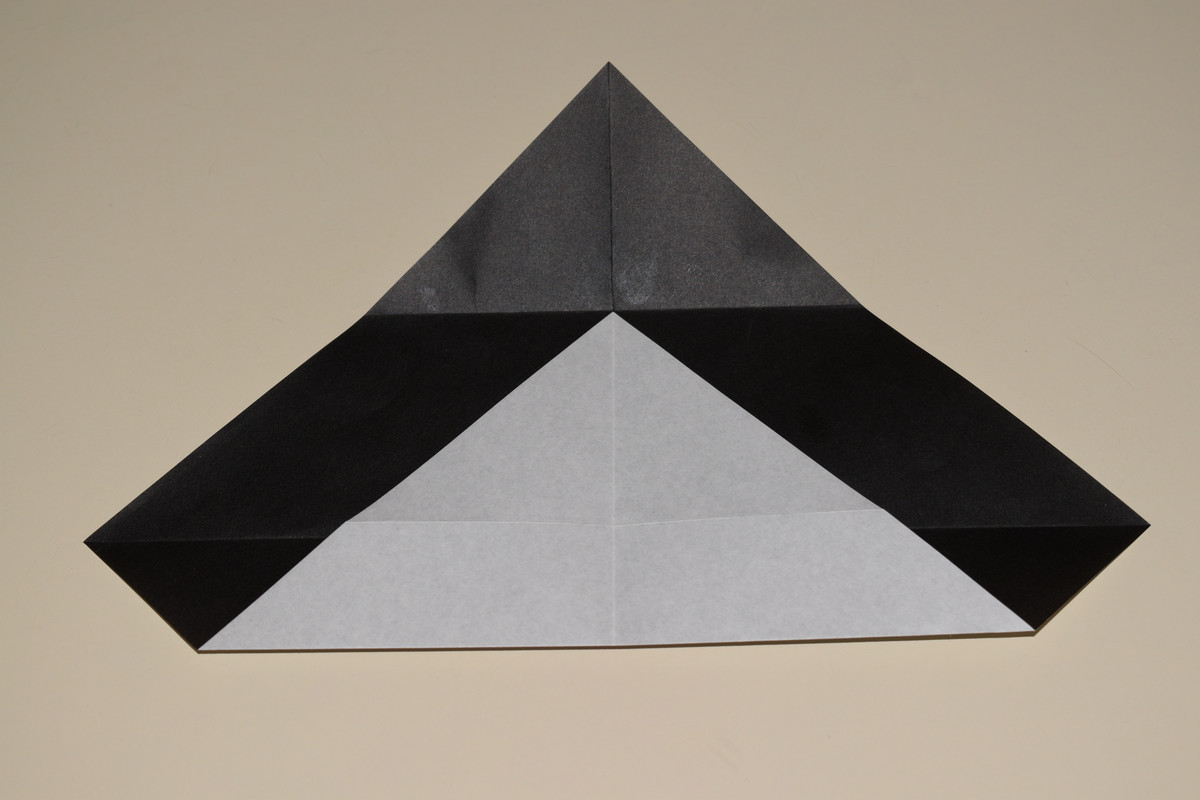
Turn the paper over so that the colored side is up.
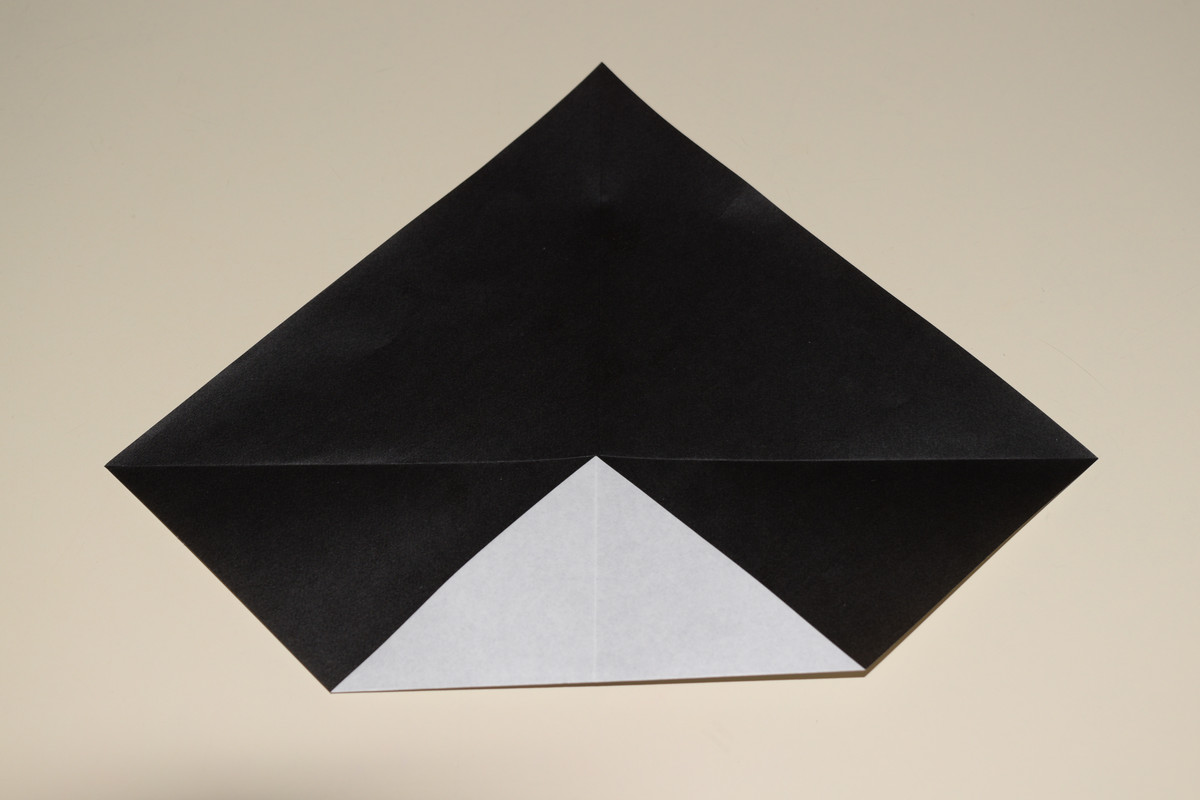
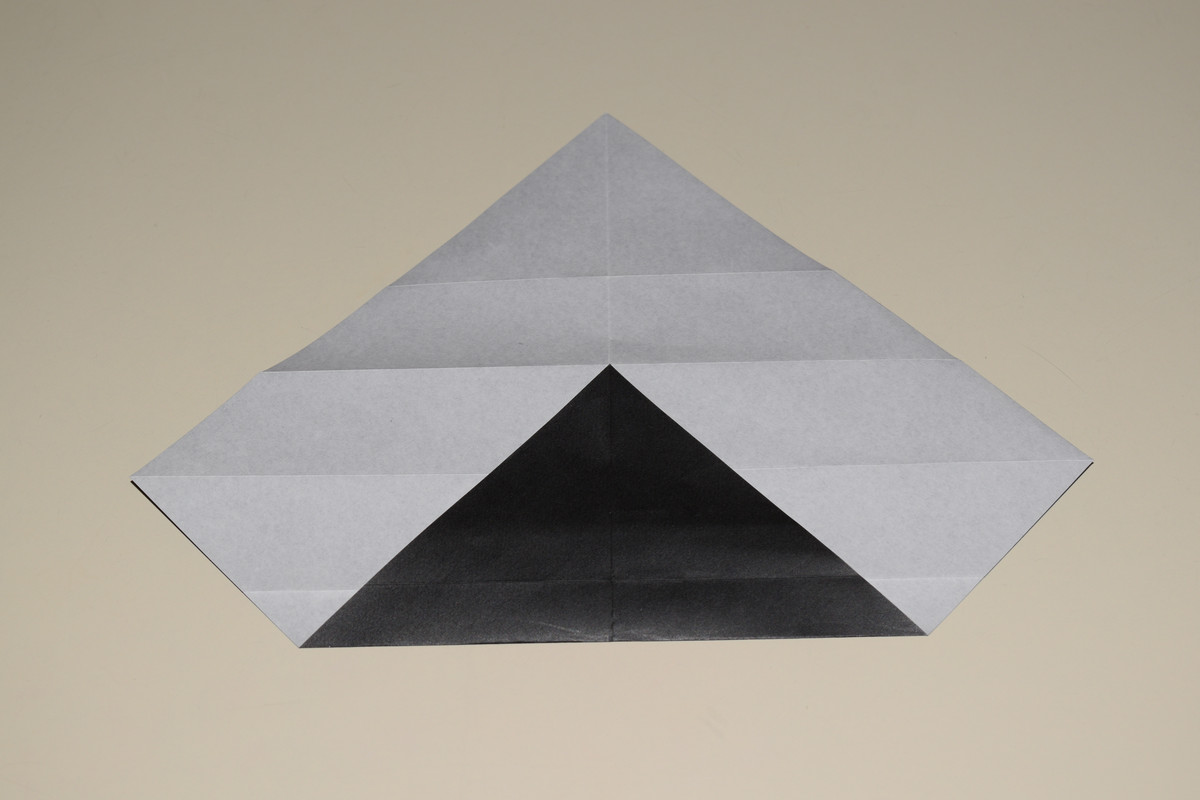
Fold the bottom corner up to the center and crease.
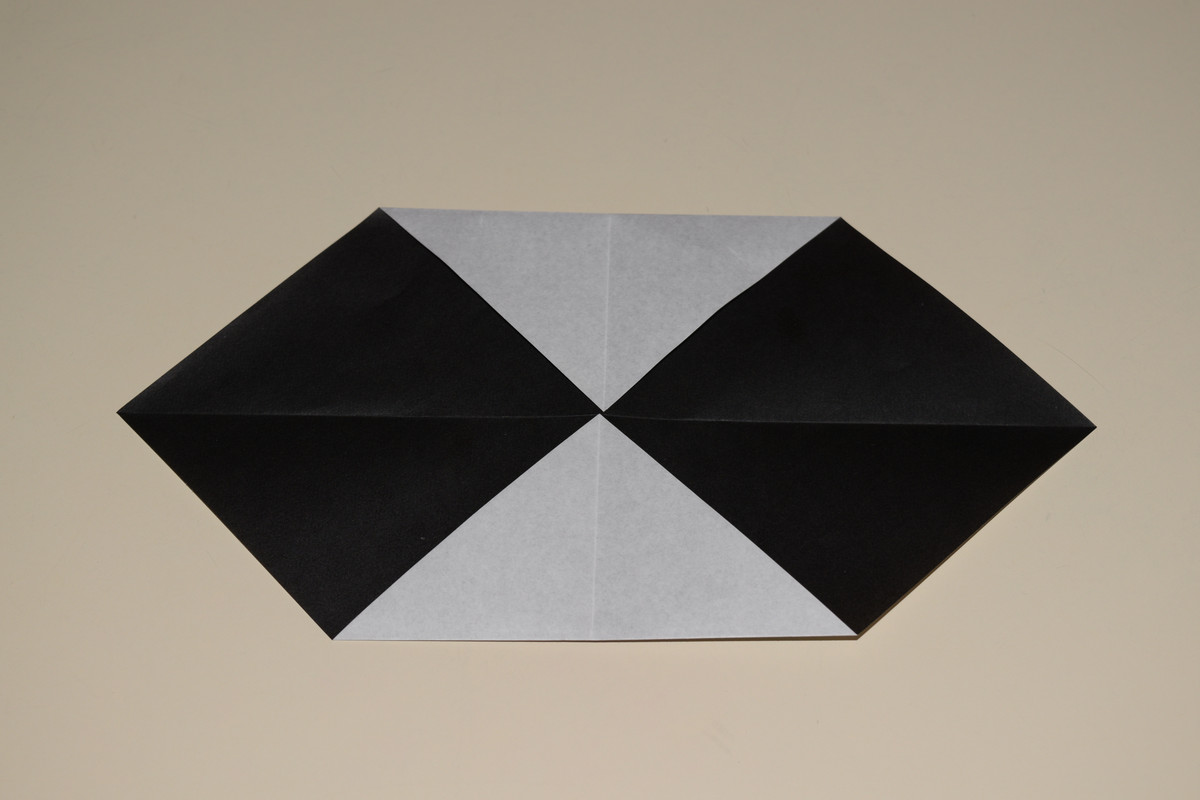
Fold the top corner down to the center and crease.
Unfold Steps 6 and 7.
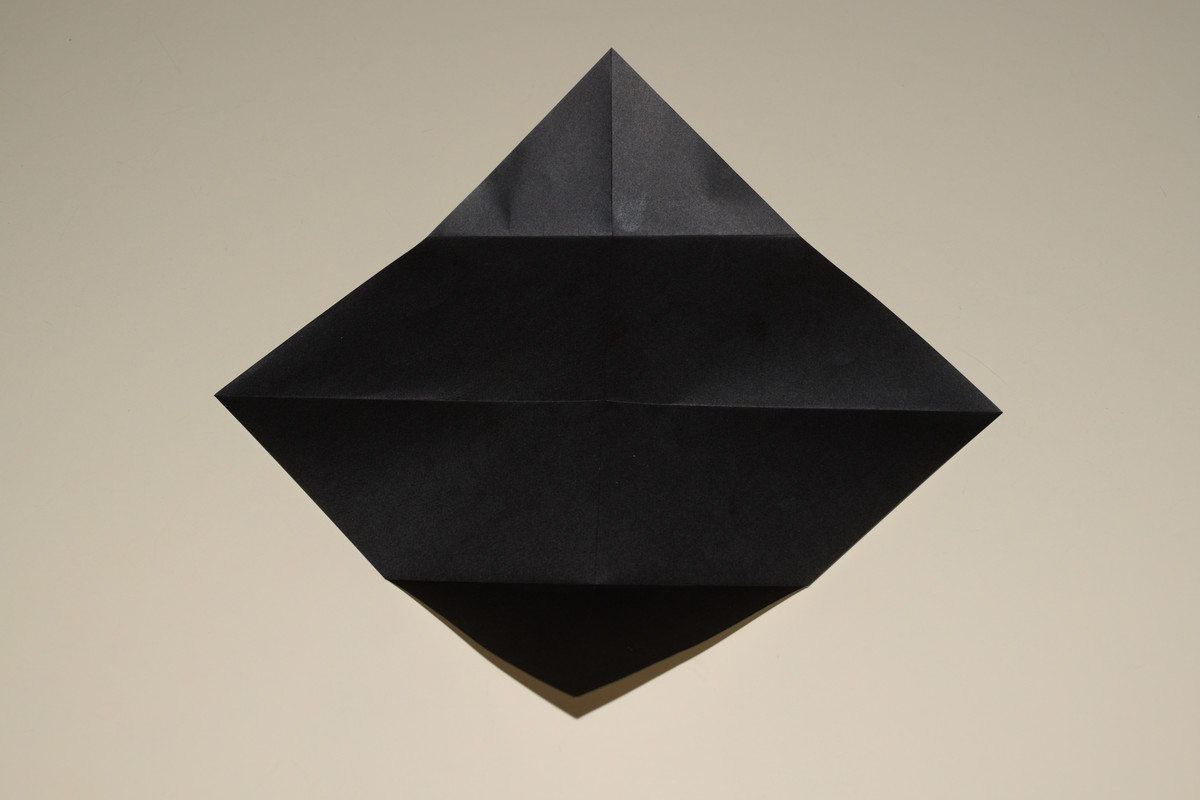
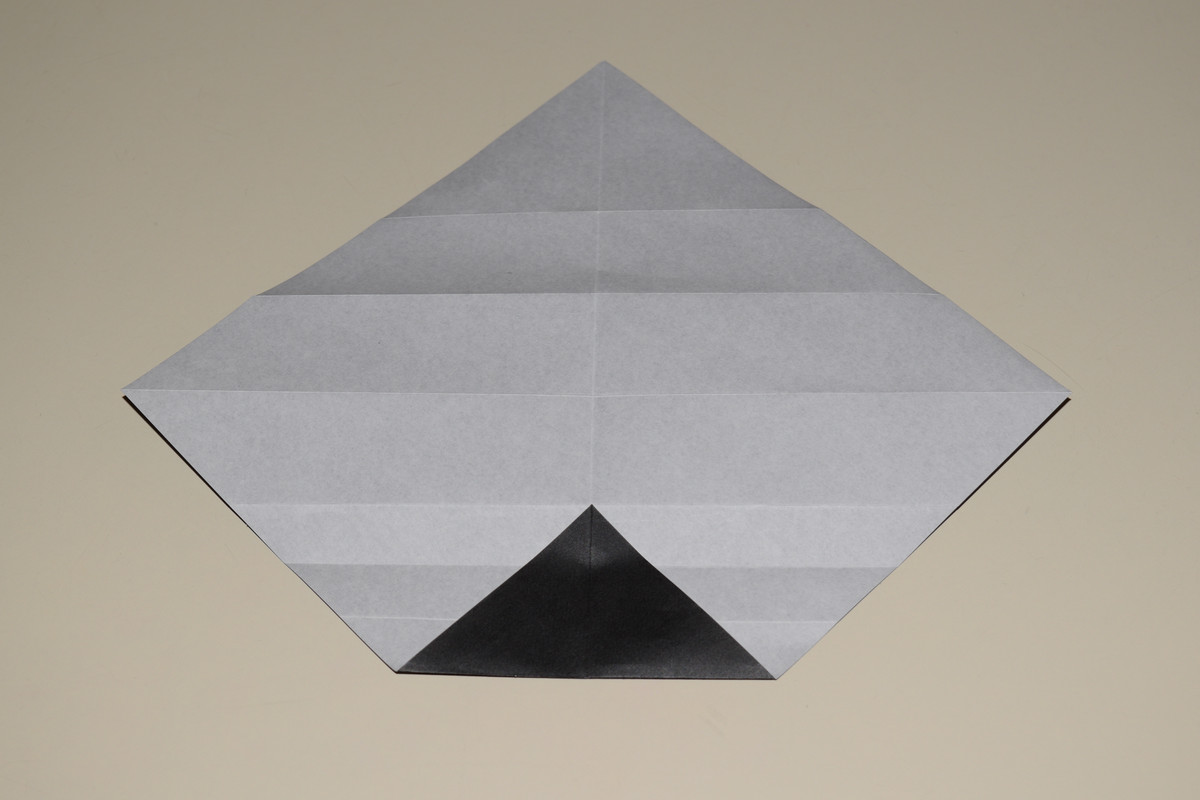
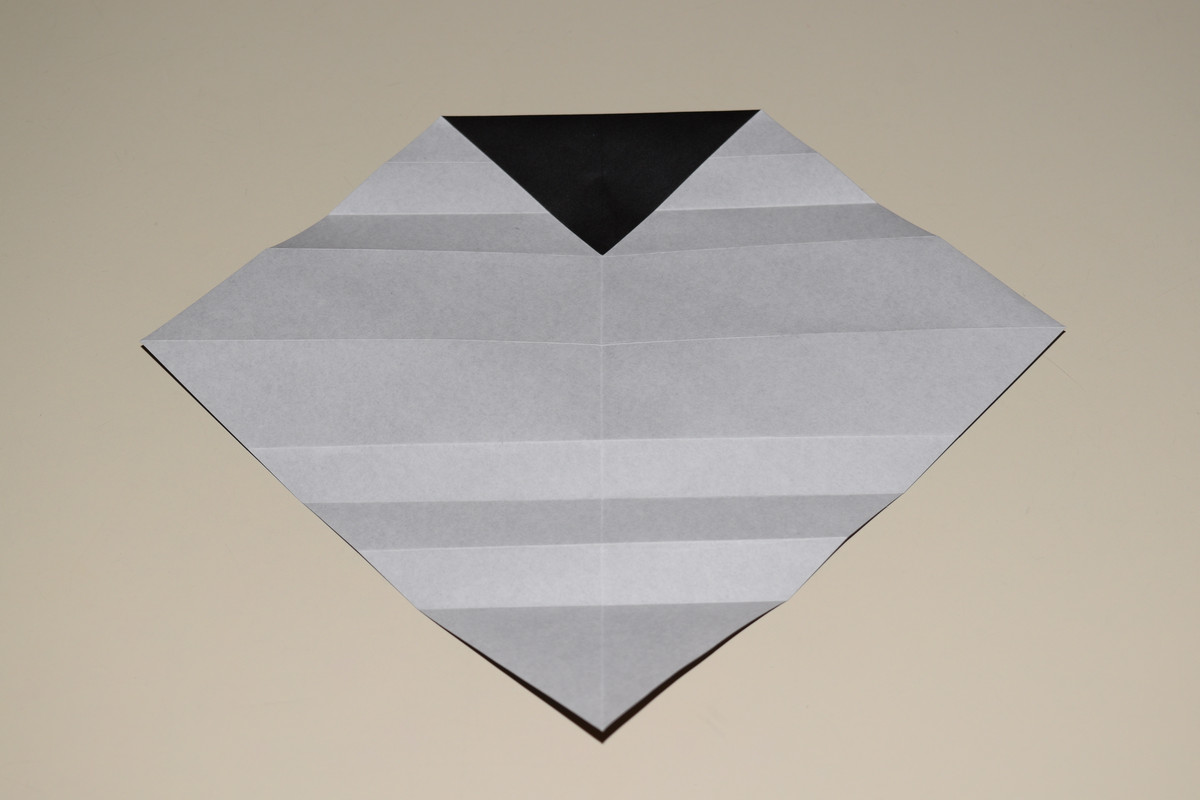
Fold the bottom corner up to the point in which the top horizontal line and the vertical center line intersect. Crease.
Unfold.
Fold the top corner down to the point in which the last horizontal line and the vertical center line intersect. Crease then unfold.
Turn the paper over.
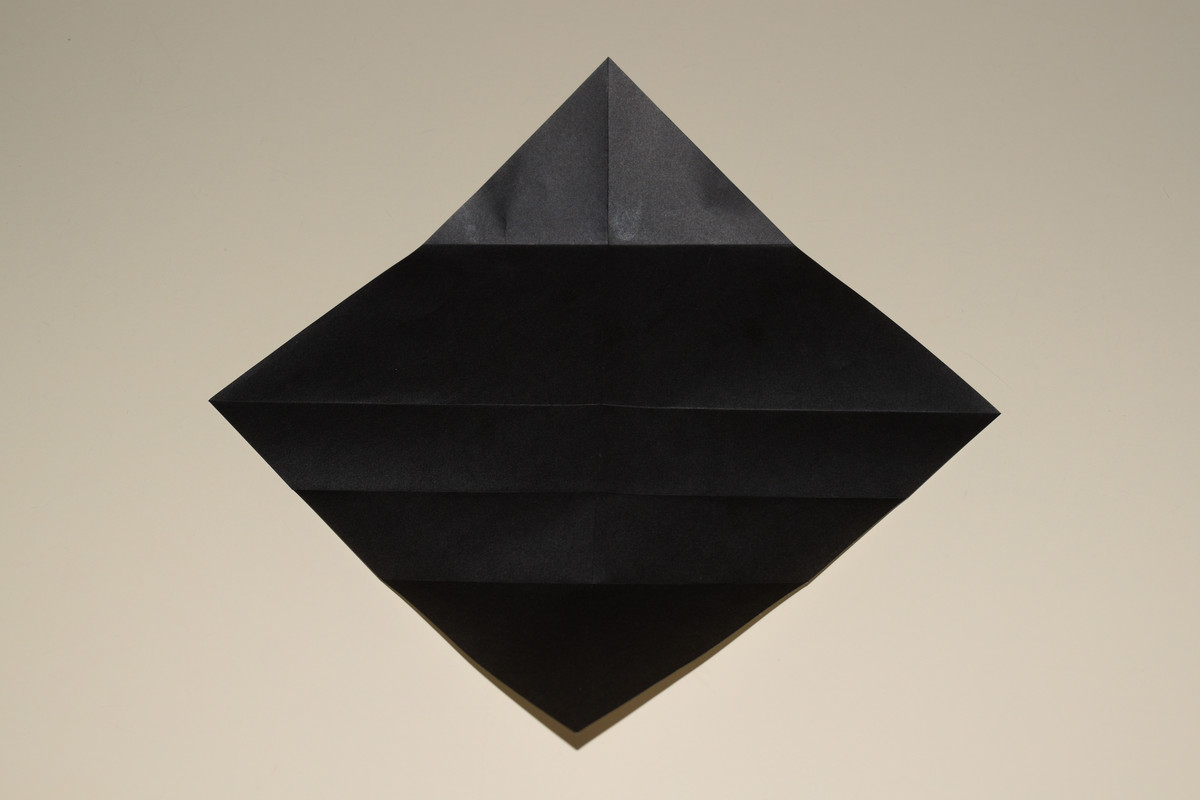
Fold the bottom corner up to the point in which the second horizontal line and the vertical center line intersect. Crease then unfold.
Fold the bottom corner up to the point in which the fourth horizontal line and the vertical center line intersect. Crease then unfold.
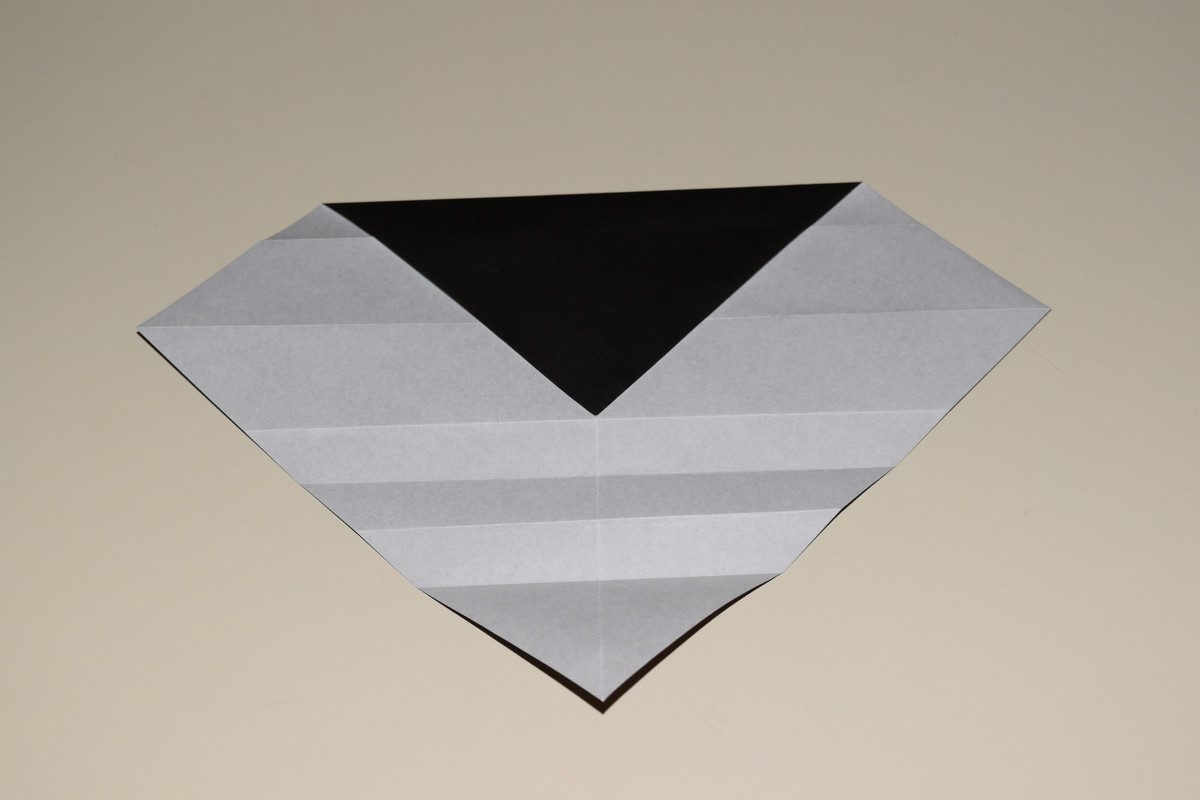
Fold the top corner down to the point in which the vertical center line intersects the line below the horizontal center line. Crease then unfold.
Fold the top corner down to the point in which the vertical center line intersects the line above the horizontal center line. Crease then unfold.
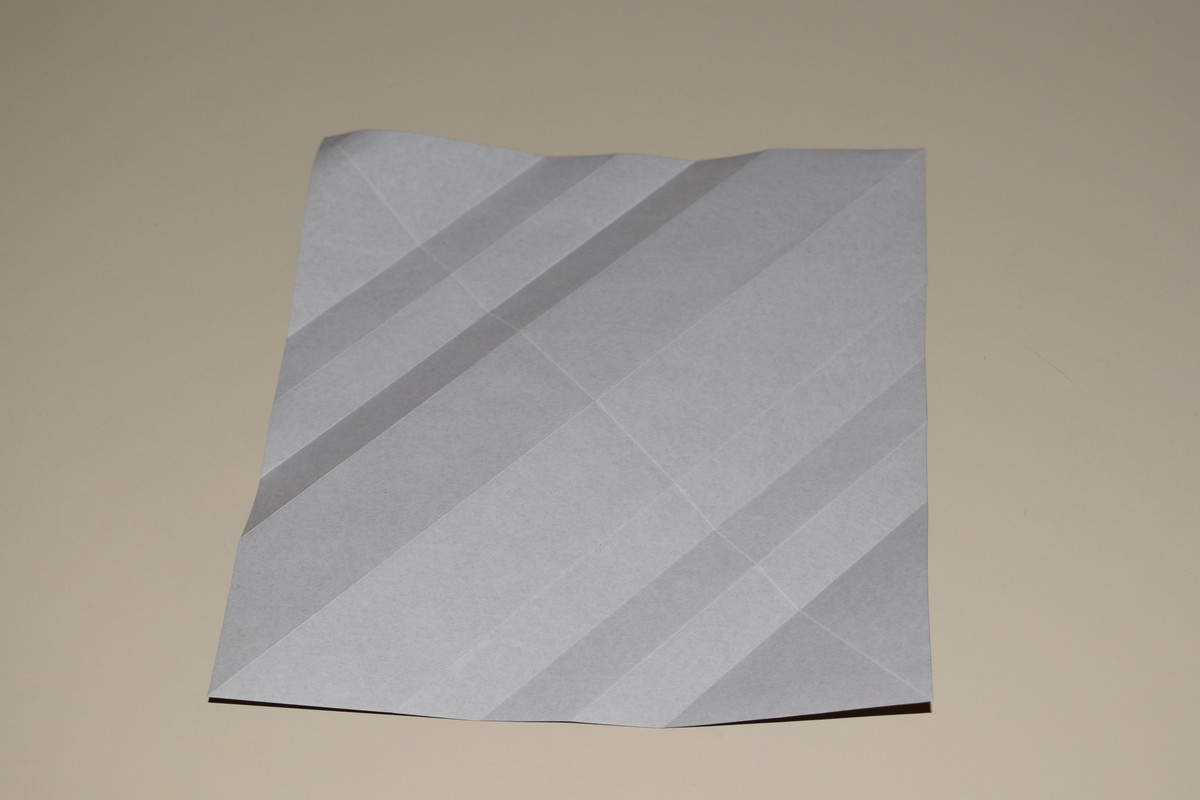
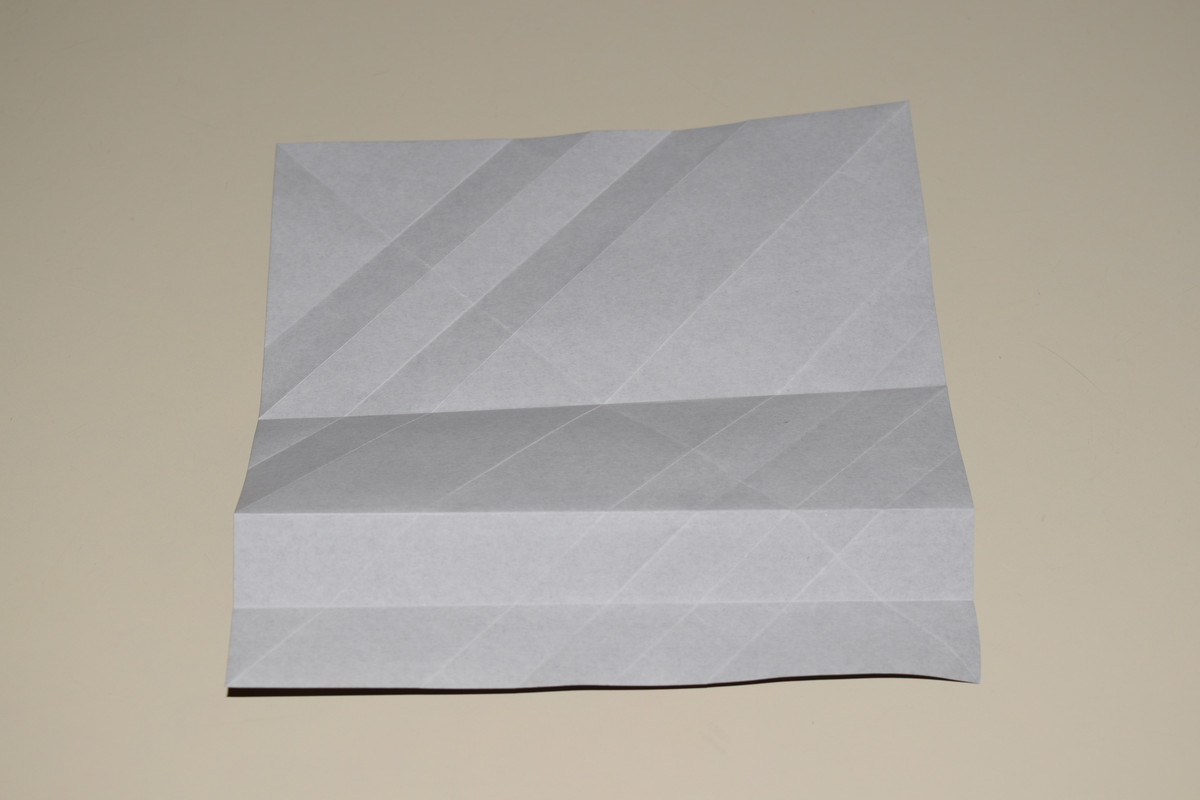
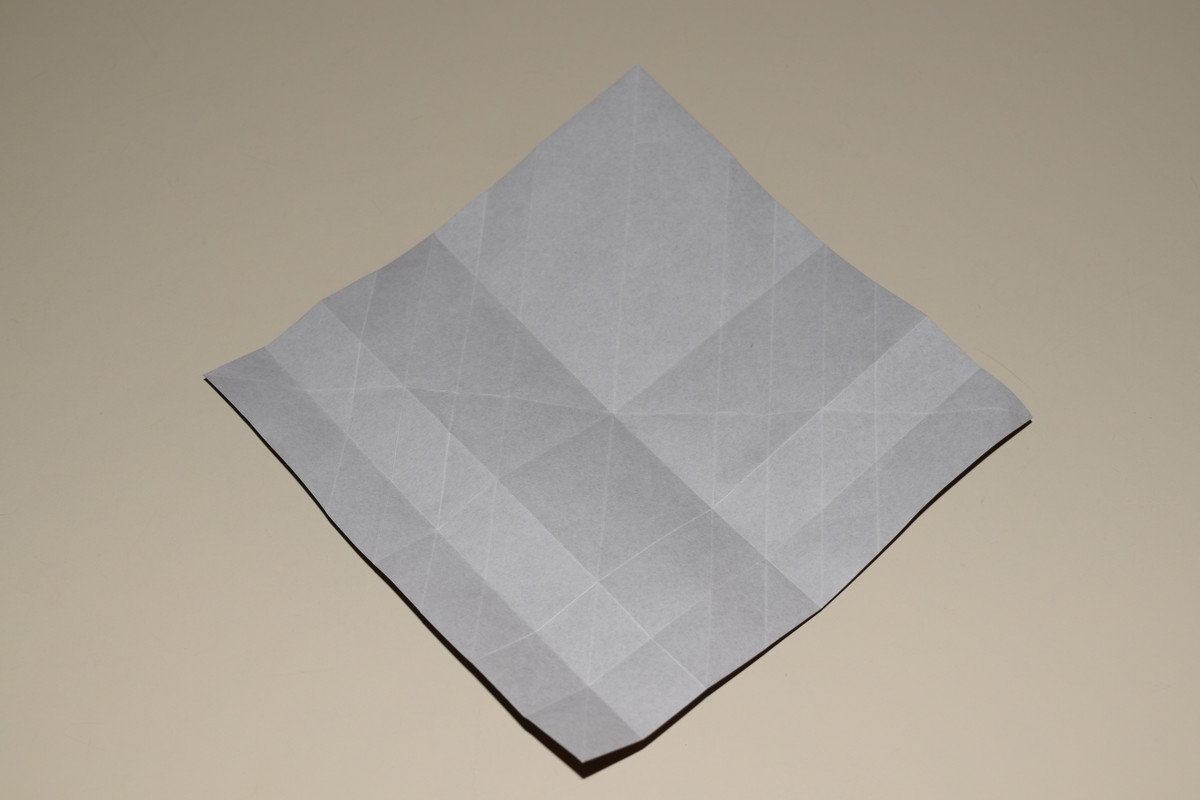
Turn the paper like so. There should be nine lines running diagonally one way and 1 line running diagonally the other way.
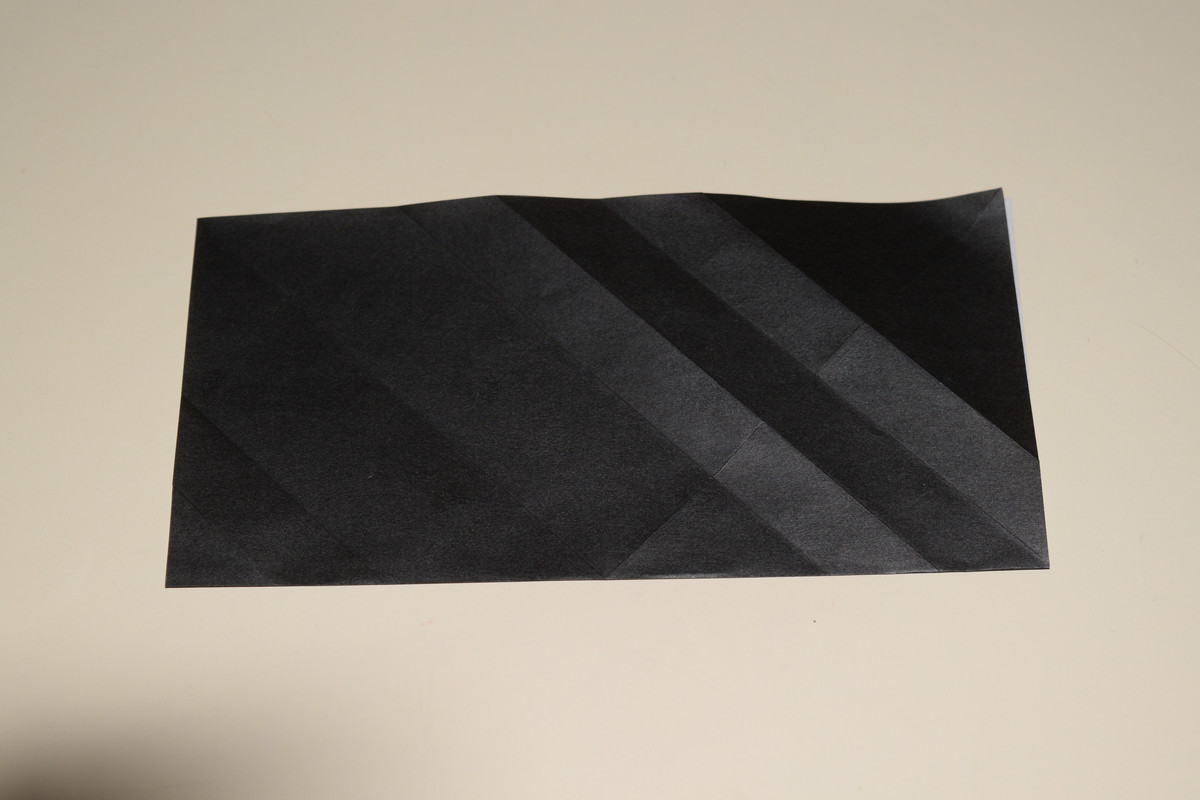
Fold the bottom edge up to meet the top edge and crease.
Fold the top edge down to meet the bottom edge and crease.
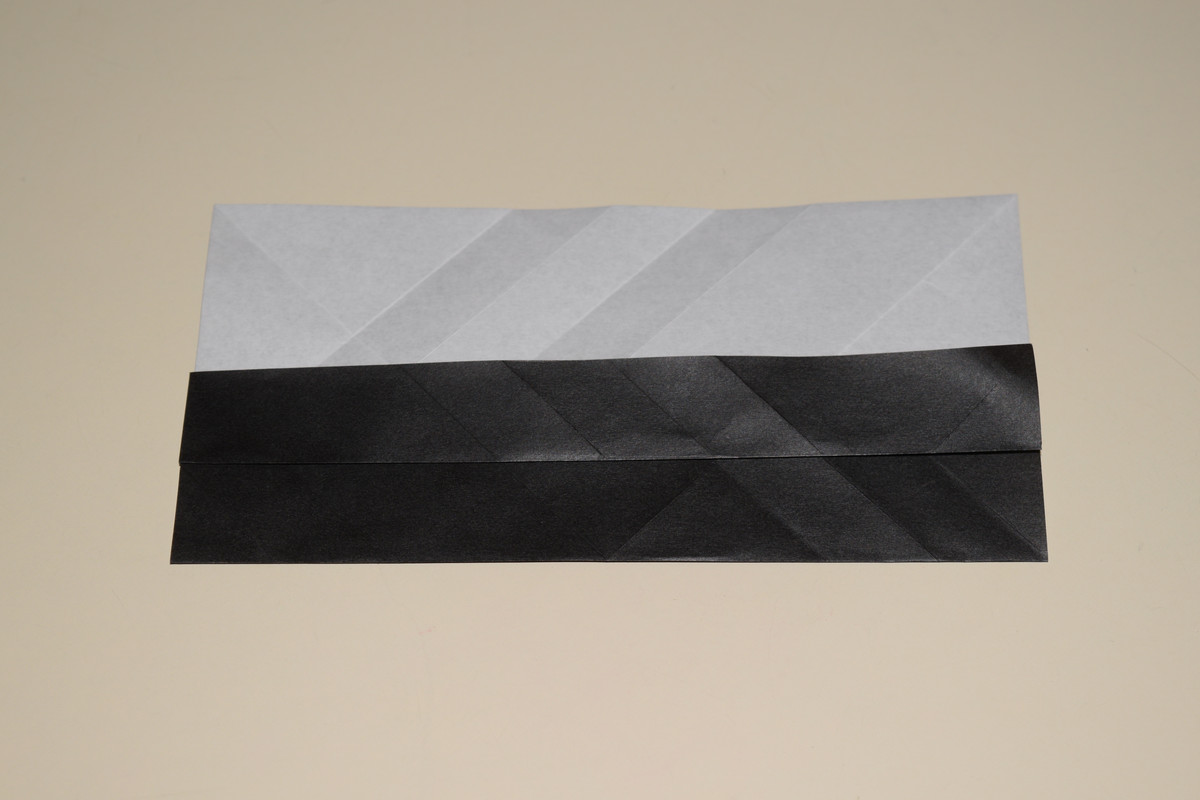
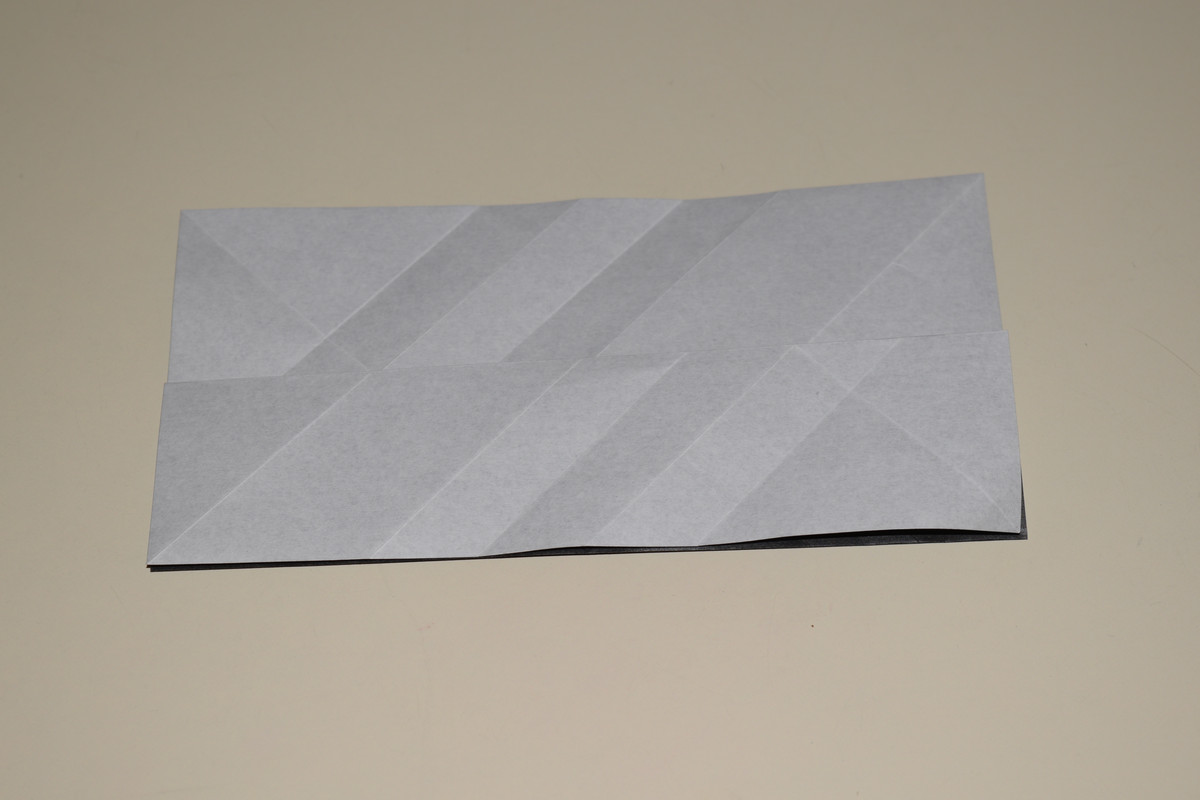
Fold the bottom edge up to meet the top edge of the previously folded rectangle.
Unfold Steps 18 through 20.
Turn the paper 90° counter-clockwise.
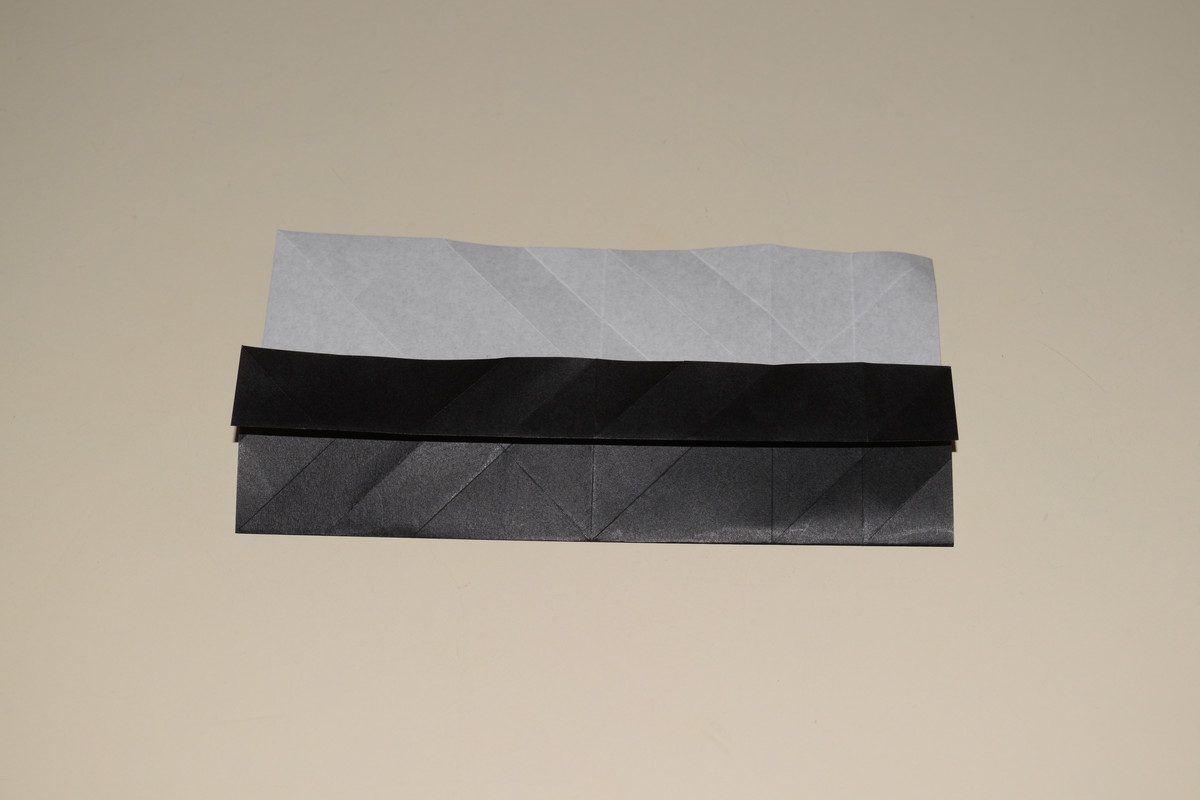
Repeat Steps 18 through 20.
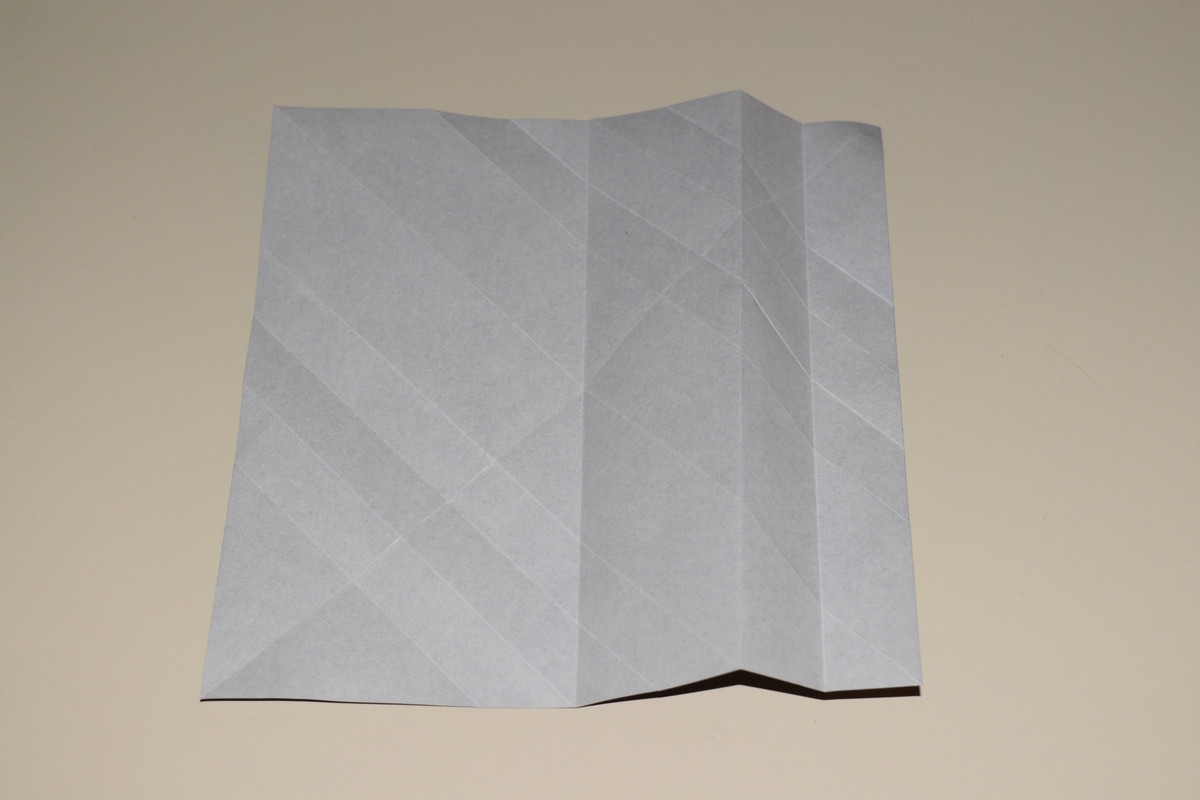
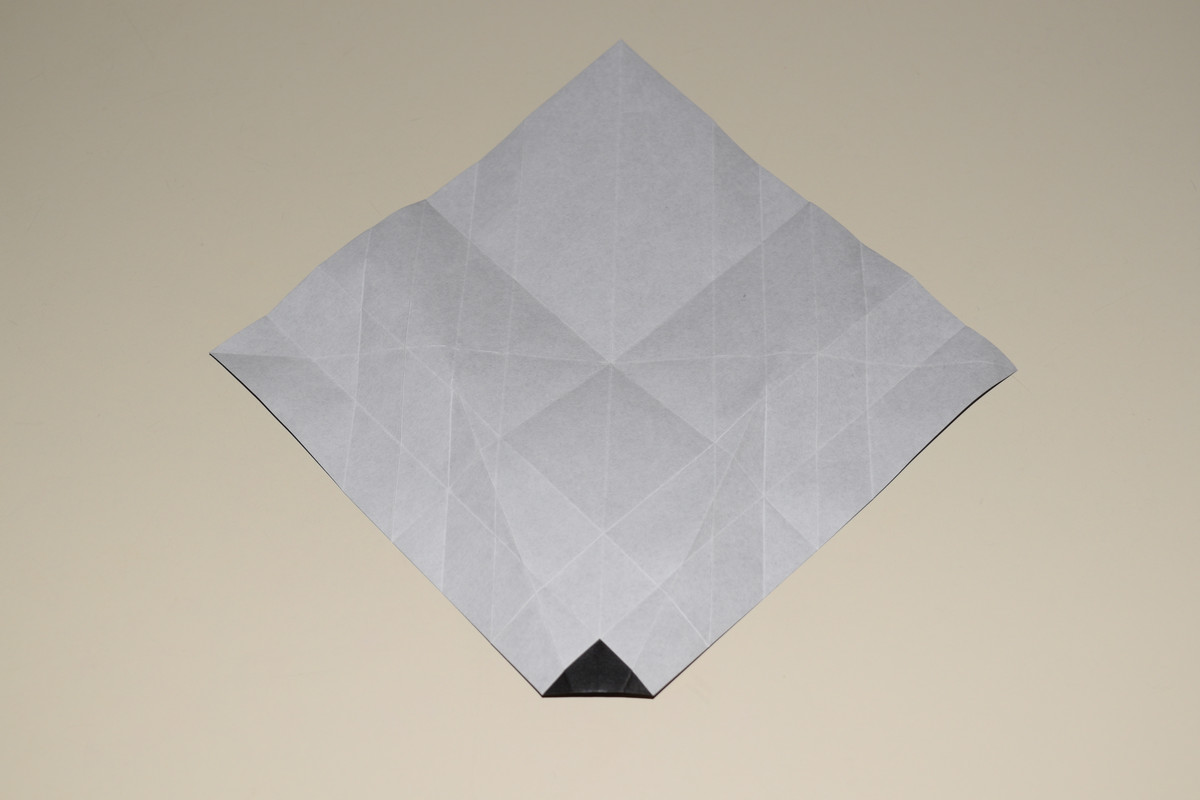
Unfold everything and crease orient the paper so that the corner with the most creases points towards you.
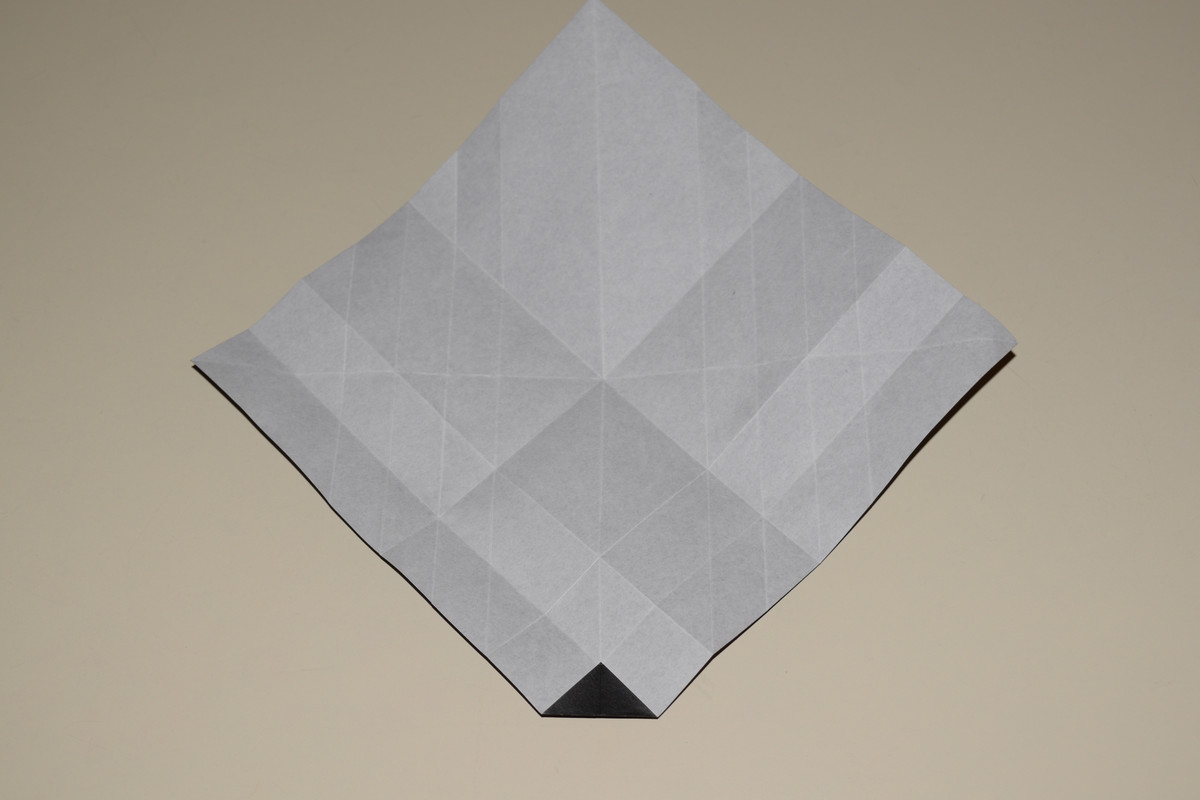
Fold the bottom corner up to meet the lowest set of intersecting lines.
Turn the model over.

Bring the right edge over to meet the vertical center line, but DO NOT crease all the way. On the white side, there will be several sets of lines running from the bottom left to the top right. Counting from the bottom, the second line is where you'll stop creasing. Unfold.
Repeat on the left side.
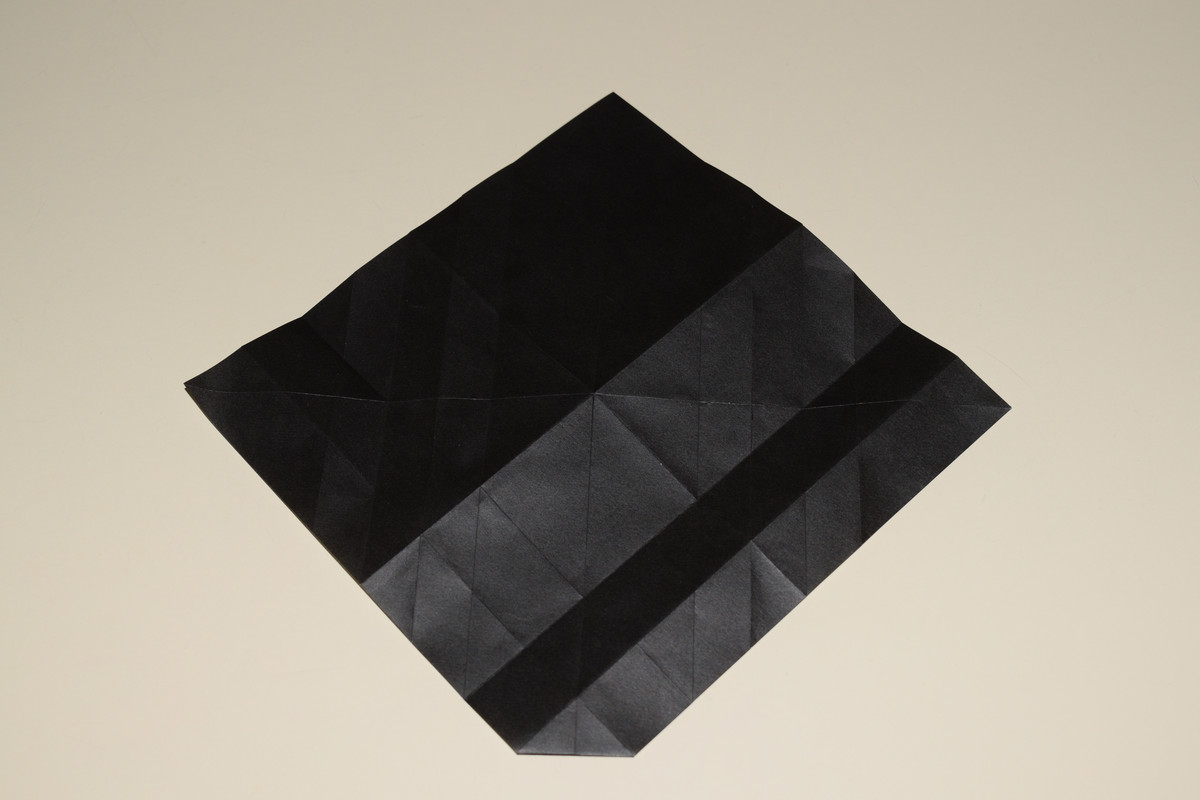
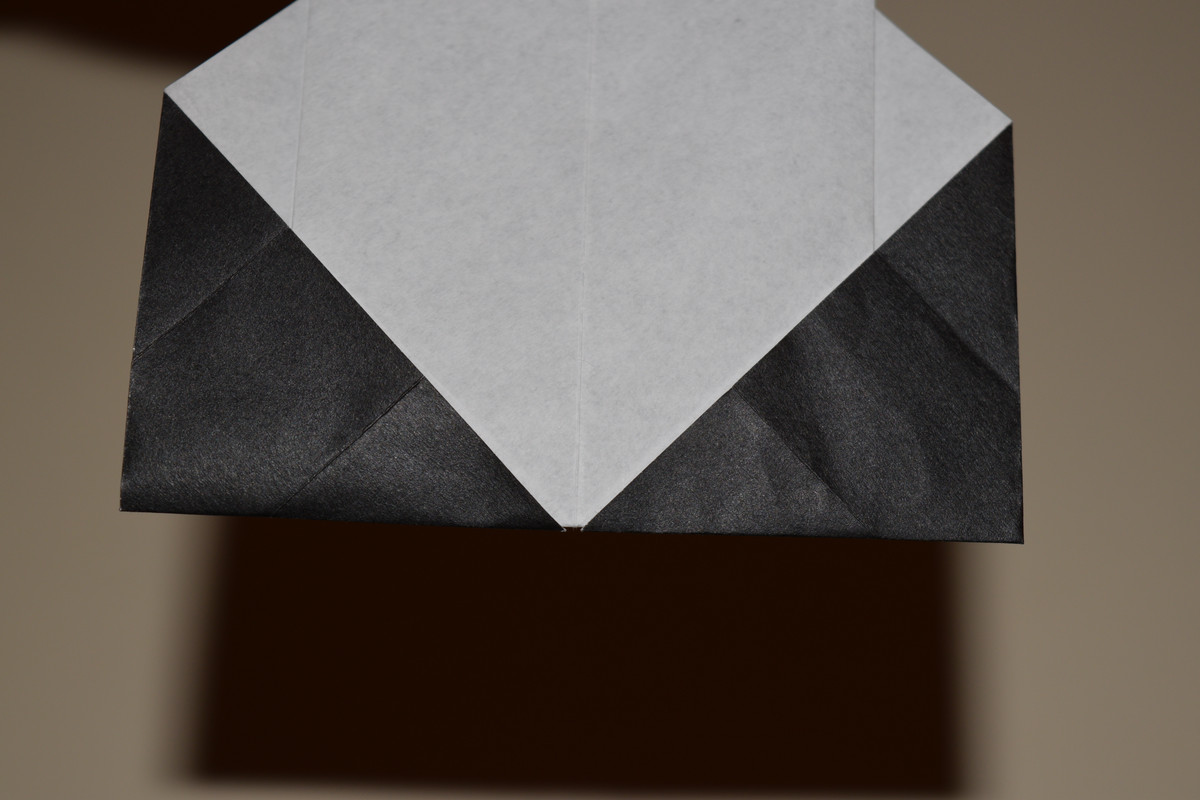
The paper should look like this so far.
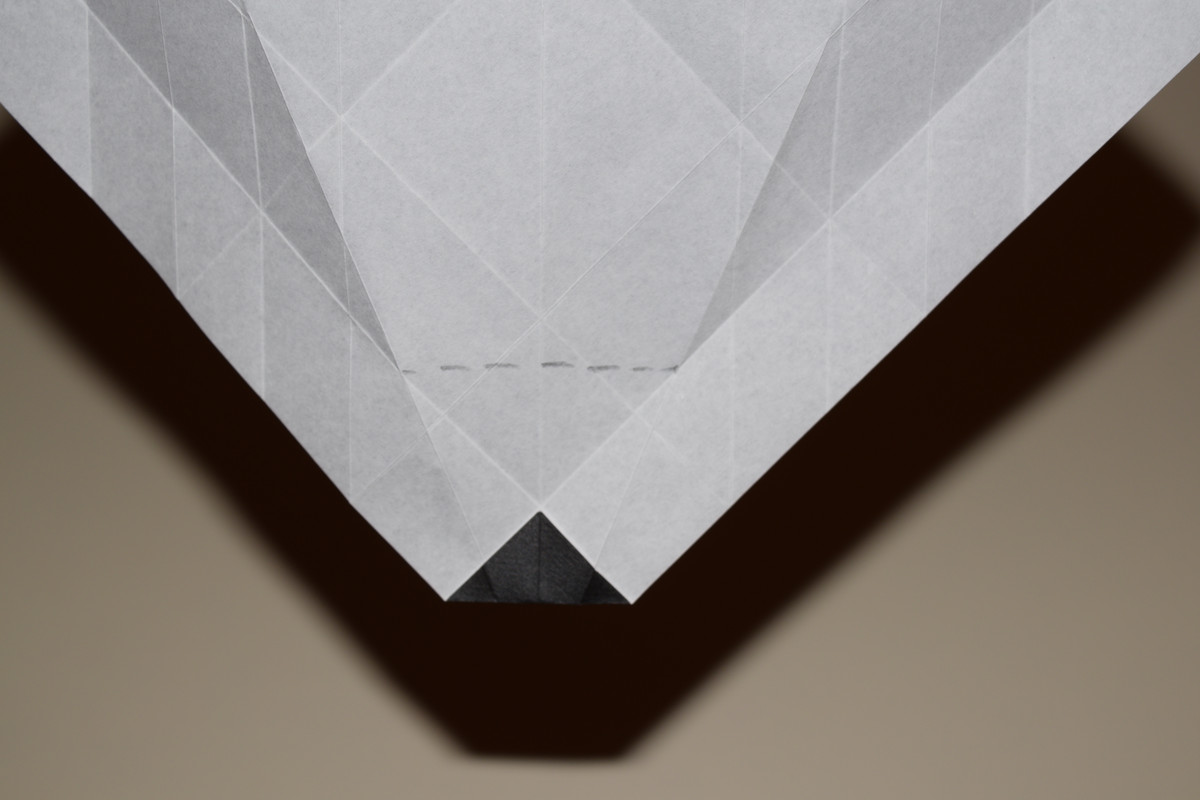
Imagine a line running between the points where the recently folded lines and the outermost diagonal lines intersect.
Valley fold along that line. DO NOT crease all the way, but only on the line.
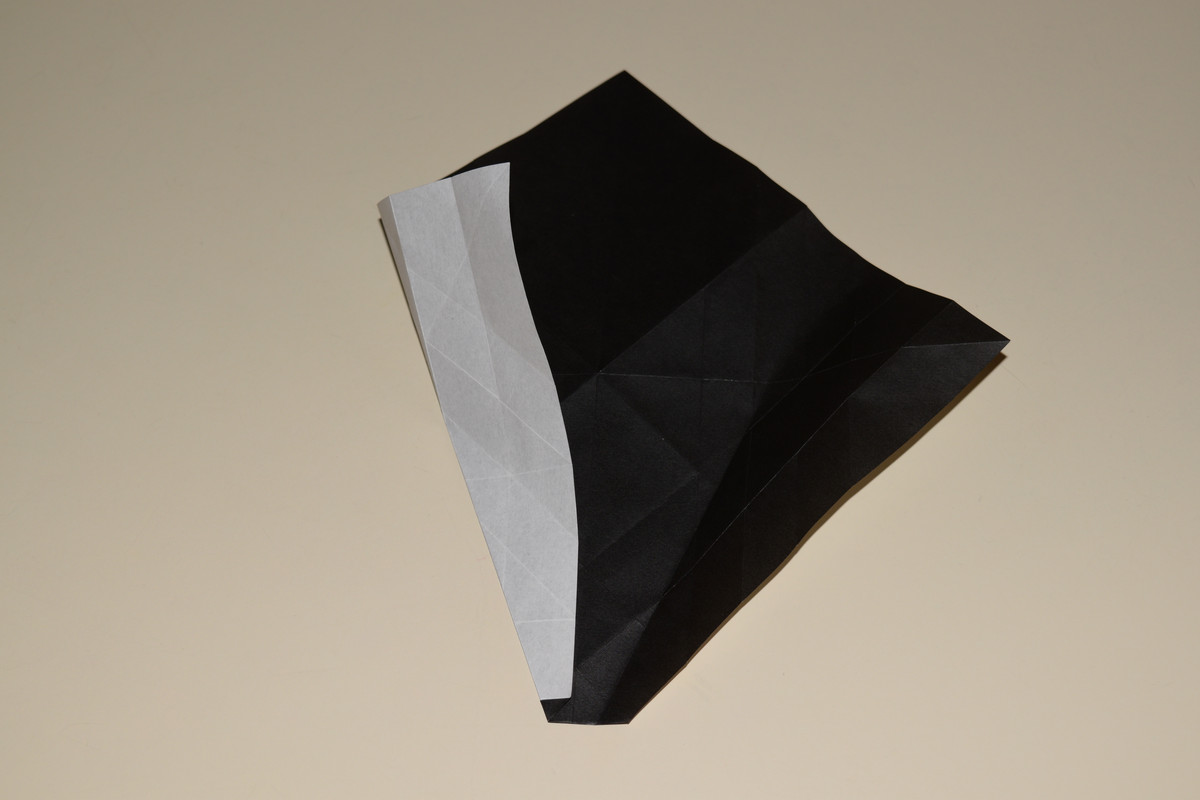
Take the right edge and valley fold it along the outermost right line. Flatten the part towards the bottom so that the left edge aligns with the vertical center line.
Repeat on the left side.
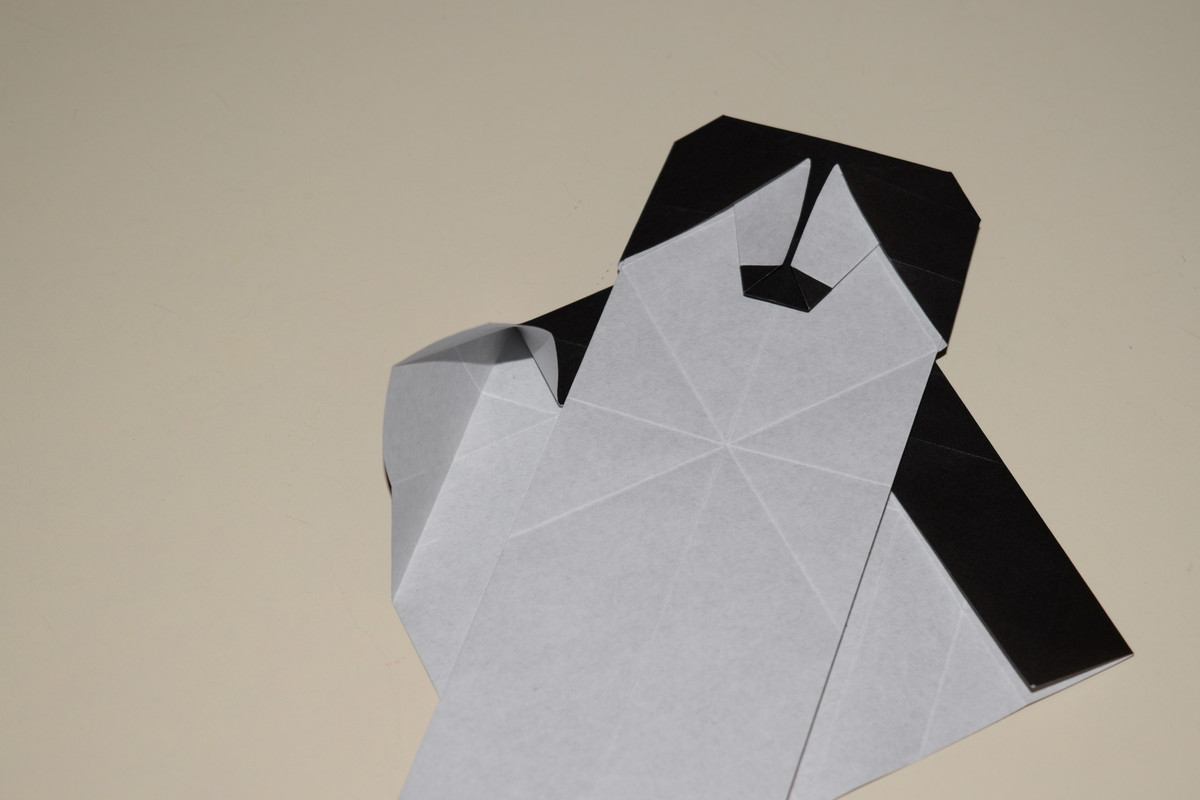
Take the set of folds just right of the vertical center line and start a mountain fold on the first and a valley fold on the second.
Pleat fold.
Repeat on the other side.
Turn the model 180°. Open the left flap.
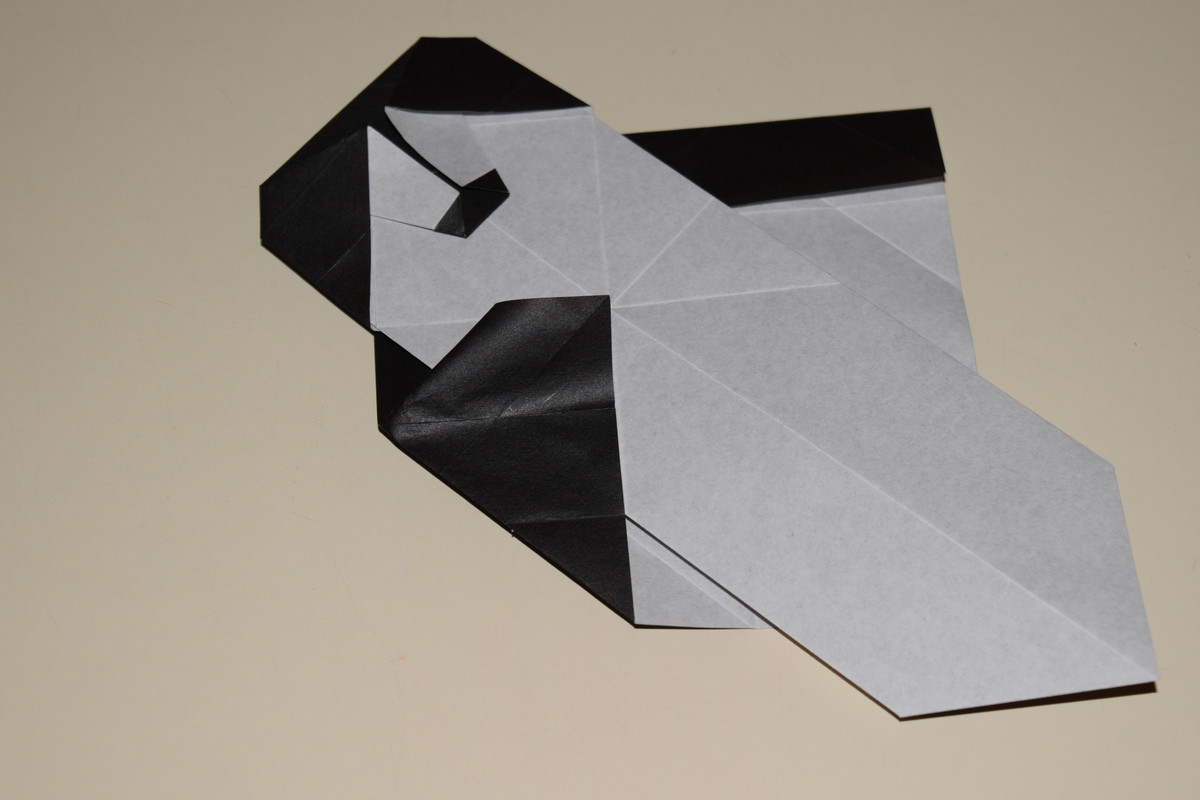
Bring the flap's main corner to meet the intersecting diagonal lines in the middle of the model.
Flatten and crease everything.
Rotate 180°.

Repeat on the other side.
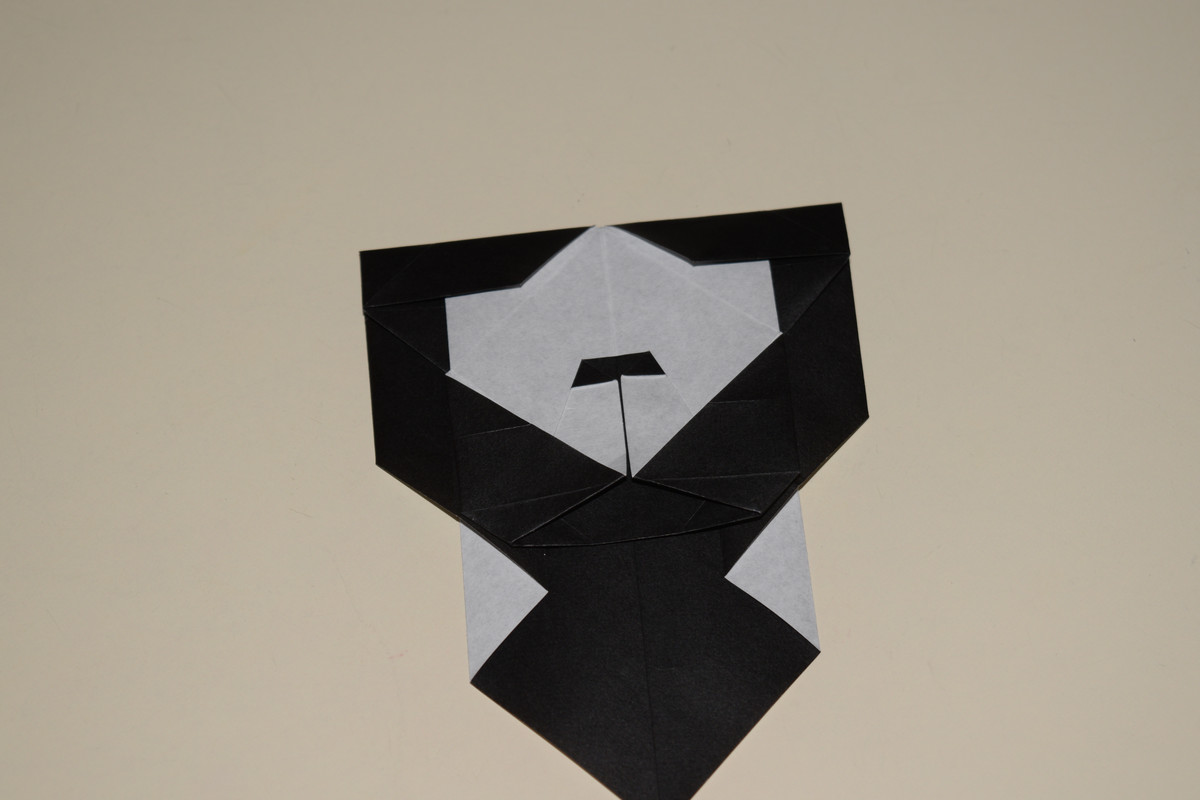
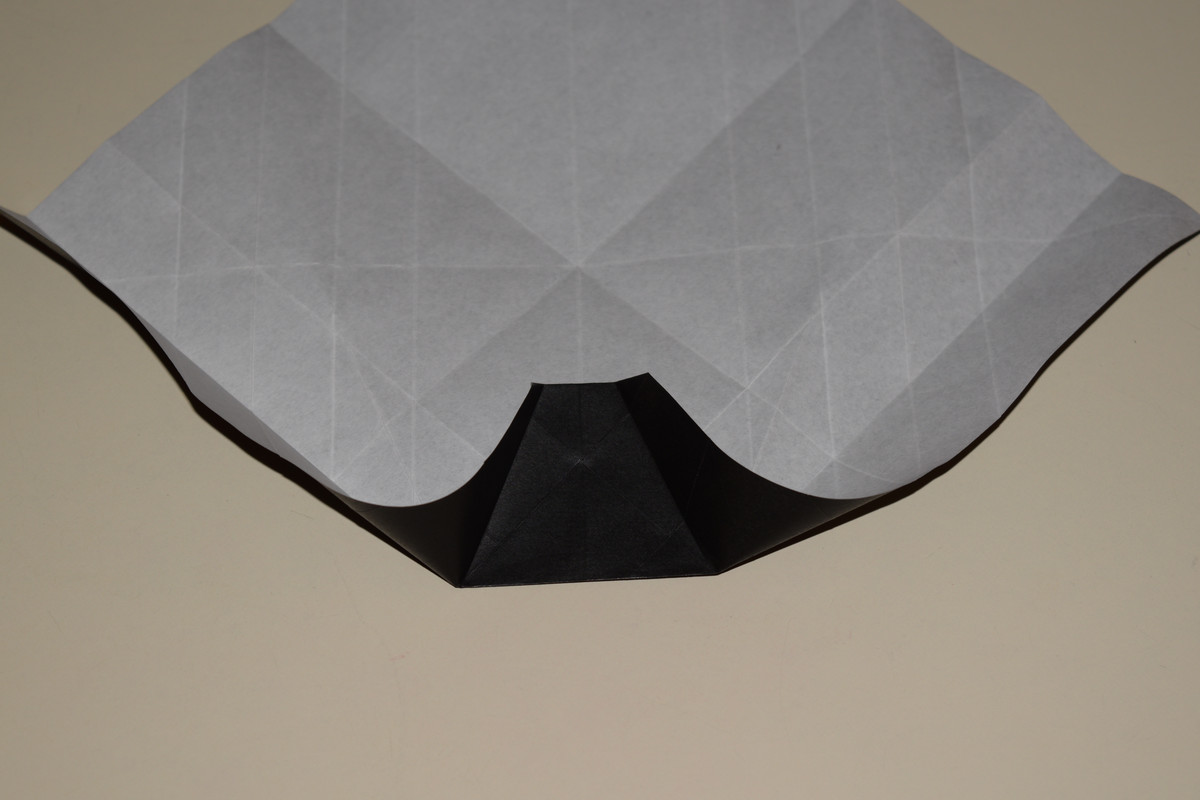
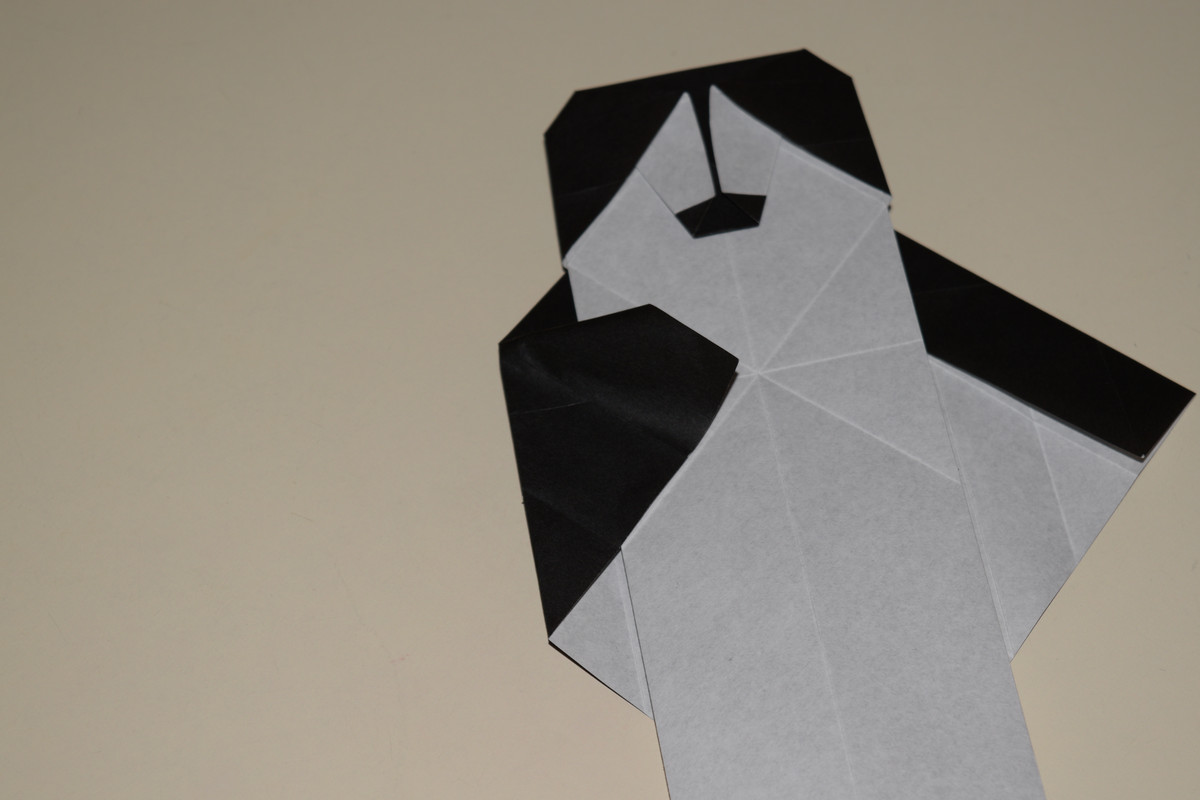
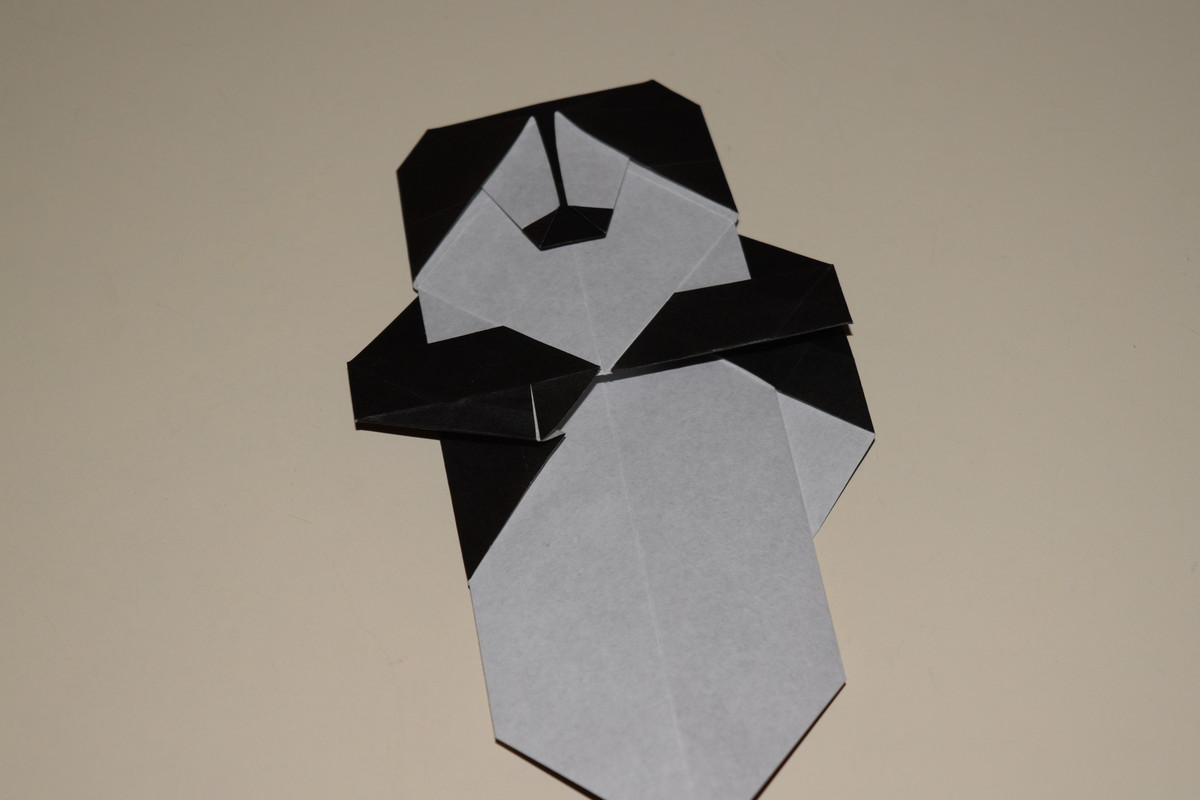
Mountain fold along the horizontal center line. It is located along the same axis in which the black corners point towards each other.
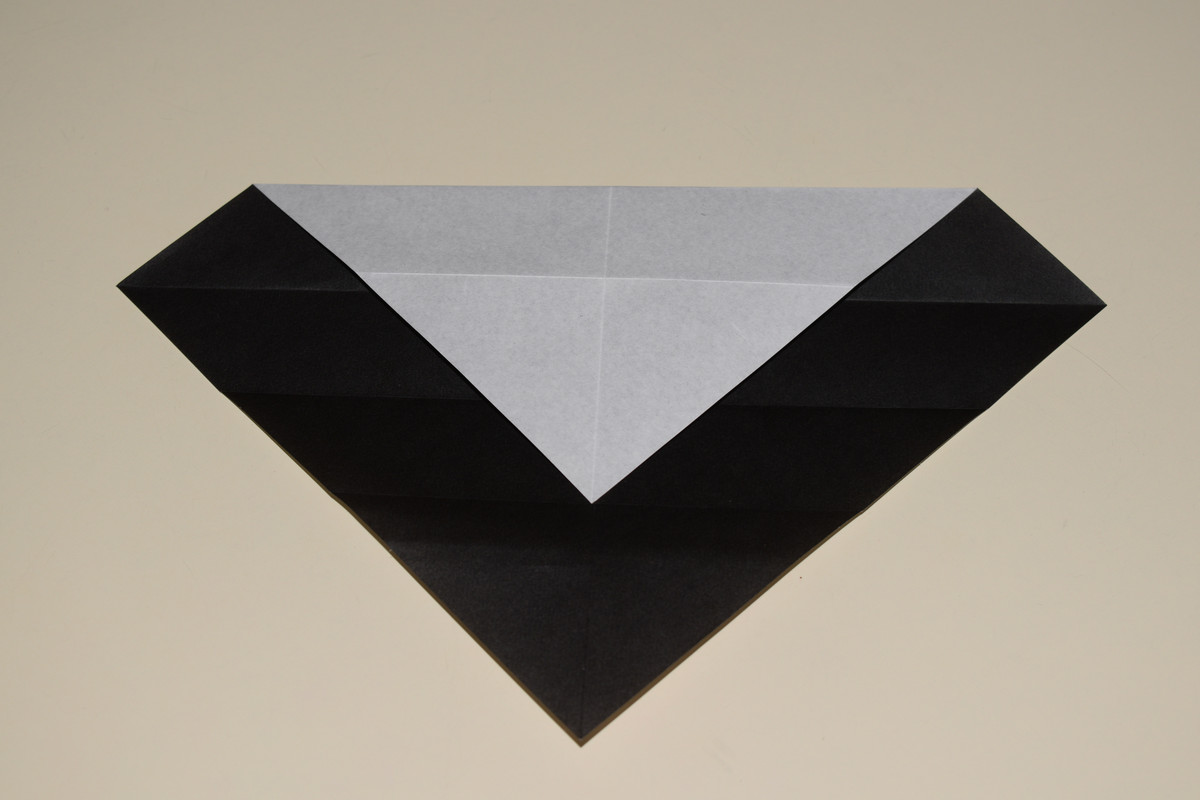
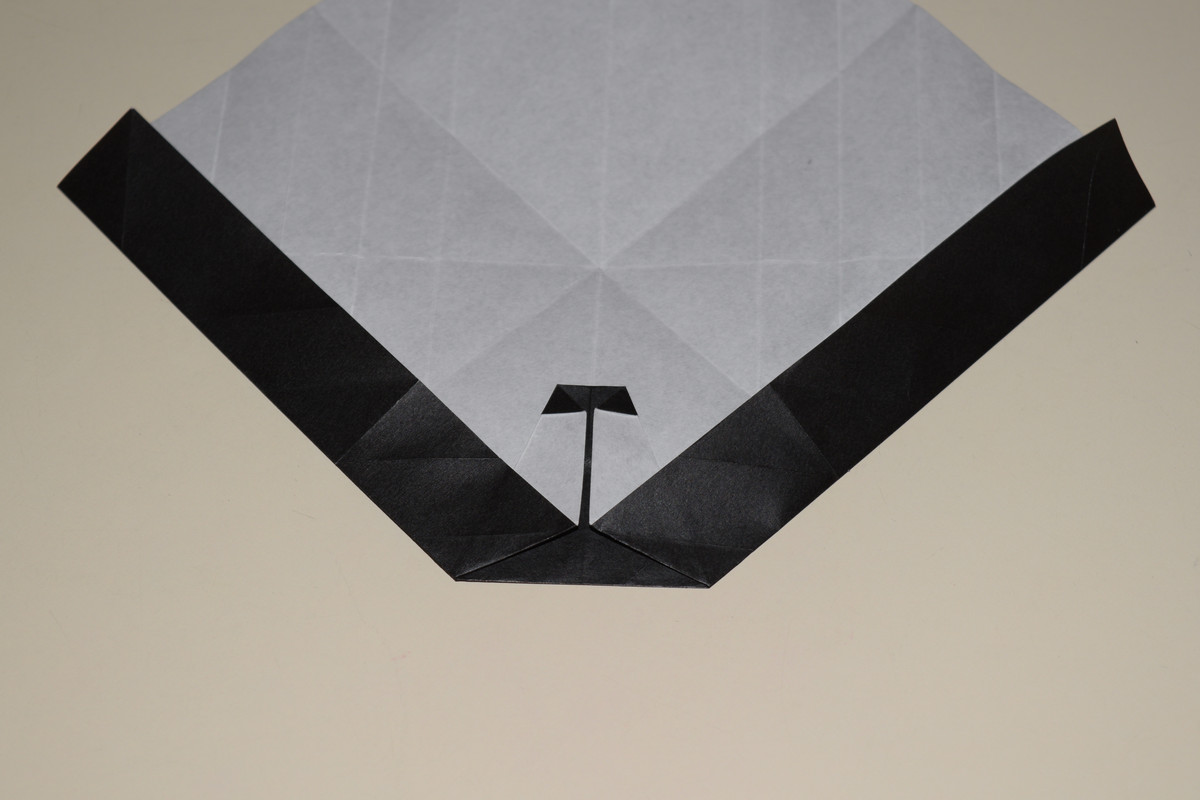
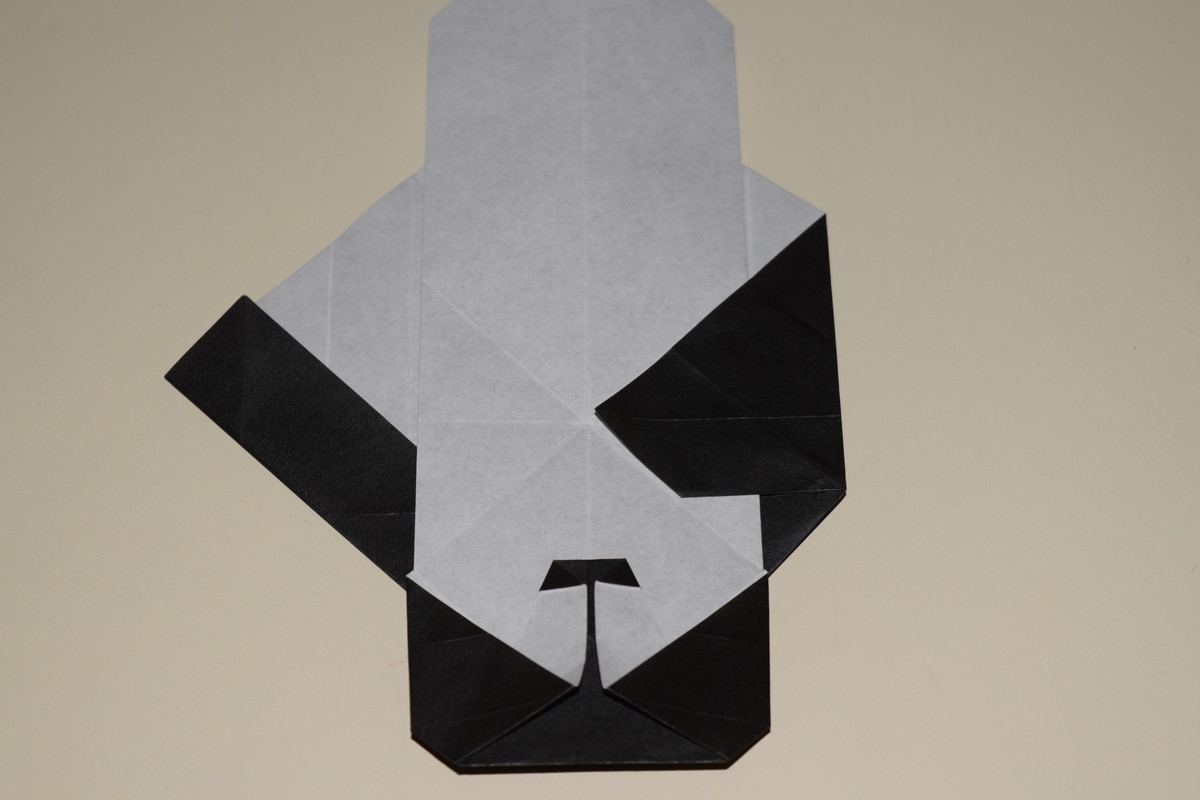
Turn the model over so that you can see the V made by the two corners.
Valley fold to make the triangles on the sides of the black center piece meet up with the black triangles on the back piece.
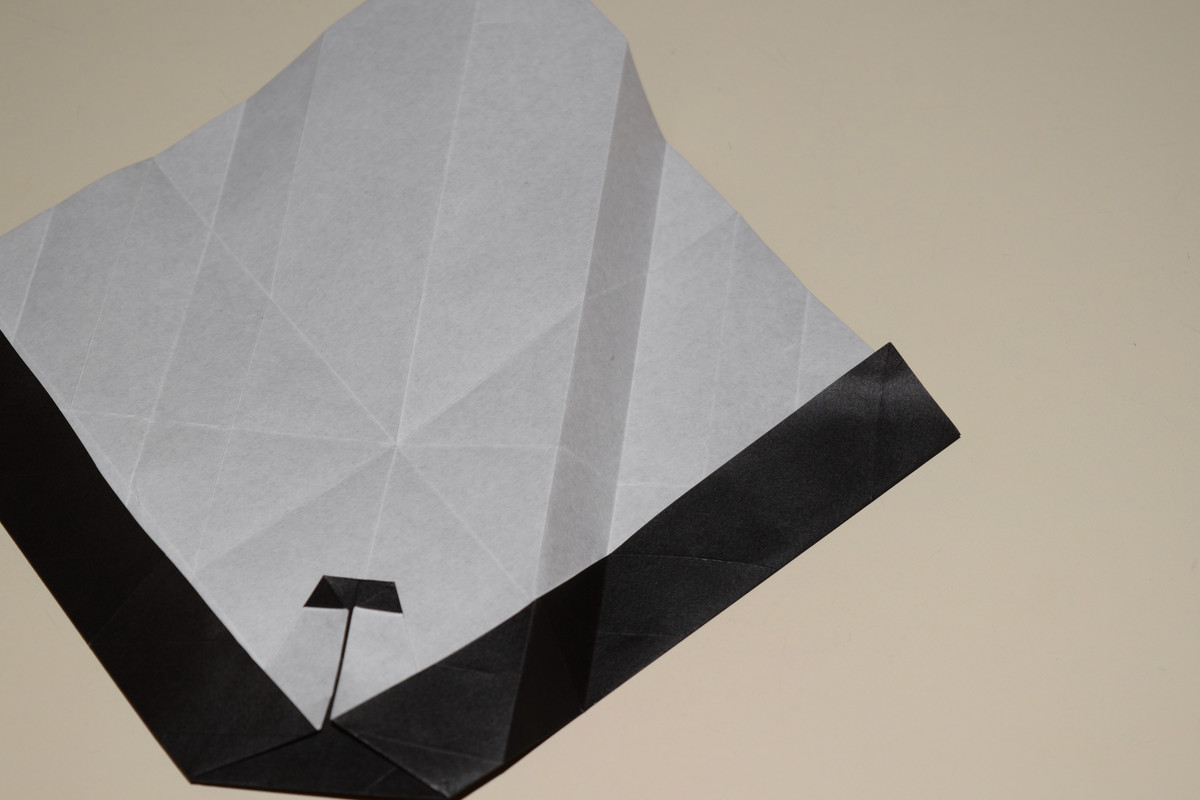
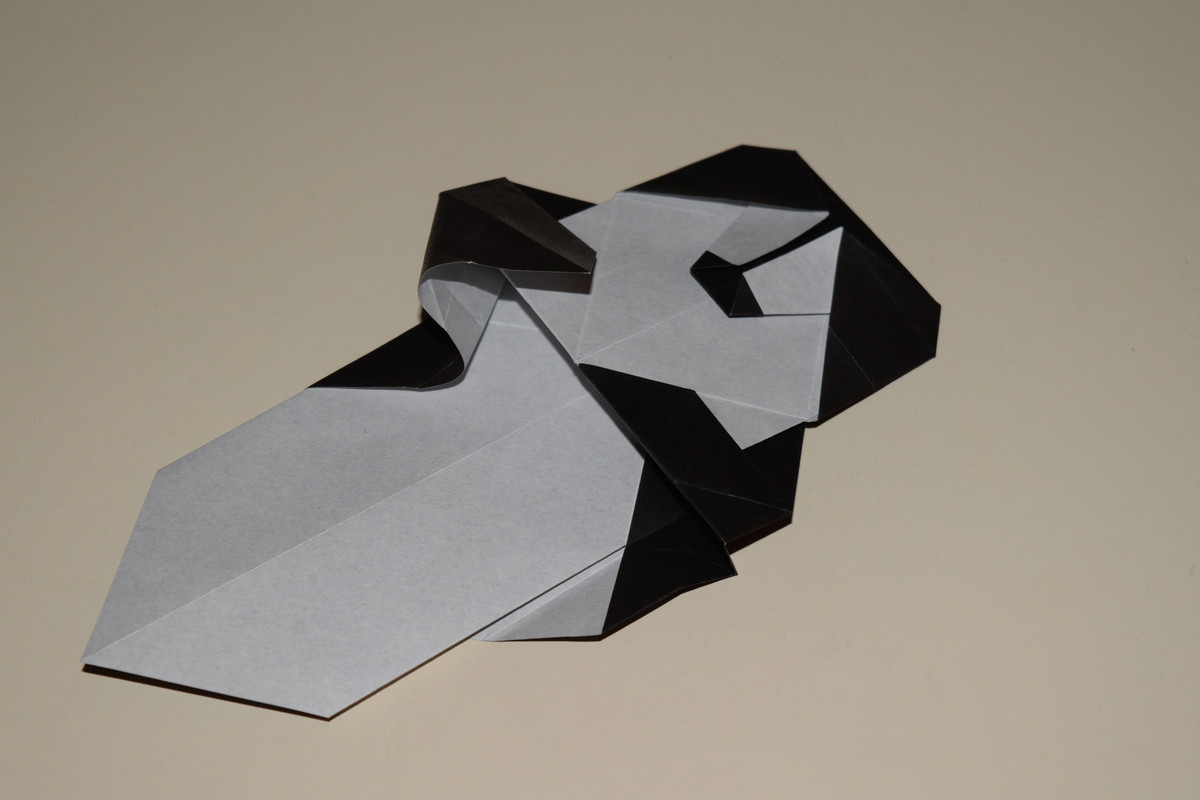
Rotate 180°. Open the previous fold slightly and crease fold the layer on the left side over onto the center part.
This will fold a diagonal underneath the black center piece. Flatten and crease.
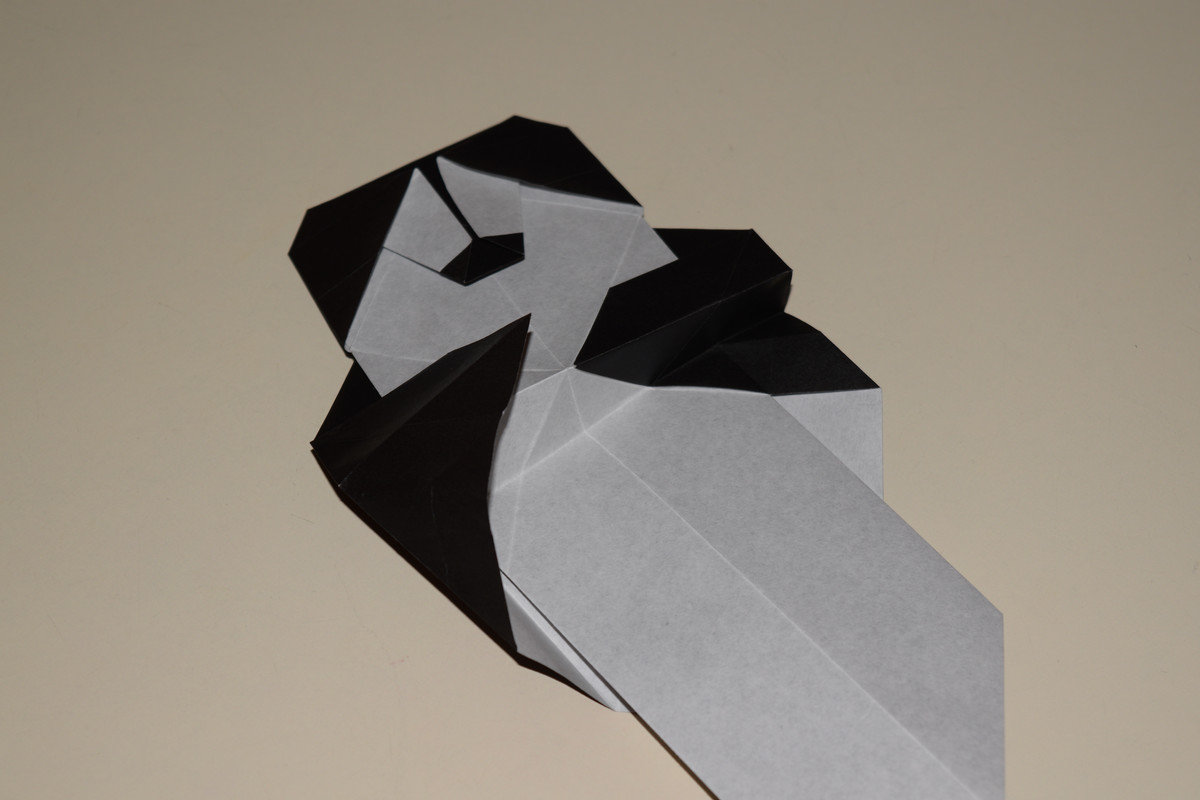
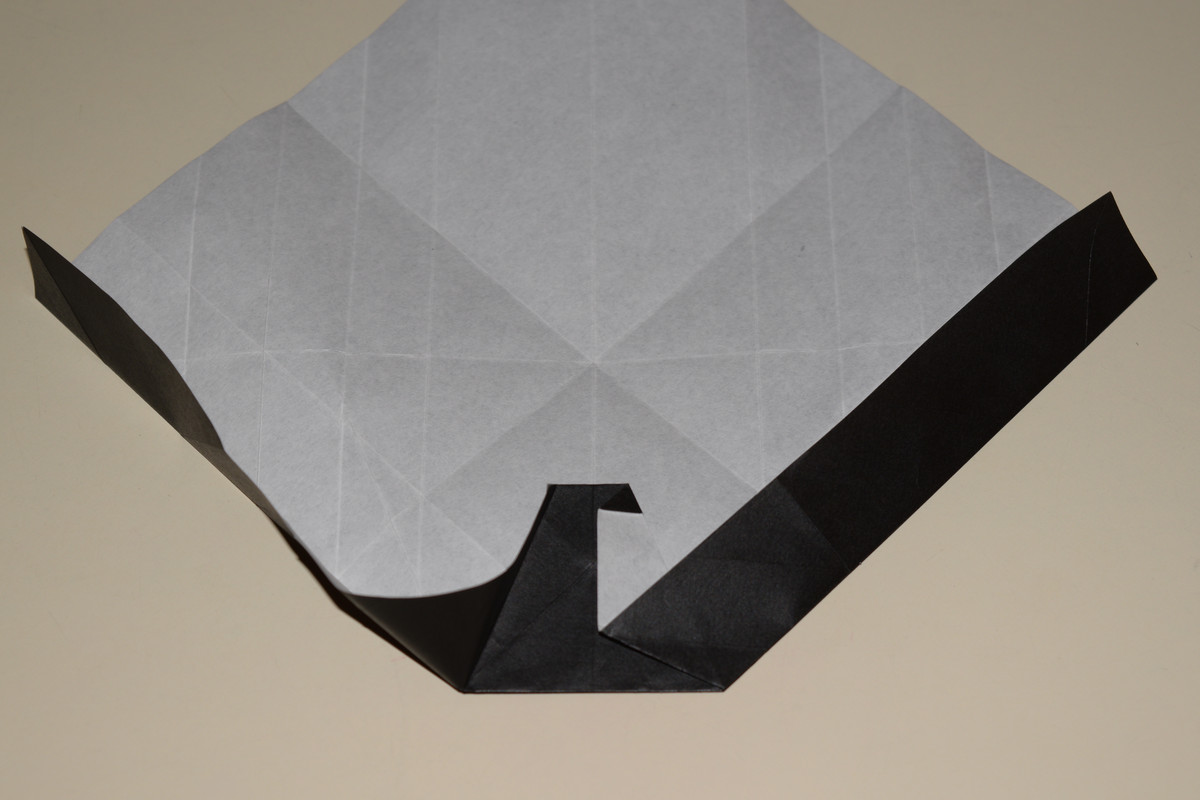
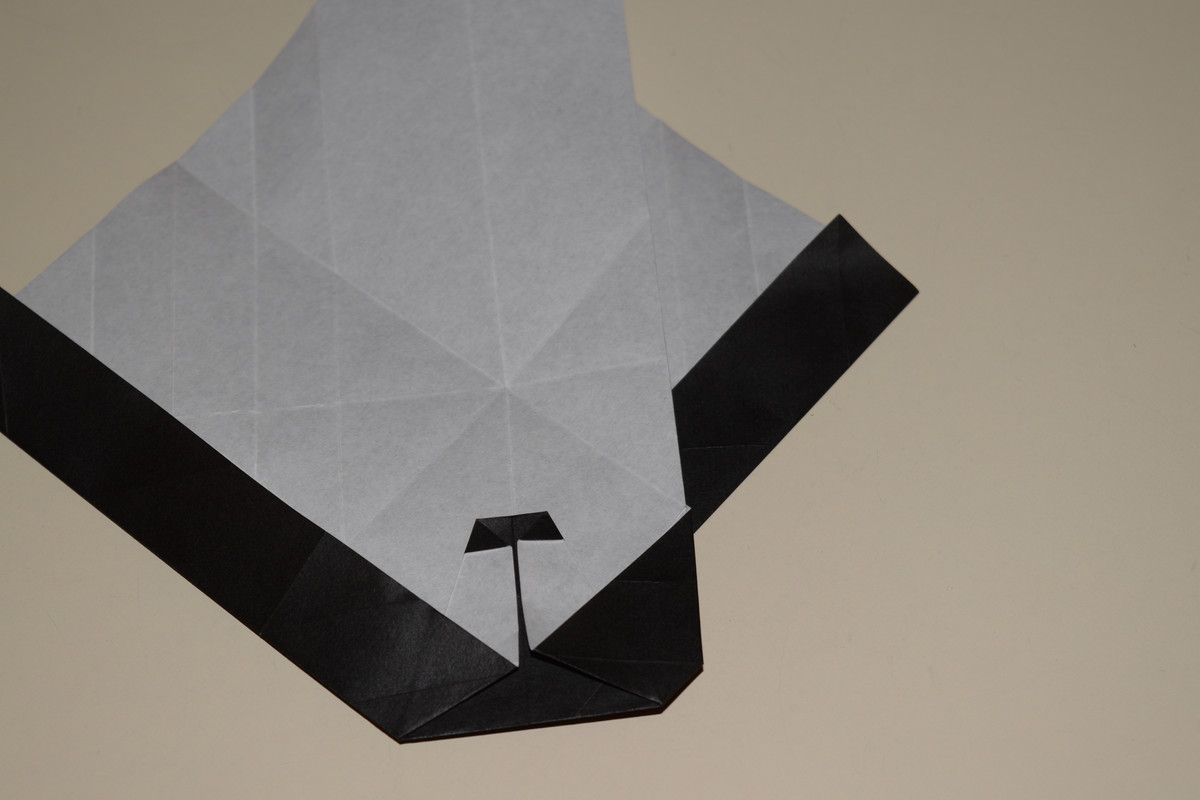
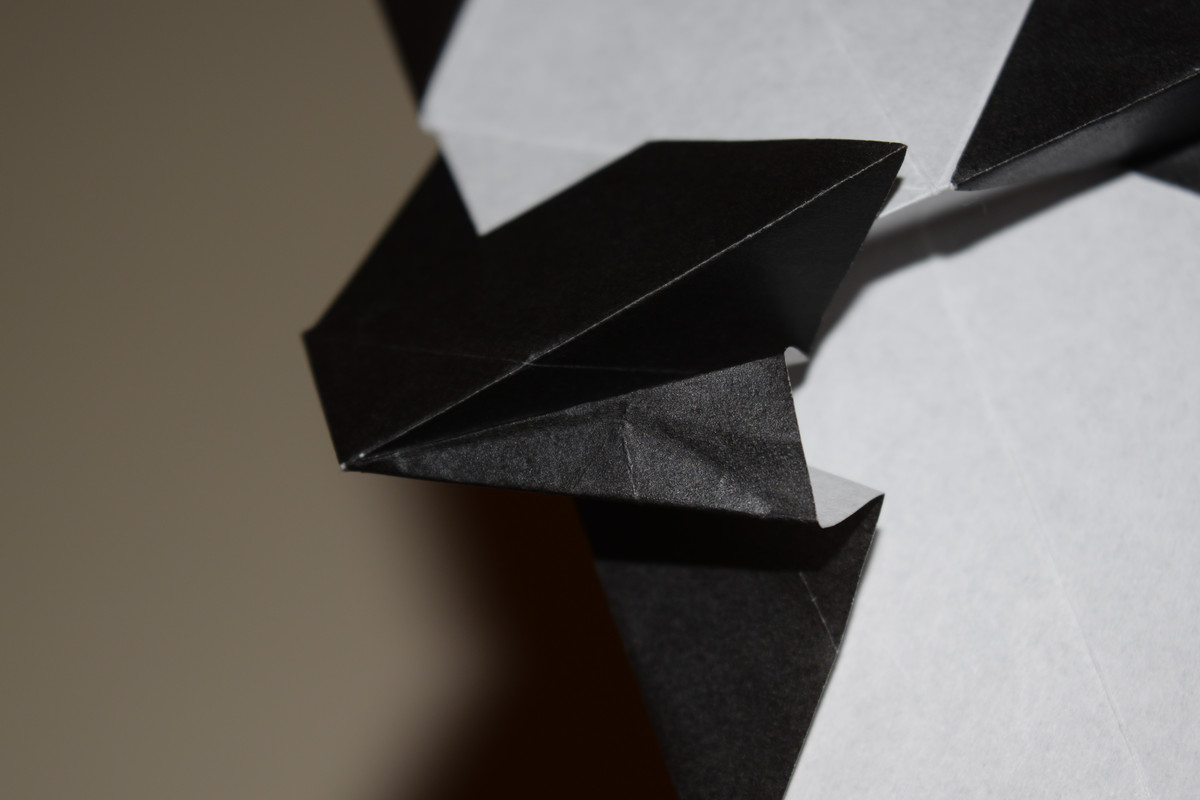
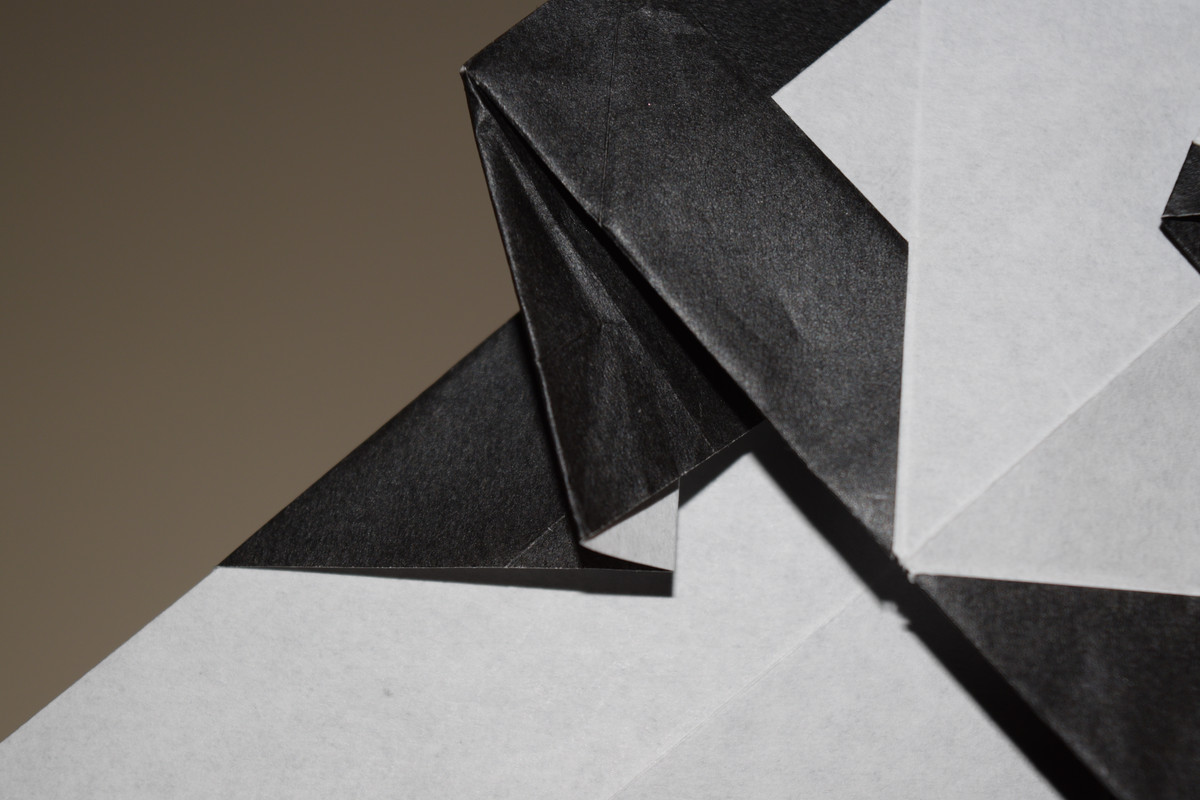
Pull out the triangle under the black center piece.
Arrange it so that it makes an "S" when looking from the right side.
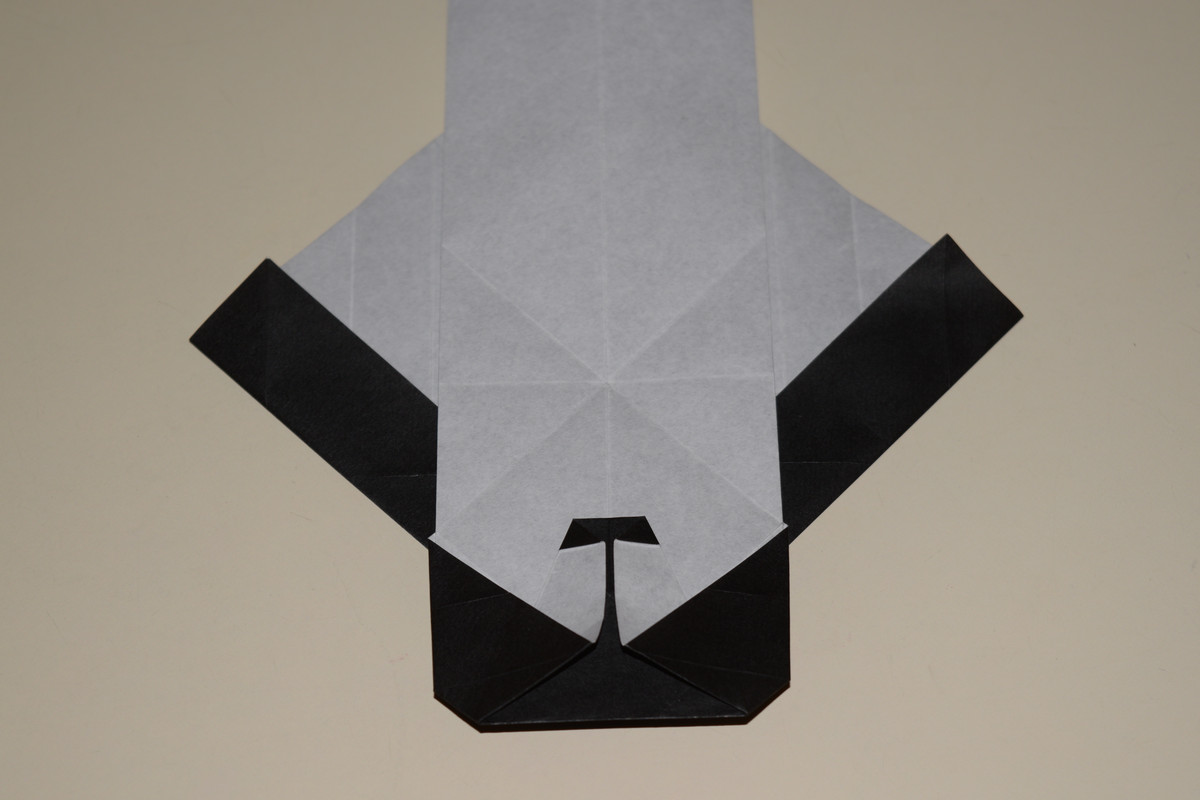
Flatten and crease. The edges should line up as pictured.
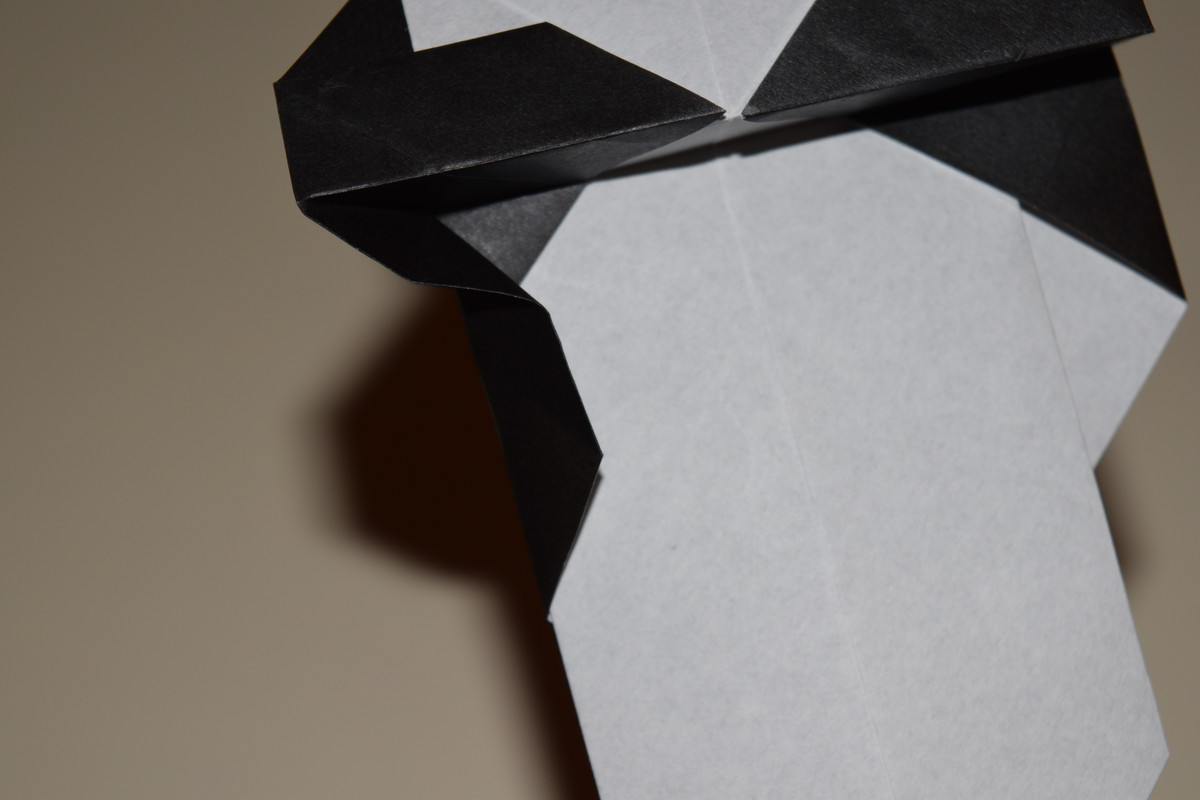
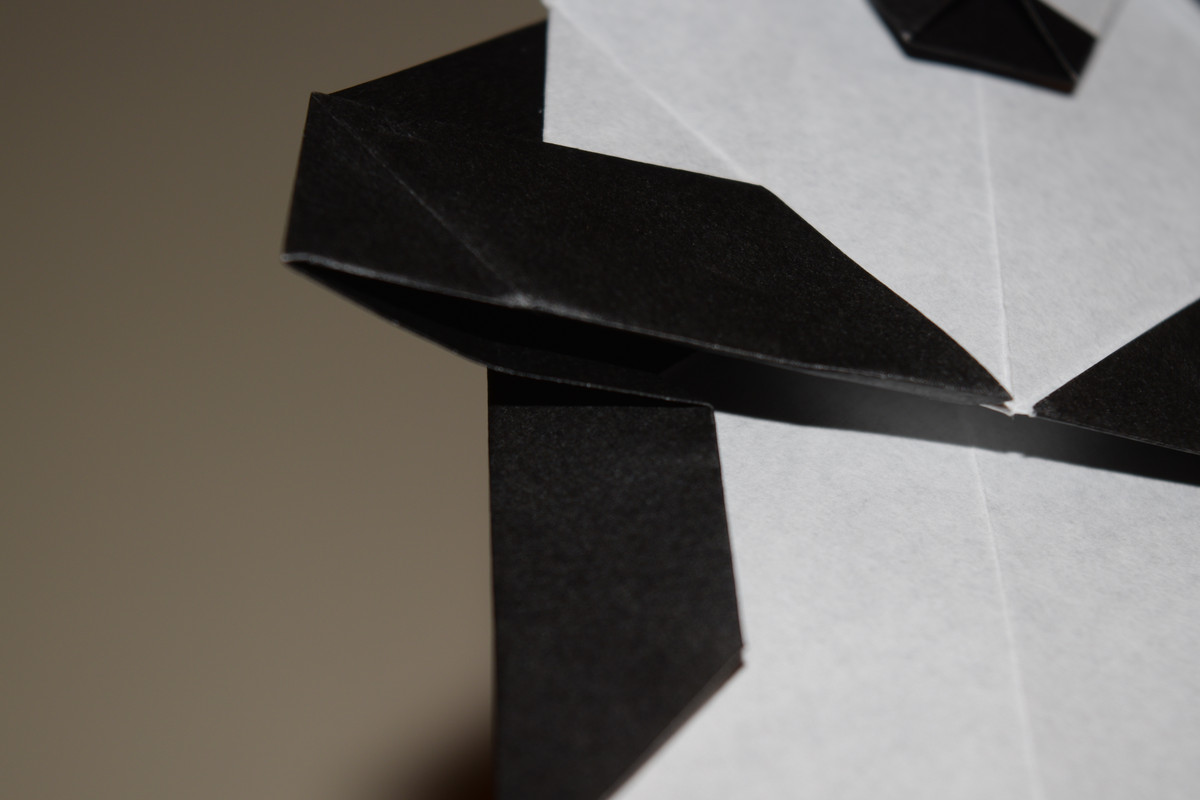
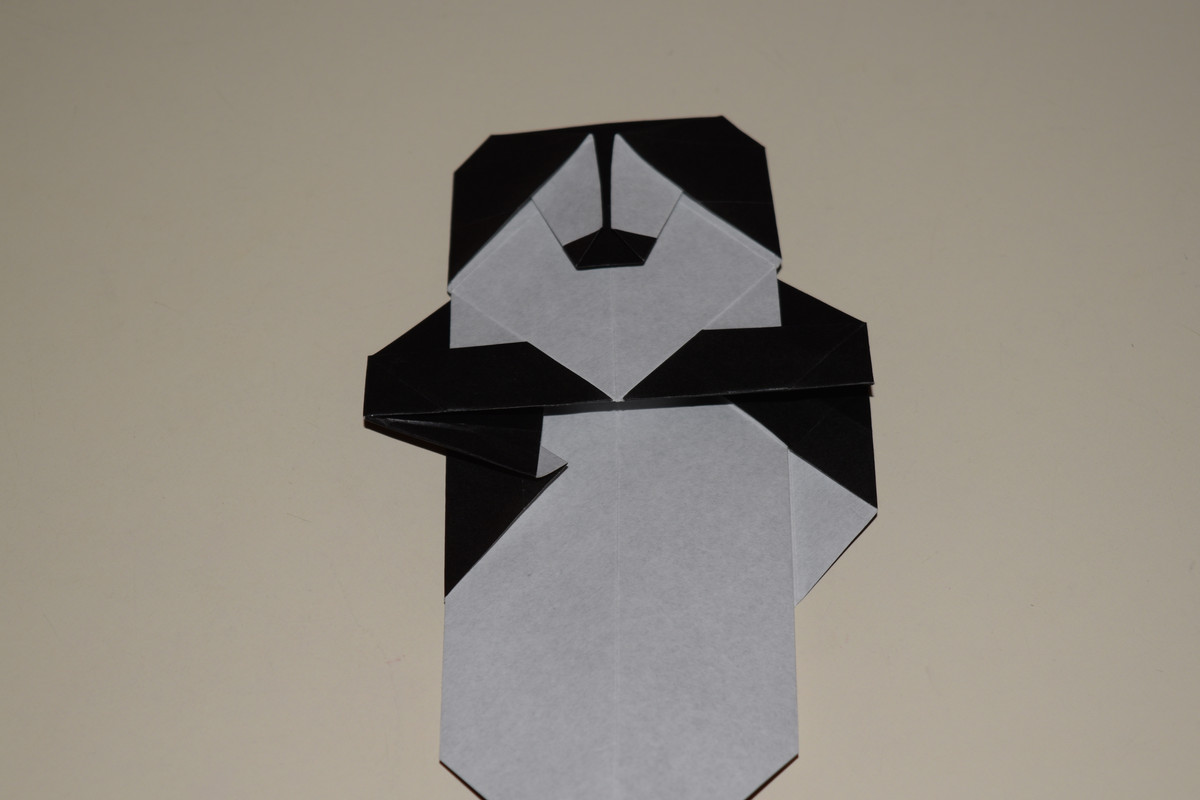
Fold the bottom left edge of the left flap up to meet the horizontal center line.
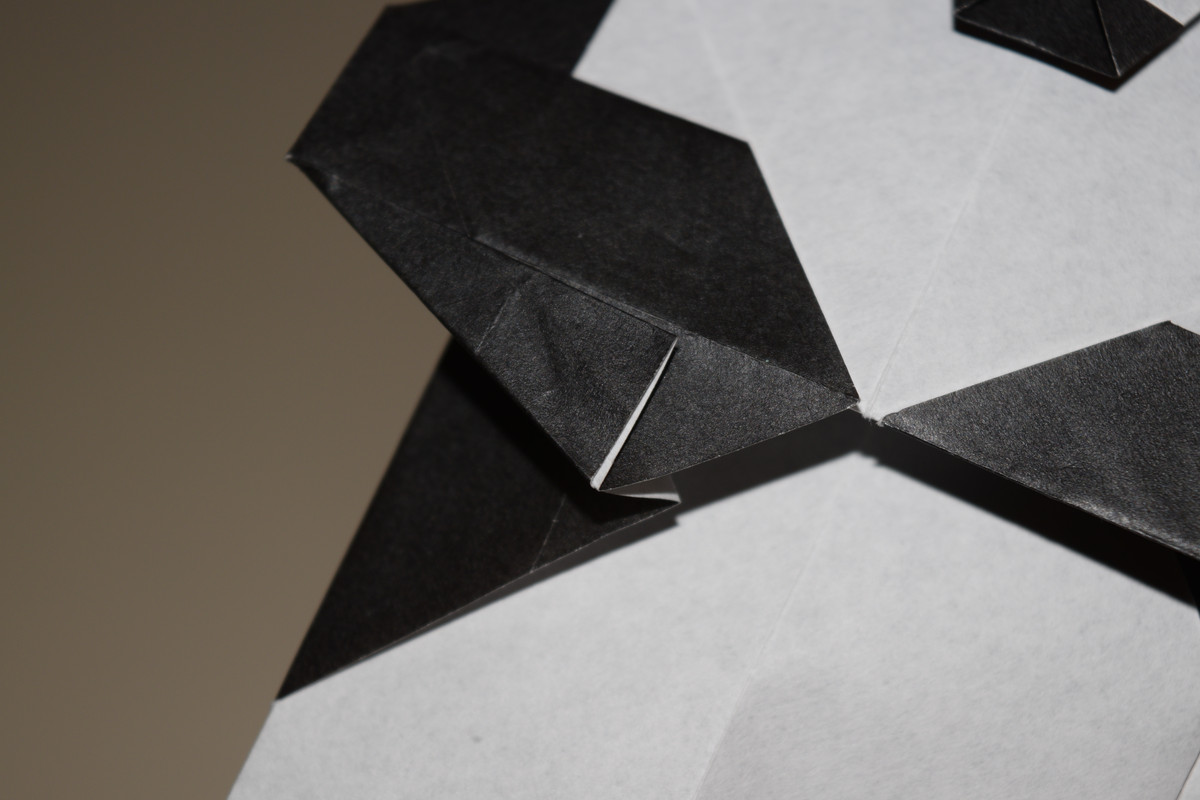
Close-up of Step 50
Open the flap and the black center piece slightly.
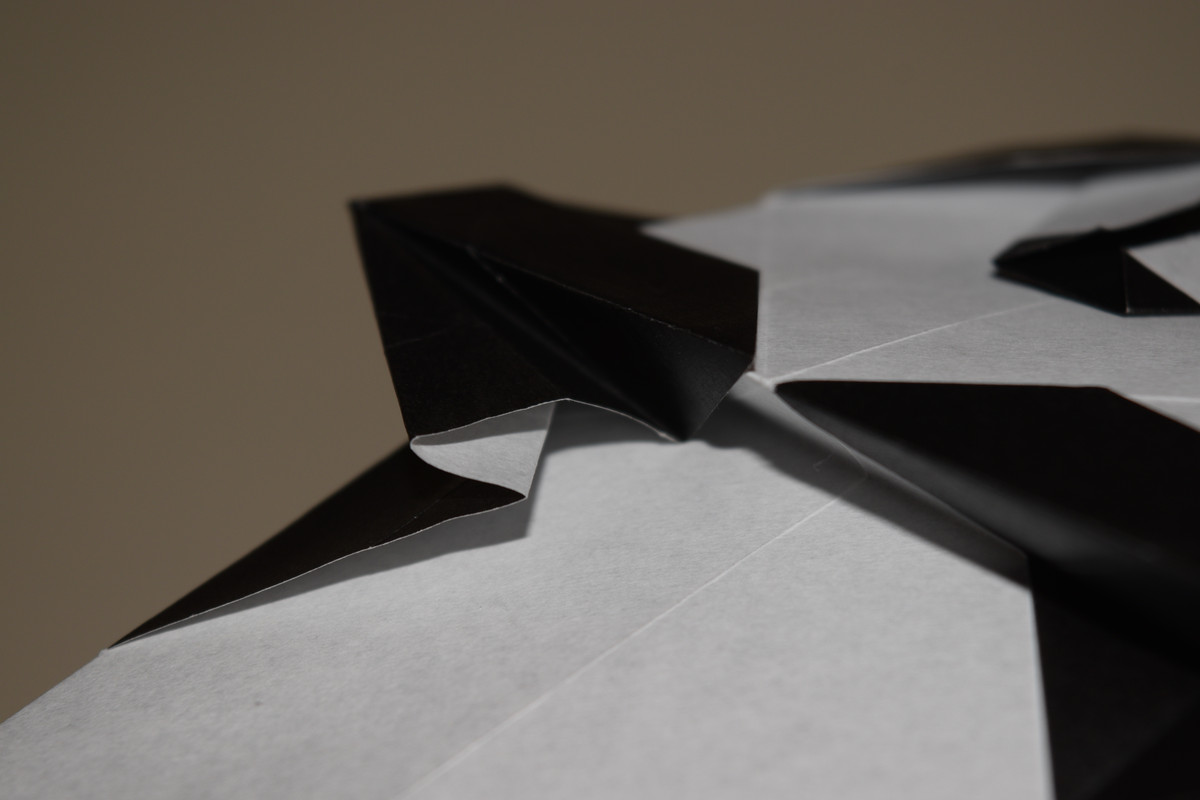
Tuck part of the flap from Step 50 underneath the black center piece.
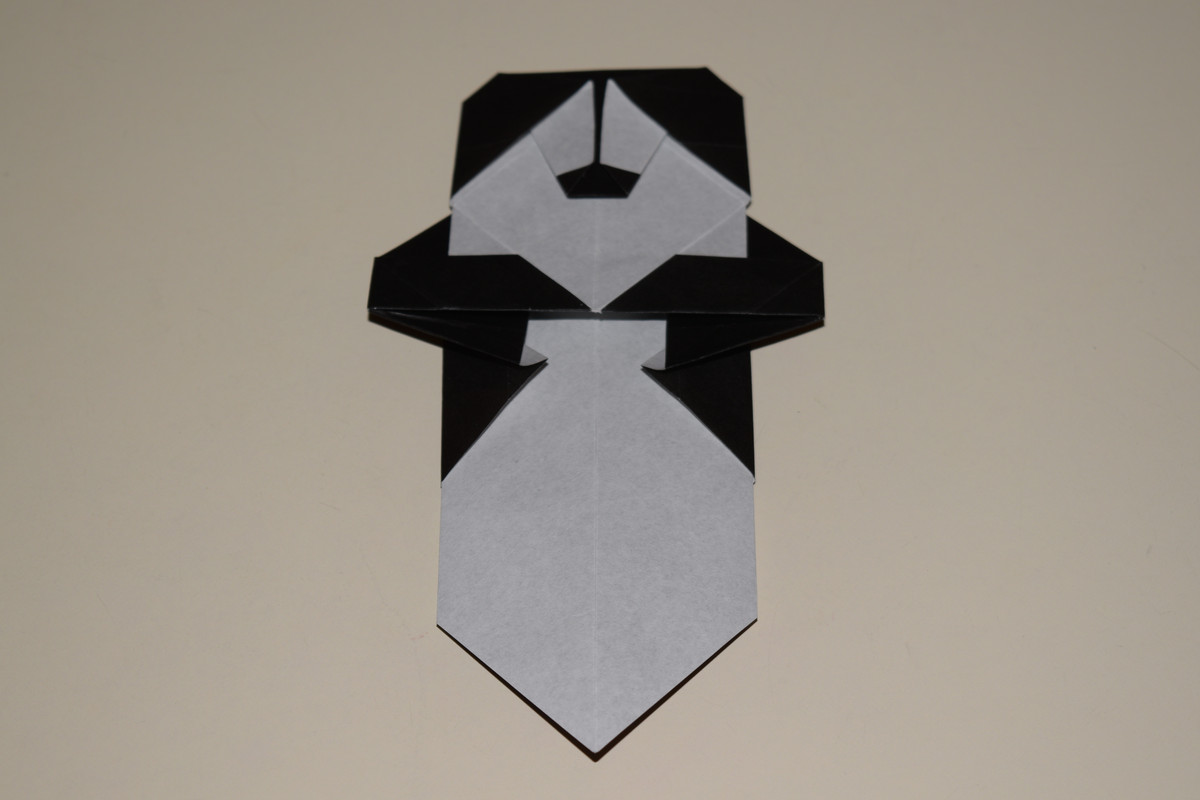
Flatten and crease the model.
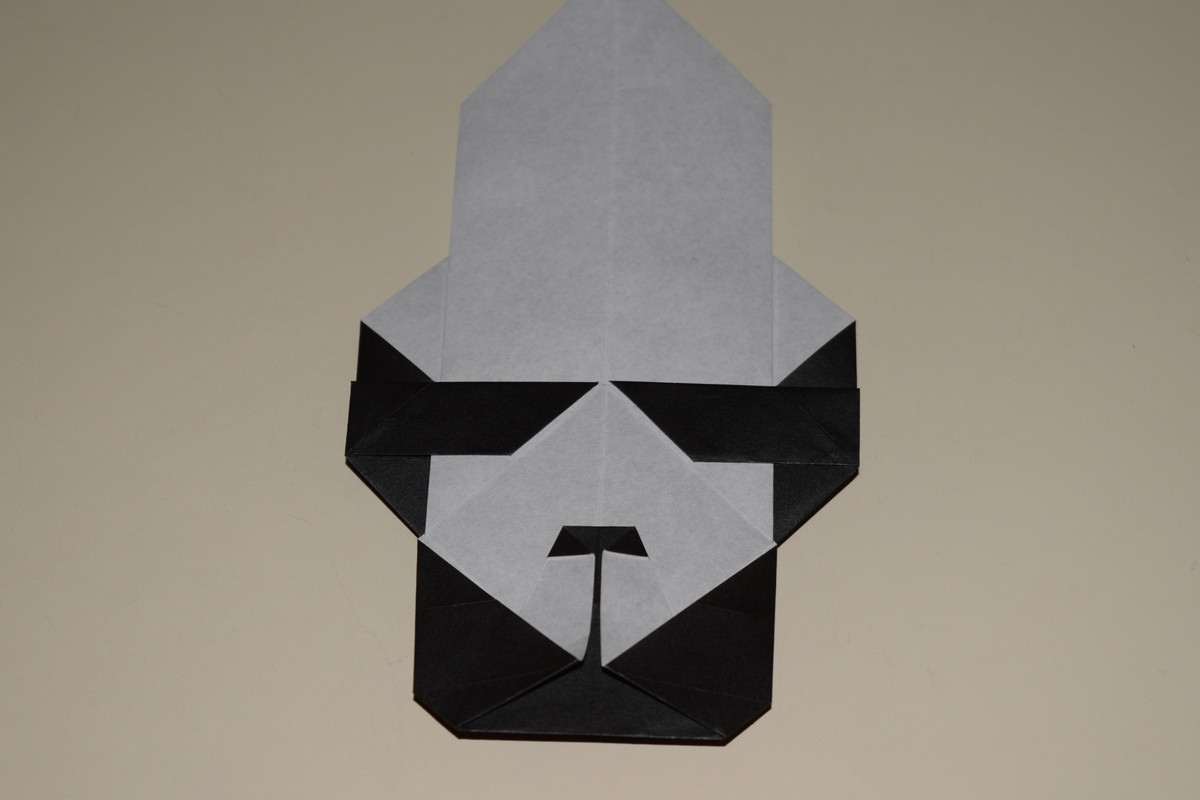
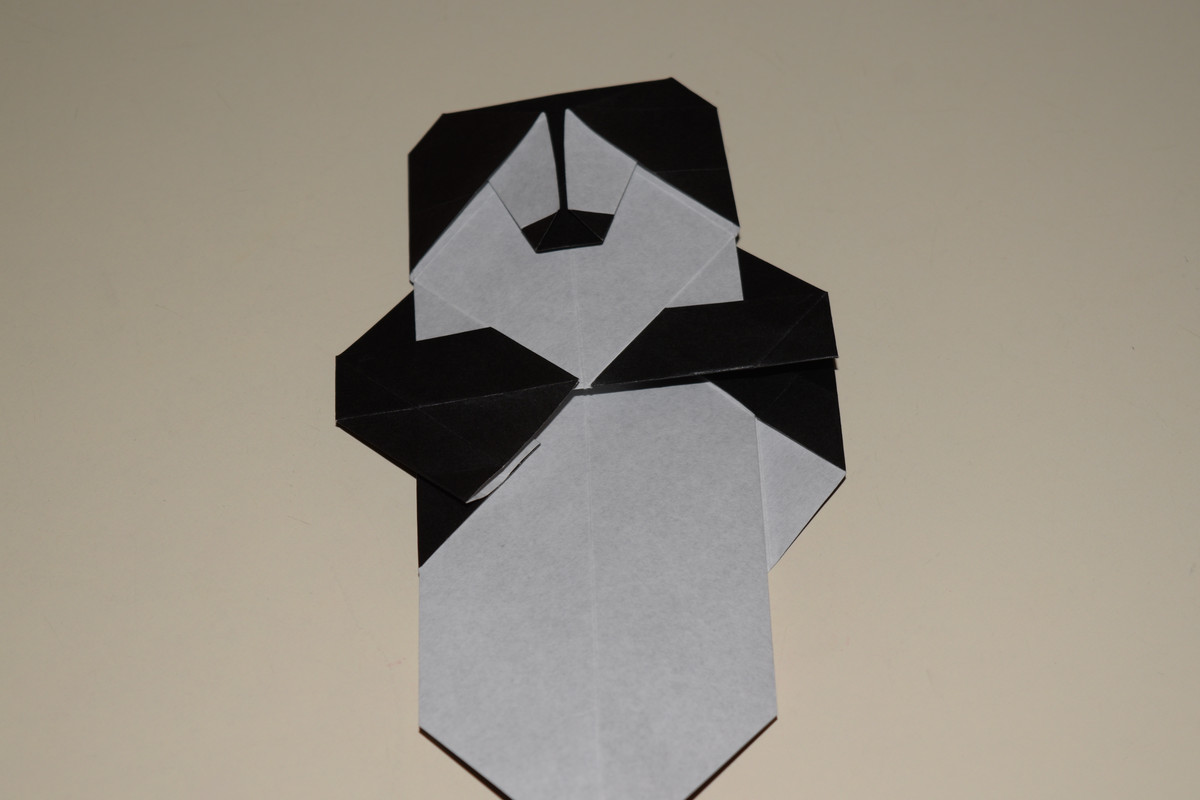
The finished left side should look as pictured.
Repeat on the right side.